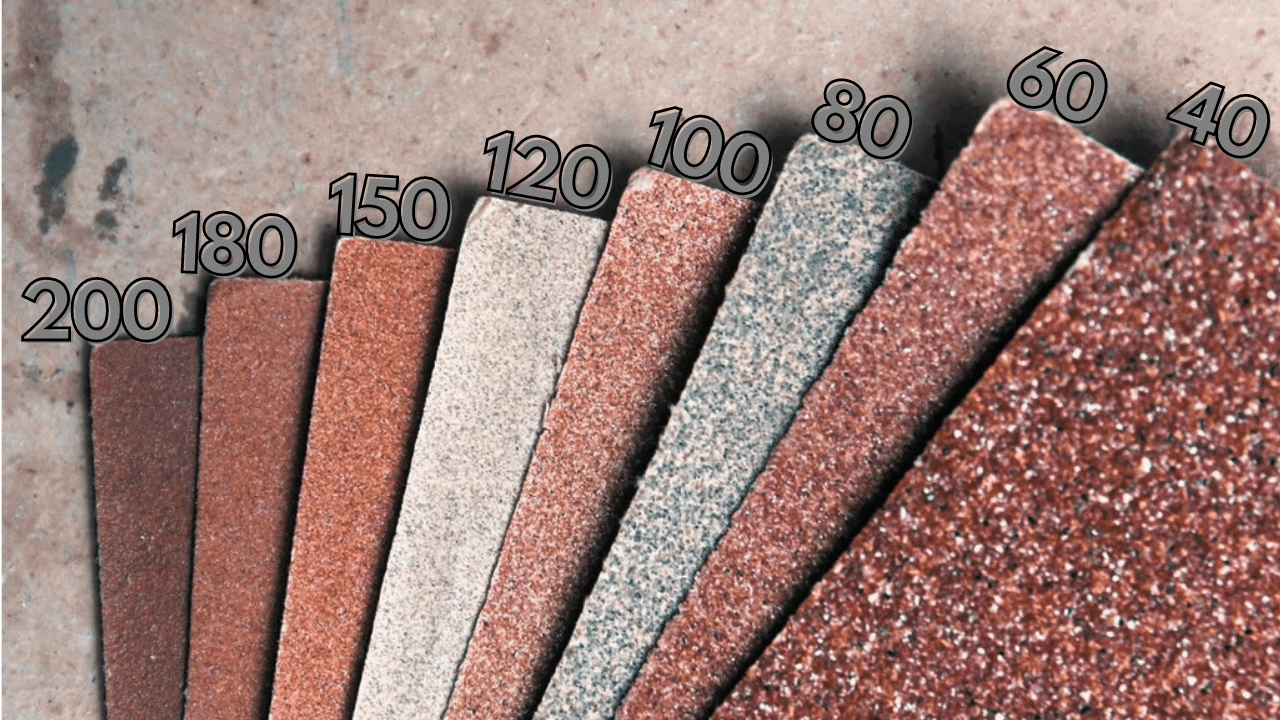
You’re getting ready to start a new project. Whether you’re working with wood or patching drywall, chances are you’ve noticed that you’ll need to do some sanding. For experienced do it yourselfers, you probably know there are many different grits of sandpaper. However, for people just getting into home improvement projects, you may be surprised at all the sandpaper options in your local home improvement store.
However, regardless of who you are, choosing the right sandpaper grit for your project is critical for seeing good results. Fortunately, making this choice is quite straightforward. Let’s take a look at what differentiates types of sandpaper and how to ensure you’re using the right grit.
What is Meant by Sandpaper Grit?
Grit is a value by which the abrasive material on sandpaper is measured. This measure is associated with a number. As a general rule, as the grit number increases, the grains get smaller, providing a more fine grit. Grit is typically measured by something called the CAMI scale although European product may use a scale known as FEPA.

Sandpaper is made with machines that ultimately serve as sifters. This means that only particles of a certain size make it through and onto the surface of the sand paper. This is how manufacturers ensure that a consistent grit is seen across an entire sheet of sandpaper.
Another important word to know is grain. Grain refers to a more broad type of sandpaper comprising a range of grits. For example, extra fine sandpaper is a grain category that comprises the largest range of grits, those from 240 to 400.
Below are the types of grains and their corresponding grit ranges.
Grain | Grit |
|---|---|
Coarse | 60 – 80 |
Medium | 100 – 150 |
Fine | 180 – 220 |
Extra Fine | 240 - 400 |
Why Is Choosing the Right Grit Important?
If you haven’t worked with sandpaper for long, you might assume that sandpaper is sandpaper. After all, it all works to sand down a surface, right? Actually, selecting the right sandpaper grit for your project is very important. The wrong grit can leave you frustrated or with a quality of finished product that you simply are not happy with.
Coarse sandpaper is great for easily removing wood and other materials. It works fast with less effort. However, it also leaves very deep scratches. By comparison, fine sandpaper removes only a tiny amount of material, making it easy to get a smooth finish on the surface.
If you are sanding with too fine of a sandpaper grit, you will find it more difficult to finish the job. You also may over-sand which can lead to producing a shiny surface that has trouble absorbing stains and finishes, which can alter the look of the finished product.
Thus, the general goal when working with sandpaper is to begin with the highest grit that will meet your needs then move up to finer grits (higher numbers) as you get closer to the finished product.
What Grit Should I Use for My Project?
Now that we have a good understanding of what is meant by grit and grain as well as the problems with choosing the wrong one, let’s take a look at the grit you should choose for your particular project.
Final Thoughts
Whether sanding down an old countertop, working with wood, or putting up drywall, choosing the right sandpaper grit for your project will ensure that the final results look great. Fortunately, selecting the right sandpaper grit is not rocket science.
Understanding the performance of coarser versus finer grits and the types of projects they work best on is key. Remember, coarse sandpaper is only utilized for the toughest of jobs while medium is often good for a first sanding for all except the finest detailed projects. With this knowledge, you’re assured to have an easier time with your next project.
