In the building industry, plumbing and electrical work must meet the required standards before being deemed safe. After all, if your home or commercial property is incorrectly wired or fitted with faulty plumbing, it can be extremely costly (or dangerous) if it's not replaced or repaired.
And that's why a process known as a 'rough-in' is so essential when you're remodeling your home. But what exactly is a rough-in? And how and where does it fit into the remodeling process?
We explain everything you need to know about an electrical and plumbing rough-in to ensure your remodeling project goes as smoothly as possible.
What is 'Rough-in'?
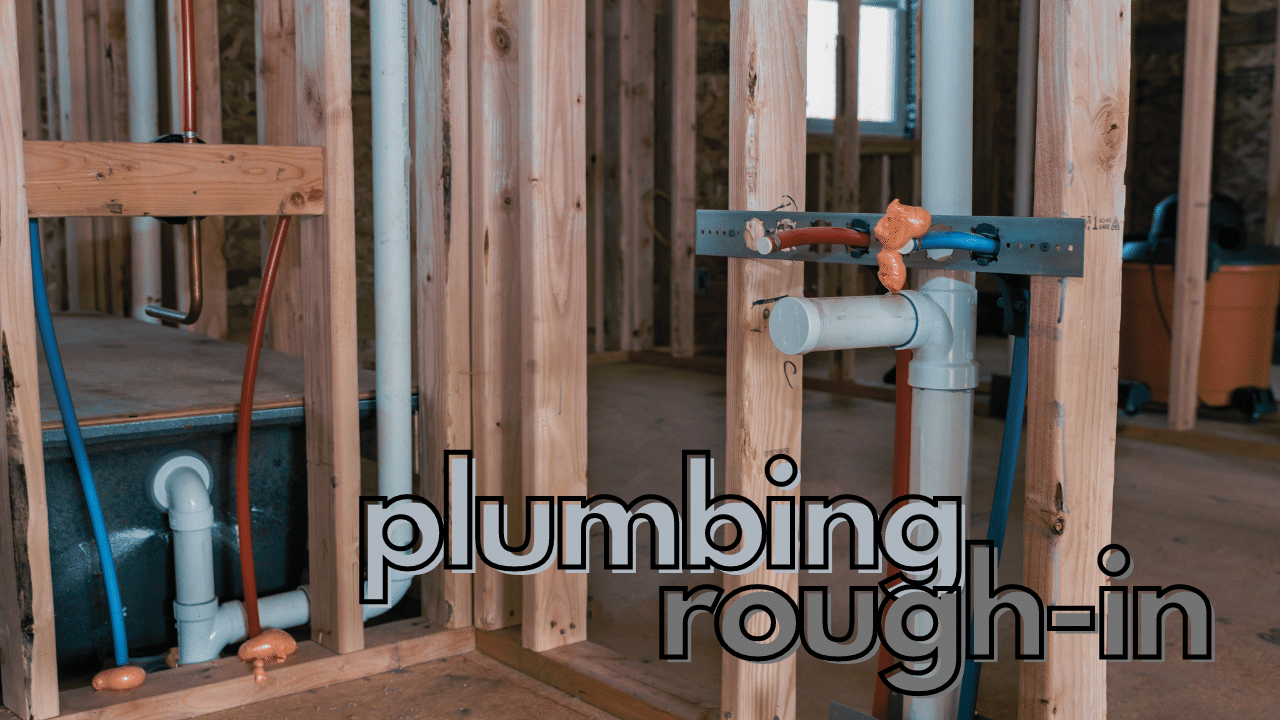
While 'rough-in' is a commonly used term in the building industry, it's most regularly applied to plumbing or electrical during the remodeling of a property. When used in relation to plumbing, 'rough-in' refers to the stage of remodeling after the basic framing and piping have been installed.
However, the rough-in needs to occur before installing endpoints (outlets and various fittings, for instance), so the timing is important. A building inspector will carry out the rough-in halfway through the installation and review the work's quality.
At this stage of the remodeling, it's easier for the inspector to check the plumbing, as drywall, flooring, and other aspects are yet to be installed. Therefore, if anything needs to be altered, it can be done with limited disruption.
Ultimately, a rough-in is completed during remodeling to review the quality of work up to this stage and to make any changes if required. Although it can be expensive, it will likely save you time and money if mistakes are found and fixed during the rough-in phase and not later in the remodeling process.
What is Involved in a Plumbing Rough-in?

When you're remodeling your property, it's a good idea to perform a rough-in once the water supply and drain pipes have been run through and laid. In most instances, this means they will have been eased through bored holes in the framing members, and each of the pipe connections should have been made.
This gives the building inspector the perfect opportunity to review the plumbing before sinks, faucets, and other elements have been attached to the plumbing. Typically, most plumbing rough-ins begin with an inspection of drainage and waste pipes, followed by the water supply lines.
Once the supply lines have been inspected, the rough-in finishes with a pressure test to ensure everything is in order before the remodeling can proceed to the next stage. If certain aspects of the rough-in don't pass the inspector's tests, the homeowner will need to put them right before proceeding any further.
What About an Electrical Rough-in?

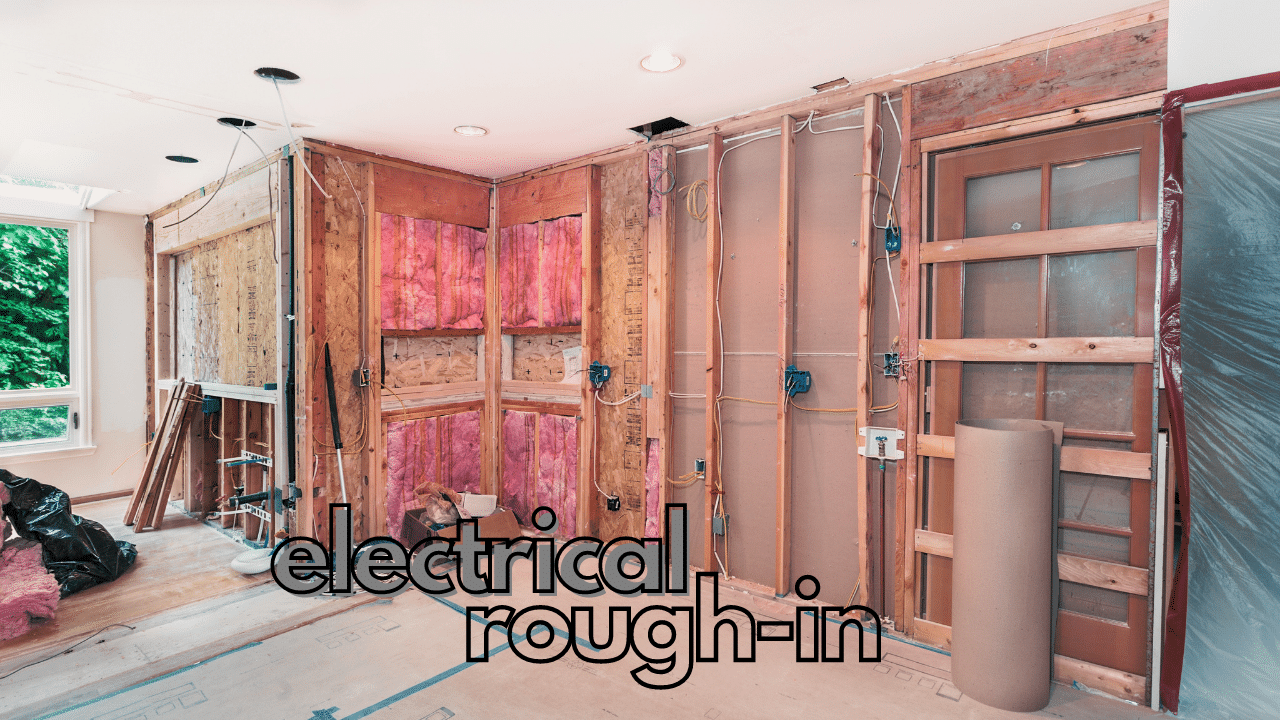
If you're remodeling your entire home, an electrical rough-in is equally as important as a plumbing rough-in. It's completed at a similar time to the plumbing rough-in and should be undertaken when all electrical cables have been dropped through the studs and inserted into the wall or ceiling boxes.
The rough-in should be performed before switches, light fittings, and other outlets are added to the electrics. These are all tested later before the building is signed off.
Why is the Rough-in Important?
The main purpose of a rough-in is to ensure your property is safe and that the plumbing and electrical components within the building will function as expected. As such, it's fairly self-explanatory why such a process is important!
But the timing of the rough-in is crucial because it gives homeowners the chance to put things right before they've gone too far in the remodeling process. If the home inspector requests some changes, you can carry them out after the rough-in without a huge expense.
We should mention, however, that you shouldn't use the rough-in process as a trial and error opportunity. Rather, you should ensure that everything is done to the best of your knowledge and that changes are unlikely to be required. This is because if you find yourself having to initiate changes, it will add to your costs and is likely to set you back in terms of your timeframes.
How the Rough-in Fits in the Remodeling Process
Now that you know what the rough-in is and why it's important let's look at how it fits into the remodeling process. Although people undertake building projects slightly differently, here are some typical remodeling steps with the rough-in included:
Final Thoughts
When you're undertaking an extensive remodelling of your home, it's important not to overlook the importance of the rough-in process. Not only does it ensure that your plumbing and electrical wiring is safe and functional, but it also provides you with the perfect opportunity to make the required changes.
If you don't conduct a rough-in, you run the risk of having to spend a fortune on repairs later in the remodeling process, which will also affect your completion targets. Hopefully, you're now clear about why a rough-in is important and when you should complete it during the remodeling of your property.
