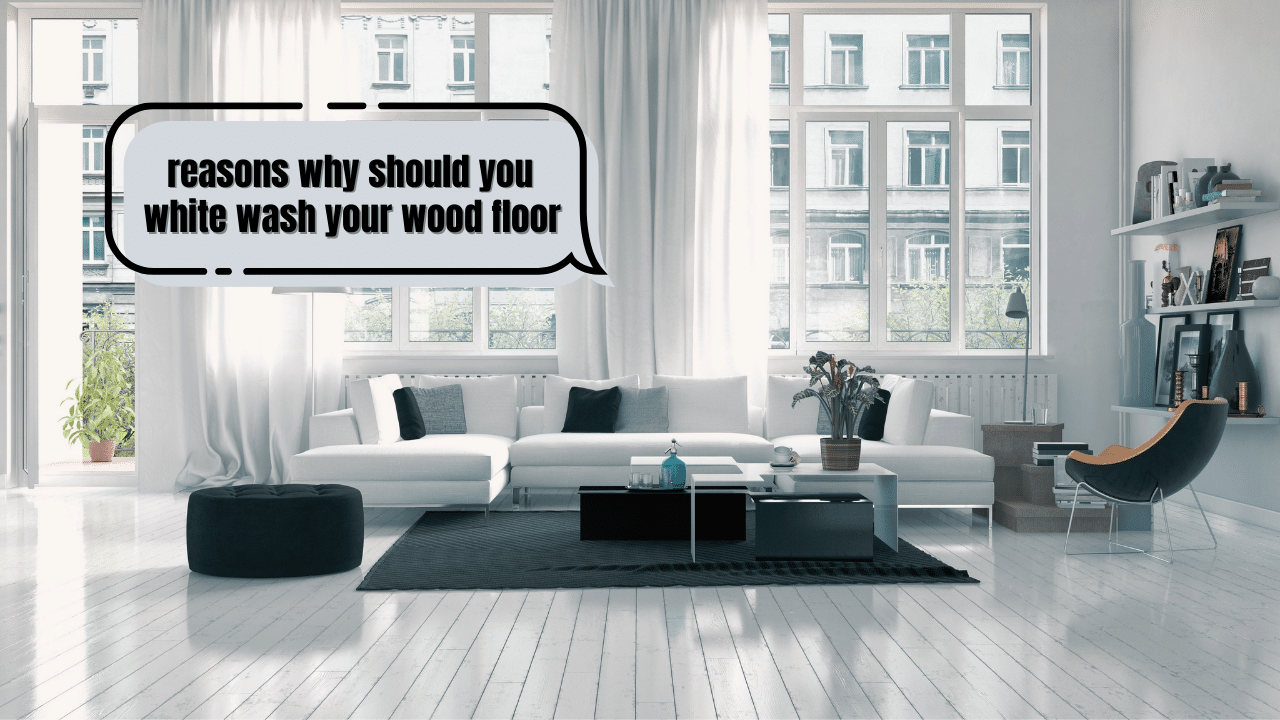
If you're looking for a way to customize your wooden floors and add a certain flair to your home– you might want to consider whitewashing them.
Wooden floors are already beautiful as it is. But if you find the finish quite harsh, you may go for the whitewashing route to soften the shade.
Now, this procedure isn't as popular as it used to be, but many homeowners still swear by this process as it is a beautiful finish option for wooden flooring. The result of the whitewashed hardwood floors gives you a stunning rustic look, adding a nice touch of color while preserving the wood's natural grain patterns. (Related: Is Hardwood Flooring In A Bathroom A Good Idea? (Pros, Cons & Everything You Need To Know)
That said, this is a good weekend project to do if you're into light and fresh, sophisticated designs. Let's discuss the step-by-step process to get this project started!
Gathering the Right Materials
Here's a list of the materials you need:
You will need to pick up gray paint (two quarts) and a gallon of whitewash stain for starters. The stain serves as the core color, with the paint adding more depth and texture.
Here's a fun fact: whitewashed wooden floors are also called pickled floors, lye, or limewash. Thanks to the advancement in commercial stain and polyurethanes, whitewashed floors now look so much better and last longer than ever before.
5 Steps to White Wash Wood Floors

1. Prepare the Area
Grab your broom or mop to begin sweeping the floors to be whitewashed as thoroughly as possible. Keep in mind that any dirt or dust particles may affect the result of the whitewashing method, ruining the texture you desire.
Afterward, you will need to vacuum the unfinished floors or wipe them clean using a microfiber cloth to give you a clearer surface.
If there's any furniture in the room, you might want to move them somewhere else to protect them from any accidental spill or splashes. It is also crucial to clear the area you are planning to whitewash, including the baseboards or trim molding. It helps you avoid taping the site to achieve a flawless result.
Simply put, the coat of whitewash will adhere better if you have clean and smooth wooden floors.
2. Remove the Existing Finish
As you begin your whitewashing project, you will need to assess the condition of the wooden floors first.
Your wooden floors must be (ideally) unfinished or thoroughly sanded to remove any old finish– such as another paint or a clear coat. If you have a light-tone ash or maple wooden floor, the good news is– this will work in your favor.
Some homeowners use specialized tools such as an orbital sander or a power sander to make the process easier. Remember to sand in the same lengthwise direction of the grain as you sand off the existing finish.
If you sand against the grain, you will likely leave difficult-to-remove scratches. These gauges may also be visible even after applying several whitewash coats.
Always clean up the area once you're done with every process to get rid of excess dirt and dust.
3. Apply Stain and Whitewash
Next, you will need to dip the sponge into your chosen stain and apply it to a particular floor section. Start with a 2x4-foot area.
Before the stain dries, you will need to wipe most of it using a dry sponge. If there's any visible streak, use a dry rag to remove it. Ideally, the result will give you a transparent, white-colored surface with visible wood grain. The wood's texture will still be visible, save for a white overlay.
You will need to repeat this process until you've whitewashed the entire floor. For best results, allow the area to dry overnight wholly.
While most hardwood floors are compatible with any wood stain, it's best to pick a white pigment designed for your wood flooring type to avoid any problems.
4. Add Depth/Detail using Paint
One way to add more detail and depth to your floors is to add two shades of colored paint over the whitewash using the dry brush technique. In most cases, homeowners use shades of gray.
Lightly apply the darker gray hue using a coarse-bristle brush before using a separate brush for the light gray paint. Keep in mind that the goal is to make the thin gray lines visible. To do this, let the brushes dry in between every application. The result adds more texture to make the wood grain pop.
Pro tip: Now, before we proceed to the final step (sealing), it's essential to assess the finished look to determine if it's the result you were going for.
Closely observe the appearance and color. If you think the result is too light for your liking, you may need to do the process for the entire floor again. However, if only quite a few spots are too dark for your preference, you may get by sanding these areas.
5. Apply Topcoat
Lastly, it's time to apply the topcoat. Once you have allowed the paint to dry overnight, it's time to apply an even, thin coat of clear polyurethane to your entire wooden floors. Best wait for the polyurethane to completely dry for at least 48 hours before you move back any furniture, re-attach trim molding or allow heavy foot traffic in the room again.
So, what's the purpose of applying a topcoat? It will give your delicately detailed and whitewashed floors another layer of protection. Beyond surface protection, it also preserves the wooden floors underneath to maintain its prime appearance longer.
Why Whitewash Your Hardwood Floors?
Whitewashing wooden floors are ideal for various settings, even in the most traditional and formal to cozy and rustic homes.

If you're looking to bring back your old wooden floors to life, you may consider this DIY project over the weekend. Painting or staining wood floors are far more common, but whitewashing them will give you a more unique, one-of-a-kind result.
For one, it allows you to add more texture and depth to your old flooring– which paint or stain may be unable to achieve. Aside from the aesthetic purposes, a new whitewash coating will also improve the protection of your floors. Another layer of defense makes your floors a bit tougher to be damaged by scratches and gouges.
Frequently Asked Questions (FAQs)
How popular are whitewashed floors?
Whitewashed floors are getting more popular every year. Whitewashed floors have become essential in making country homes look incredibly fashionable. In addition, it is known for its simplicity and affordably rejuvenates your hardwood flooring.
Which floor paint is best suited for wooden floors?
Any hardwood floor will benefit from oil-based floor and deck paint. It makes your floor bolder and more durable to withstand a lot of abuse. Unlike water-based and acrylic paint, oil-based paint can also seep into the grain of your wooden flooring.
Is the whitewashing method effective on all wooden floor types?
Whitewashing may come in various looks on different types of wood flooring, so always keep this in mind before you begin. Whitewashing works best on light-colored woods like maple and ash because it softens the natural color, while pine wood is the best type of wood to do this on if you work the paint into the knots.
Final Thoughts
Simply following this easy guide can help you rejuvenate the look of your old hardwood floors at home. Not to mention, it gives another protective layer against wear and tear. Wishing you the best of luck on your wood floor whitewashing project!
