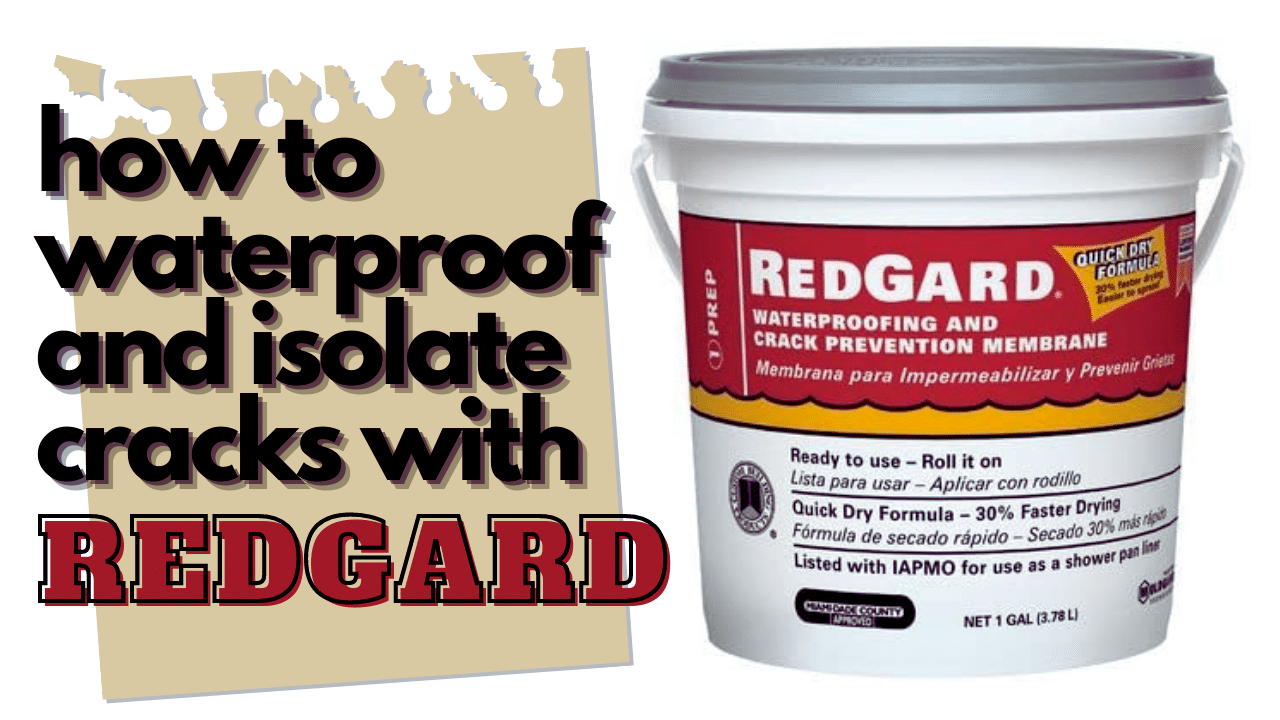
Are you looking for a product that helps to prevent cracks in tile and stone floors? If so, RedGard Waterproofing is a crack prevention membrane that could be precisely what you’re looking for. It is suitable for use in both commercial and residential tile and stone installations and can be used on interior or exterior surfaces of your property.
This article tells you everything you need to know about RedGard Waterproofing and provides a detailed guide that explains how to install it for the best results.
But let’s begin by looking at what RedGard Waterproofing is in detail and how it can help prevent unsightly cracks resulting from surface movement and water damage.
What is RedGard Waterproofing?
RedGard Waterproofing is a ready-to-use crack prevention membrane that is ideal for tile and stone applications in commercial and residential settings.
It works by creating a seamless waterproof barrier without standing adhesion and reduces crack transmission in both tile and stone floors.
RedGard can be applied to several surfaces, including concrete, cement backer boards, exterior-grade plywood, and even exterior decks. While these tend to be the primary surfaces upon which RedGard is applied, it can also bond directly to metal, PVC, and stainless steel.
When applied to a crack-affected surface, RedGard Waterproofing isolates existing in-plane cracks up to 1/8 inch. RedGard is a heavy-duty product but is easy to use and apply, as we will introduce a little later on.
Why should you use RedGard Waterproofing?
When laying tiles in a home or commercial building, most people believe that ceramic tiles and grout are waterproof. However, water can penetrate through cement-based grout and affect the substrate underneath.
When this occurs, cracks start to appear in the tiles. Using a crack-prevention membrane-like RedGard Waterproofing is an additional layer of protection and will reduce the risk of cracks forming on the surface of your tiles.
For this primary reason, RedGard Waterproofing is such a useful solution when applied to tile and stone surfaces that receive high levels of water content, such as shower floors.
Applying RedGard Waterproofing to new and existing interior and exterior floors also has the following benefits:
Essentially, if you want to ensure the durability and longevity of your tile or stone floors, it’s a good idea to apply a layer of RedGard Waterproofing to protect them from water damage and cracks.
Should RedGard Waterproofing be installed on all floors?
There’s certainly no harm in applying RedGard Waterproofing to all of your flooring surfaces, as the additional layer of protection provided by the waterproof membrane will undoubtedly increase the durability of your floors.
That being said, it’s better to prioritize tile and stone floors that are subject to lots of water, which could include:
- 1Bathroom and particularly shower tiles.
- 2Kitchen tiles around sinks and appliances.
- 3Exterior tiles that have been laid in your compound that are exposed to the elements.
- 4Any other wall tiles on the outside of your building.
Suppose you’re about to lay tiles at your residential or commercial property. In that case, you should definitely consider picking up a tub of RedGard Waterproofing to apply to the surfaces most exposed to water.
Where can you buy RedGard Waterproofing?
As one of the most popular and best-selling crack prevention membranes on the market, you can pick up a tub of RedGard Waterproofing from all major hardware stores like Home Depot.
You can also order RedGard on Amazon and other online retailers.

How to install RedGard Waterproofing
Now that we know what RedGard Waterproofing is, why you should apply it, and where you can purchase it from, it’s now time to look at how to install it. The good news is that applying RedGard Waterproofing is relatively straightforward and is most commonly spread by roller, trowel, or airless sprayer. It also dries quickly, so you don’t have to worry about long wait times until you can lay your floor.
Below is a detailed step-by-step guide on how to install RedGard Waterproofing to prevent cracks and ensure the durability of your tile or stone flooring:
Step 1: Prepare the Surface
Before you apply RedGard Waterproofing, the first thing you need to do is prepare the surface. RedGard must be applied to surfaces that are angled and sloping towards drains. You should also ensure that the concrete or other material upon which the RedGard will be laid is structurally sound, free from cracks, stains, and other contaminants.
If you need to treat your surface before laying RedGard Waterproofing, be sure to allow it to dry thoroughly first. RedGard is best applied on scarified and leveled concrete, too.
All cracks exceeding 1/8 of an inch will need to be repaired before RedGard is applied, as the solution won’t bond cracks that exceed this width.
Step 2: Source the Necessary Equipment
Once you’ve purchased your tub of RedGard Waterproofing, you will also need to source the equipment necessary for its application. RedGard is best applied with one of the following:
You should also wear a pair of heavy-duty gloves that will protect your hands from the RedGard solution. Be sure to wear old clothes that you don’t mind getting dirty, too!
Step 3: Begin the Application
Start the application of RedGard Waterproofing at the corners and intersections where the walls and floors meet. As a guide, aim to apply RedGard to six inches at either side of the intersection. Do this around the edge of the entire room to begin.
The reason for this is that the application meets the requirements of ANSI A118.10 without the need for fabric reinforcement.
Leave the solution that you’ve applied on the intersections for between sixty and ninety minutes to allow it to dry. You will know that the RedGard is drying when it changes from bright pink to red. You’re then ready to apply RedGard to the remaining surface.
Step 4: Apply RedGard to the Remaining Surface
Once the RedGard applied to the intersections has dried, you can continue with its application on the remaining surface. If you’re using a roller, apply an even continuous coat of RedGard with overlapping strokes, much in the same way as you would if you were painting the surface.
Alternatively, if you opt for a trowel, apply the RedGard using the notched side at a 45-degree angle, so ridges form in the solution. Then, with a second pass, flatten the surface, so it’s completely smooth.
If you have an airless sprayer, it should produce between 1900 and 2300 PSI, with a flow rate of 1 to 1.5 gallons per minute. You should apply RedGard evenly so that the desired thickness is achieved.
Your surface should be covered entirely with RedGard Waterproofing before leaving it to dry. Initially, it will be bright pink. But once it has dried, it will be dark red, which is evidence that you’re now ready to apply a second coat.
Step 5: Inspect the Surface and Apply the Second Coat
When your surface is dark red, you’re ready to begin installing the second coat of RedGard Waterproofing. But before you do this, closely inspect the surface for any spots or voids that weren’t appropriately covered during the first coat.
You should add a small spot of RedGard using a paintbrush to the affected areas. Then, you’re ready to apply the second coat, which should be done at right angles to the first.
During the second coat application, you should periodically check the thickness of the RedGard, and the combined coatings should reach a consistency of at least 30 mils.
Helpfully, included with your tub of RedGard Waterproofing is a thickness gauge, which you can press against the coating to see if you’ve achieved the required thickness from your two coats.
Step 6: Allow to dry and Protect from the Elements
Leave the second coat of RedGard Waterproofing to dry completely. Again, it can dry in as little as sixty to ninety minutes, but it depends on the temperature and humidity of your room. If there’s a lot of moisture in the air, it can take as long as twelve hours to dry sufficiently and turn dark red.
Once the RedGard Waterproofing is completely dry, you should leave it for up to 72 hours before commencing with the installation of your tiles. During this period, make sure you thoroughly check the application of the RedGard Waterproofing and treat any areas that aren’t as they should be.
If you’ve installed RedGard outside, make sure you completely cover it with felt and ensure it isn’t soiled or damaged by the elements.
Step 7: Begin laying the Tiles or Stones
When your application of RedGard Waterproofing is completely dry, the surface is ready for the next step. You can add a suitable mortar to the RedGard’s surface before laying your tiles and stones as desired.
Importantly, you can do so with the peace of mind that the layer of RedGard underneath the tiles or stones will protect your floor from future damage caused by water or surface movement and will save you a lot of hassle in the future.
Hopefully, you now have the information and confidence you need to apply RedGard Waterproofing to your residential or commercial flooring surface.
However, we’ve included some frequently asked questions about RedGard Waterproofing below, in case you need further information about its installation:
Will RedGard peel off after being Installed?
RedGard Waterproofing is a heavy-duty crack prevention membrane and is designed to be tough wearing and permanent. As such, it should not peel off after it has been applied. Peeling RedGard could result from moisture in the surface before you applied it, which is why it’s so important to dry your surface thoroughly before RedGard installation.
Moreover, in applying RedGard Waterproofing to walls. you can follow the exact step-by-step process that we introduced above.
Verdict: How RedGard Waterproofing Stacks Up
In deciding whether to use RedGard Waterproofing is a personal one. It really depends on how thoroughly you want to protect your tile or stone flooring from cracks and other surface damage. If you're hoping to increase the durability of your tile flooring, particularly in areas where lots of surface water is prevalent, then RedGard Waterproofing is an ideal solution.
As crack prevention membrane solutions go, RedGard Waterproofing is undoubtedly one of the best performing products on the market.
It’s widely available, easy to install, and increases the durability of your internal and external tile or stone flooring. As such, if you’re about to lay tiles or stones on top of concrete flooring that is exposed to high levels of surface water, you should seriously consider applying a layer of RedGard Waterproofing to protect your floor from damage.

