
$12 to $30
$2,000 to $18,000
$15,000 to $45,000
Paver patio projects vary greatly in cost depending on size, scope, and quality of materials used. In this guide, we’ll break everything down so that you can make savvy decisions on your project. Once getting a better understanding of the costs behind your project, you will ultimately need to get quotes from local contractors. We work with a network of price competitive contractors.
Pavers are quite versatile in the number of projects that can be accomplished due to their wide variety of designs. One of the most stunning uses of pavers can be the creation of a paver patio for your backyard.
As we enter the summer season, let’s take a look at everything you need to know when considering your own paver patio.
In this guide, we’ll cover everything you need to know to make educated and economically savvy decisions when it comes to budgeting & planning for a paver patio, from base material to paver design, before contacting a contractor.
Average Cost of Paver Patio by Size
One of the first things people want to know when considering a paver patio is how much it will set them back. Obviously, the cost will vary depending on the type of paver being used; however, below is a rough idea of the average costs for different sizes of paver patios.

On the chart above we show the price range of paver patio cost, by a professional contractor, with the darkest shaded area of the range representing where the illustration to the left would fall. Notice the 10 x 10 with no features is shaded toward the minimum side of the range, while the 20 x 20 paver patio with fire pit and seating wall features is shaded towards the higher end of the price range.
Keep scrolling on to get a better understanding of the costs as they would be applicable to your project!
Factors That Drive Costs
While these costs are averages, costs can fluctuate quite a bit depending on a number of factors. Below are aspects that will affect the overarching cost of your paver patio.
Pavers are a heavy material and as such it is estimated that 20% of costs may be derived just getting the materials to the job site.
Size
As you can see in the averages above, one of the most prominent factors effecting cost is size. The concept here is relatively simple. Larger paver patios require larger amounts of material and will also take more time to install.
Thus, larger patios mean more money spent, generally. Use the table below to get an idea based on square footage. (Related article: Cost to Install a Paver Patio: How Much Does it Cost per Square Foot?)
Square Footage of Project | Apprx Price per Sq Ft |
|---|---|
200 sq. ft. and below | $2,000 (minimum) |
200 – 400 sq. ft. | $10 – $18 |
400 – 600 sq. ft. | $9 – $17 |
600 – 800 sq. ft. | $8 – $16 |
800 – 1000 sq. ft. | $7 – $15 |
1000 – 1200 sq. ft. | $6 – $14 |
The fixed cost trap
Small paver patio projects are subject to what we call ‘the fixed cost trap’. In other words, paver projects below a certain size typically don’t have much cost savings.
This is because many of the costs cannot go lower. For example, a delivery truck costs the same to get the pavers to your door whether they are deliver 200 sq. ft. or 500 sq. ft. On a 200 sq ft. project, the site preparation may only take 3 hours, but the crew must be paid for the entire day.
For these reasons, we find that you generally start avoiding this fixed cost trap when going above 300 sq ft.
Site Preparation
Where you plan to put your paver patio does have an effect on price. Some places require relatively little preparation to install your patio while others will require more extensive preparation like leveling the ground.
Paver Material
Concrete, brick and natural stone are the 3 main types of paver material. Concrete is lower cost than brick and most commonly used. Natural stone is a luxury material that is typically much higher cost. This guide focuses on concrete/brick pavers.

Brick
Brick pavers, made of clay, typically only come in a 4” x 8” size and have a smooth finish.

Concrete
Concrete pavers have a less ‘manufactured’ look than brick pavers and can be produced with a wide array of textures from smooth too rough. They can also come in slabs up 24”.

Natural Stone
(details below)
Paver Pattern
Paver pattern is something people often do not think about when considering the different factors affecting cost; however, this is an important one. More intricate patterns result in more time to do the job well, and possibly more waste, which will increase the overall labor costs for your project.

Running Bond
Simplest and lowest cost

European Fan
More complex, higher cost

Herring Bone
Patio Features
Finally, the different features you want added to your patio will have an extensive effect on the overarching cost. There are a number of excellent features that can be added including fire pits, retaining walls, and seating areas. These will make your patio more beautiful and functional but will also come with a cost.
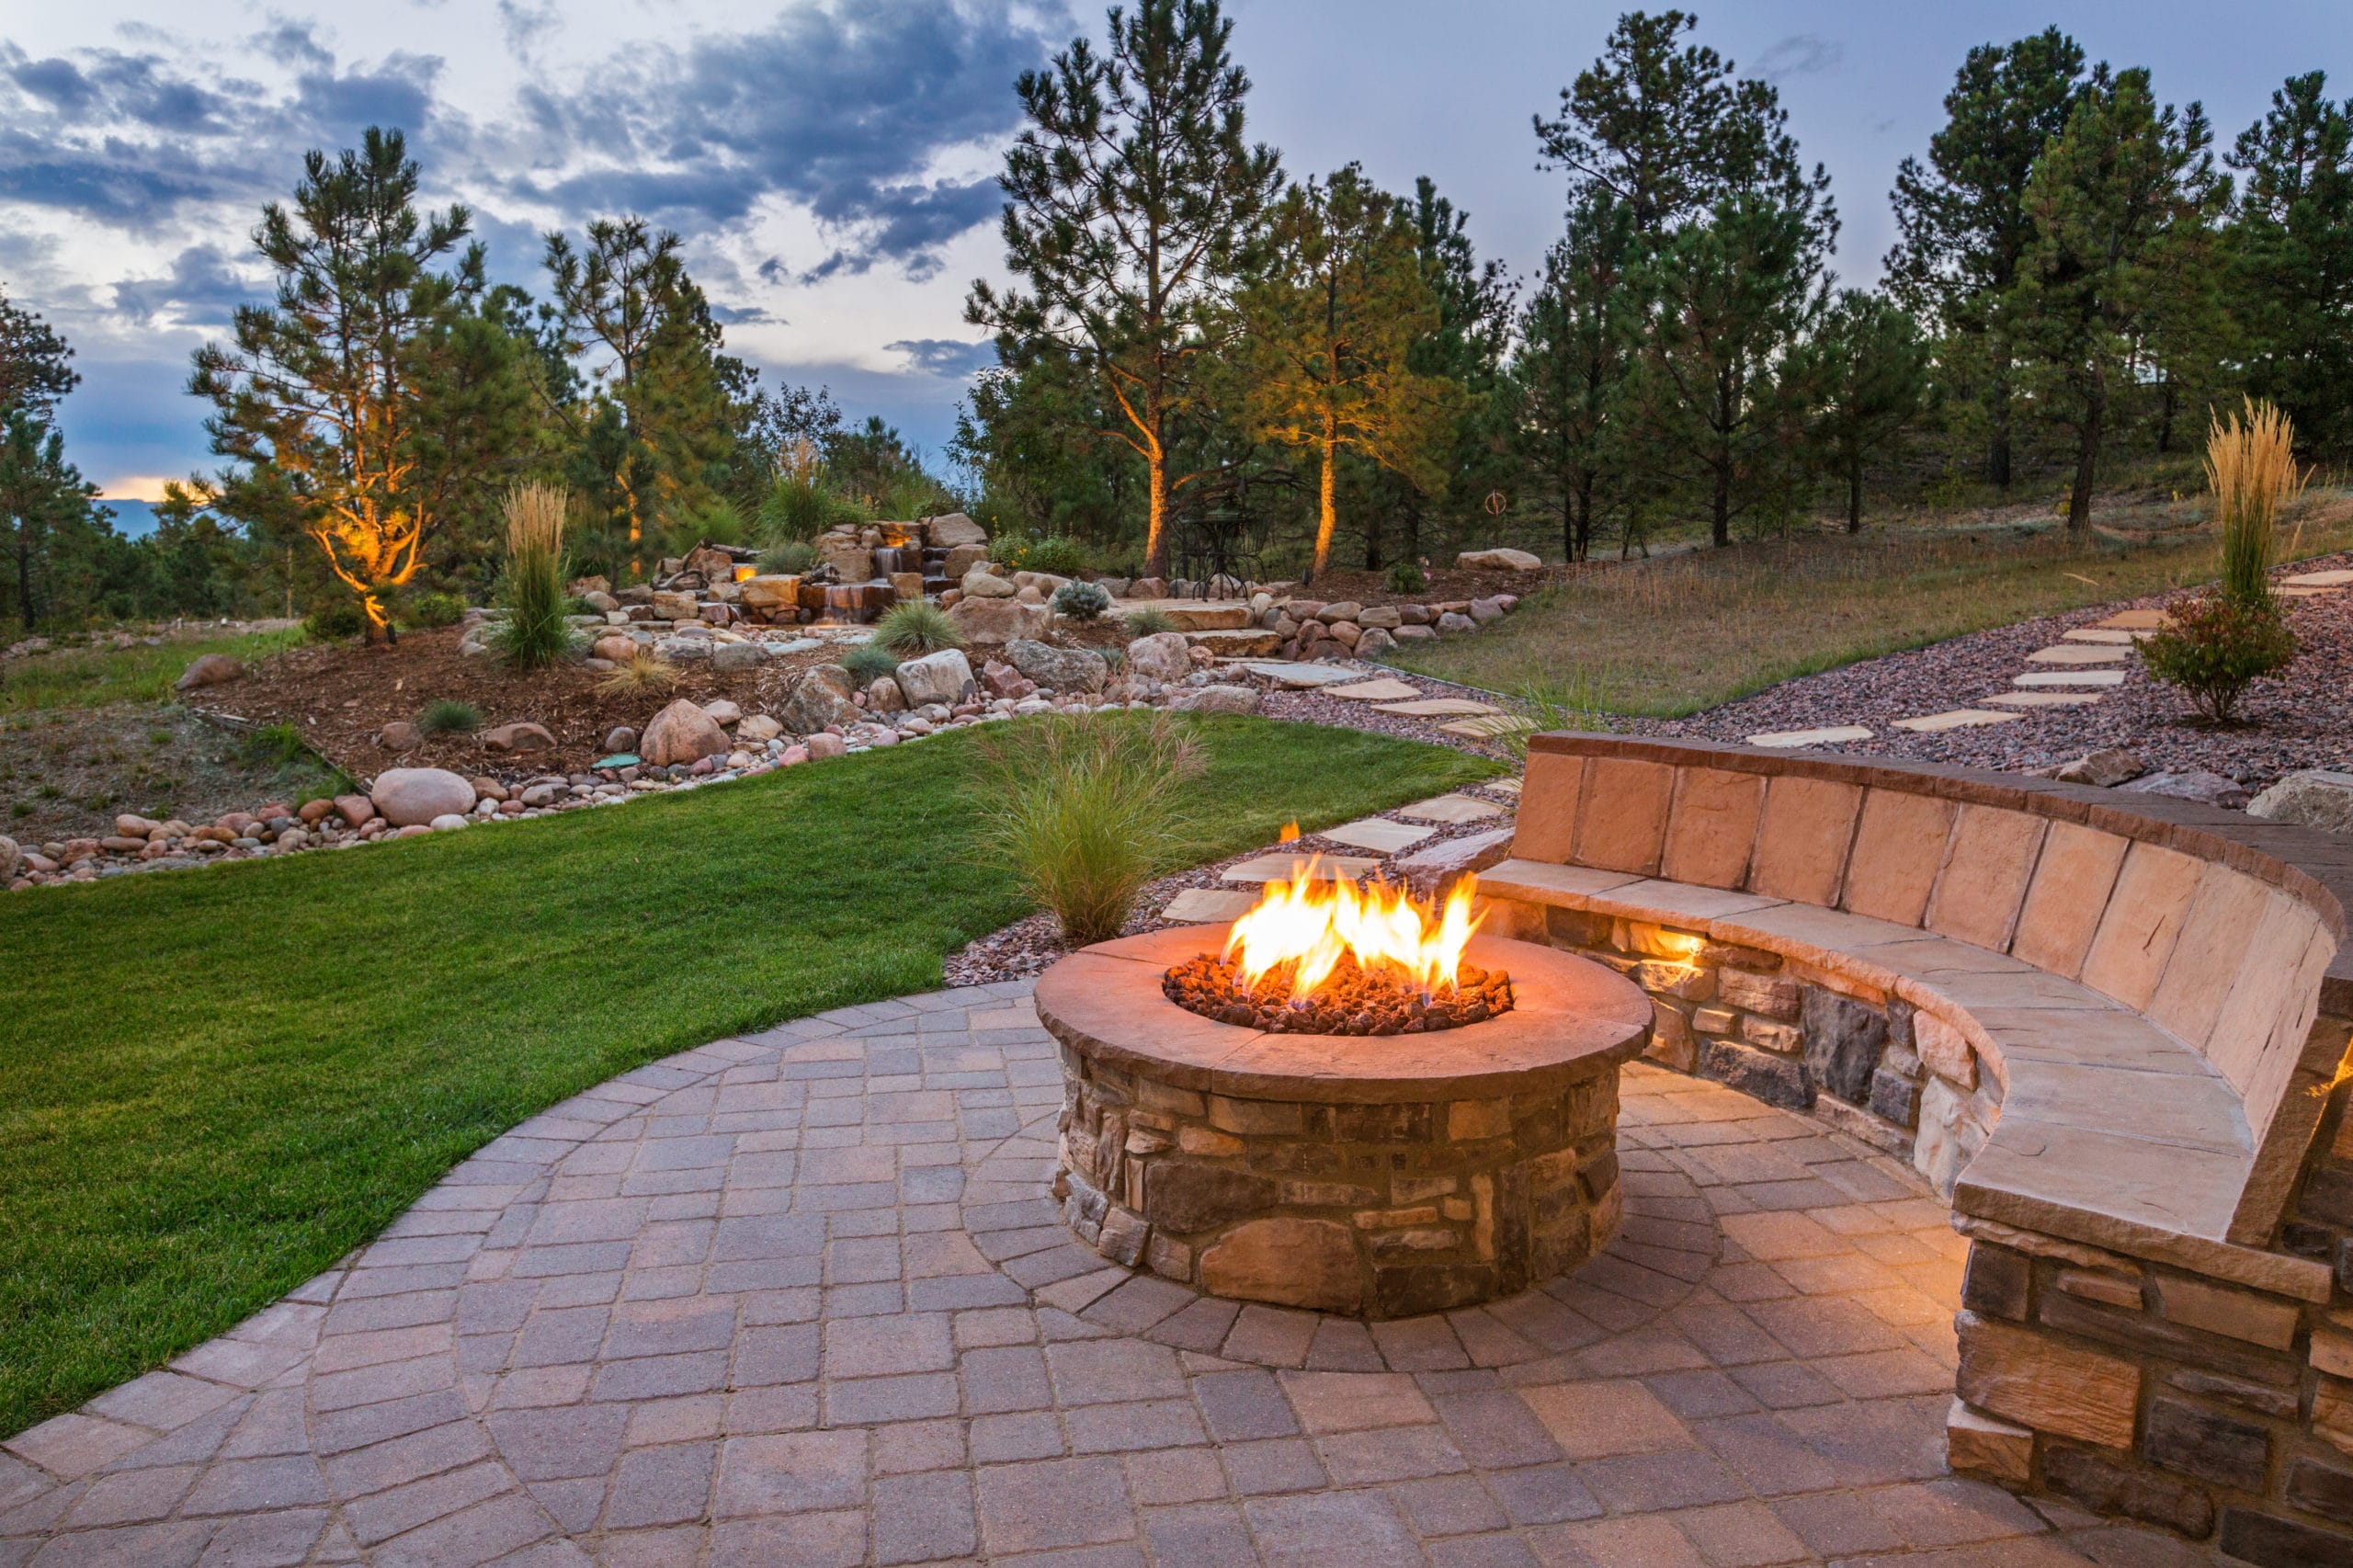
Fire pits are a nice touch that make any paver patio a focal point on a cold night. The typical additional cost associated with a 5 x 5 fire pit in a larger project is $1,000 to $2,000.
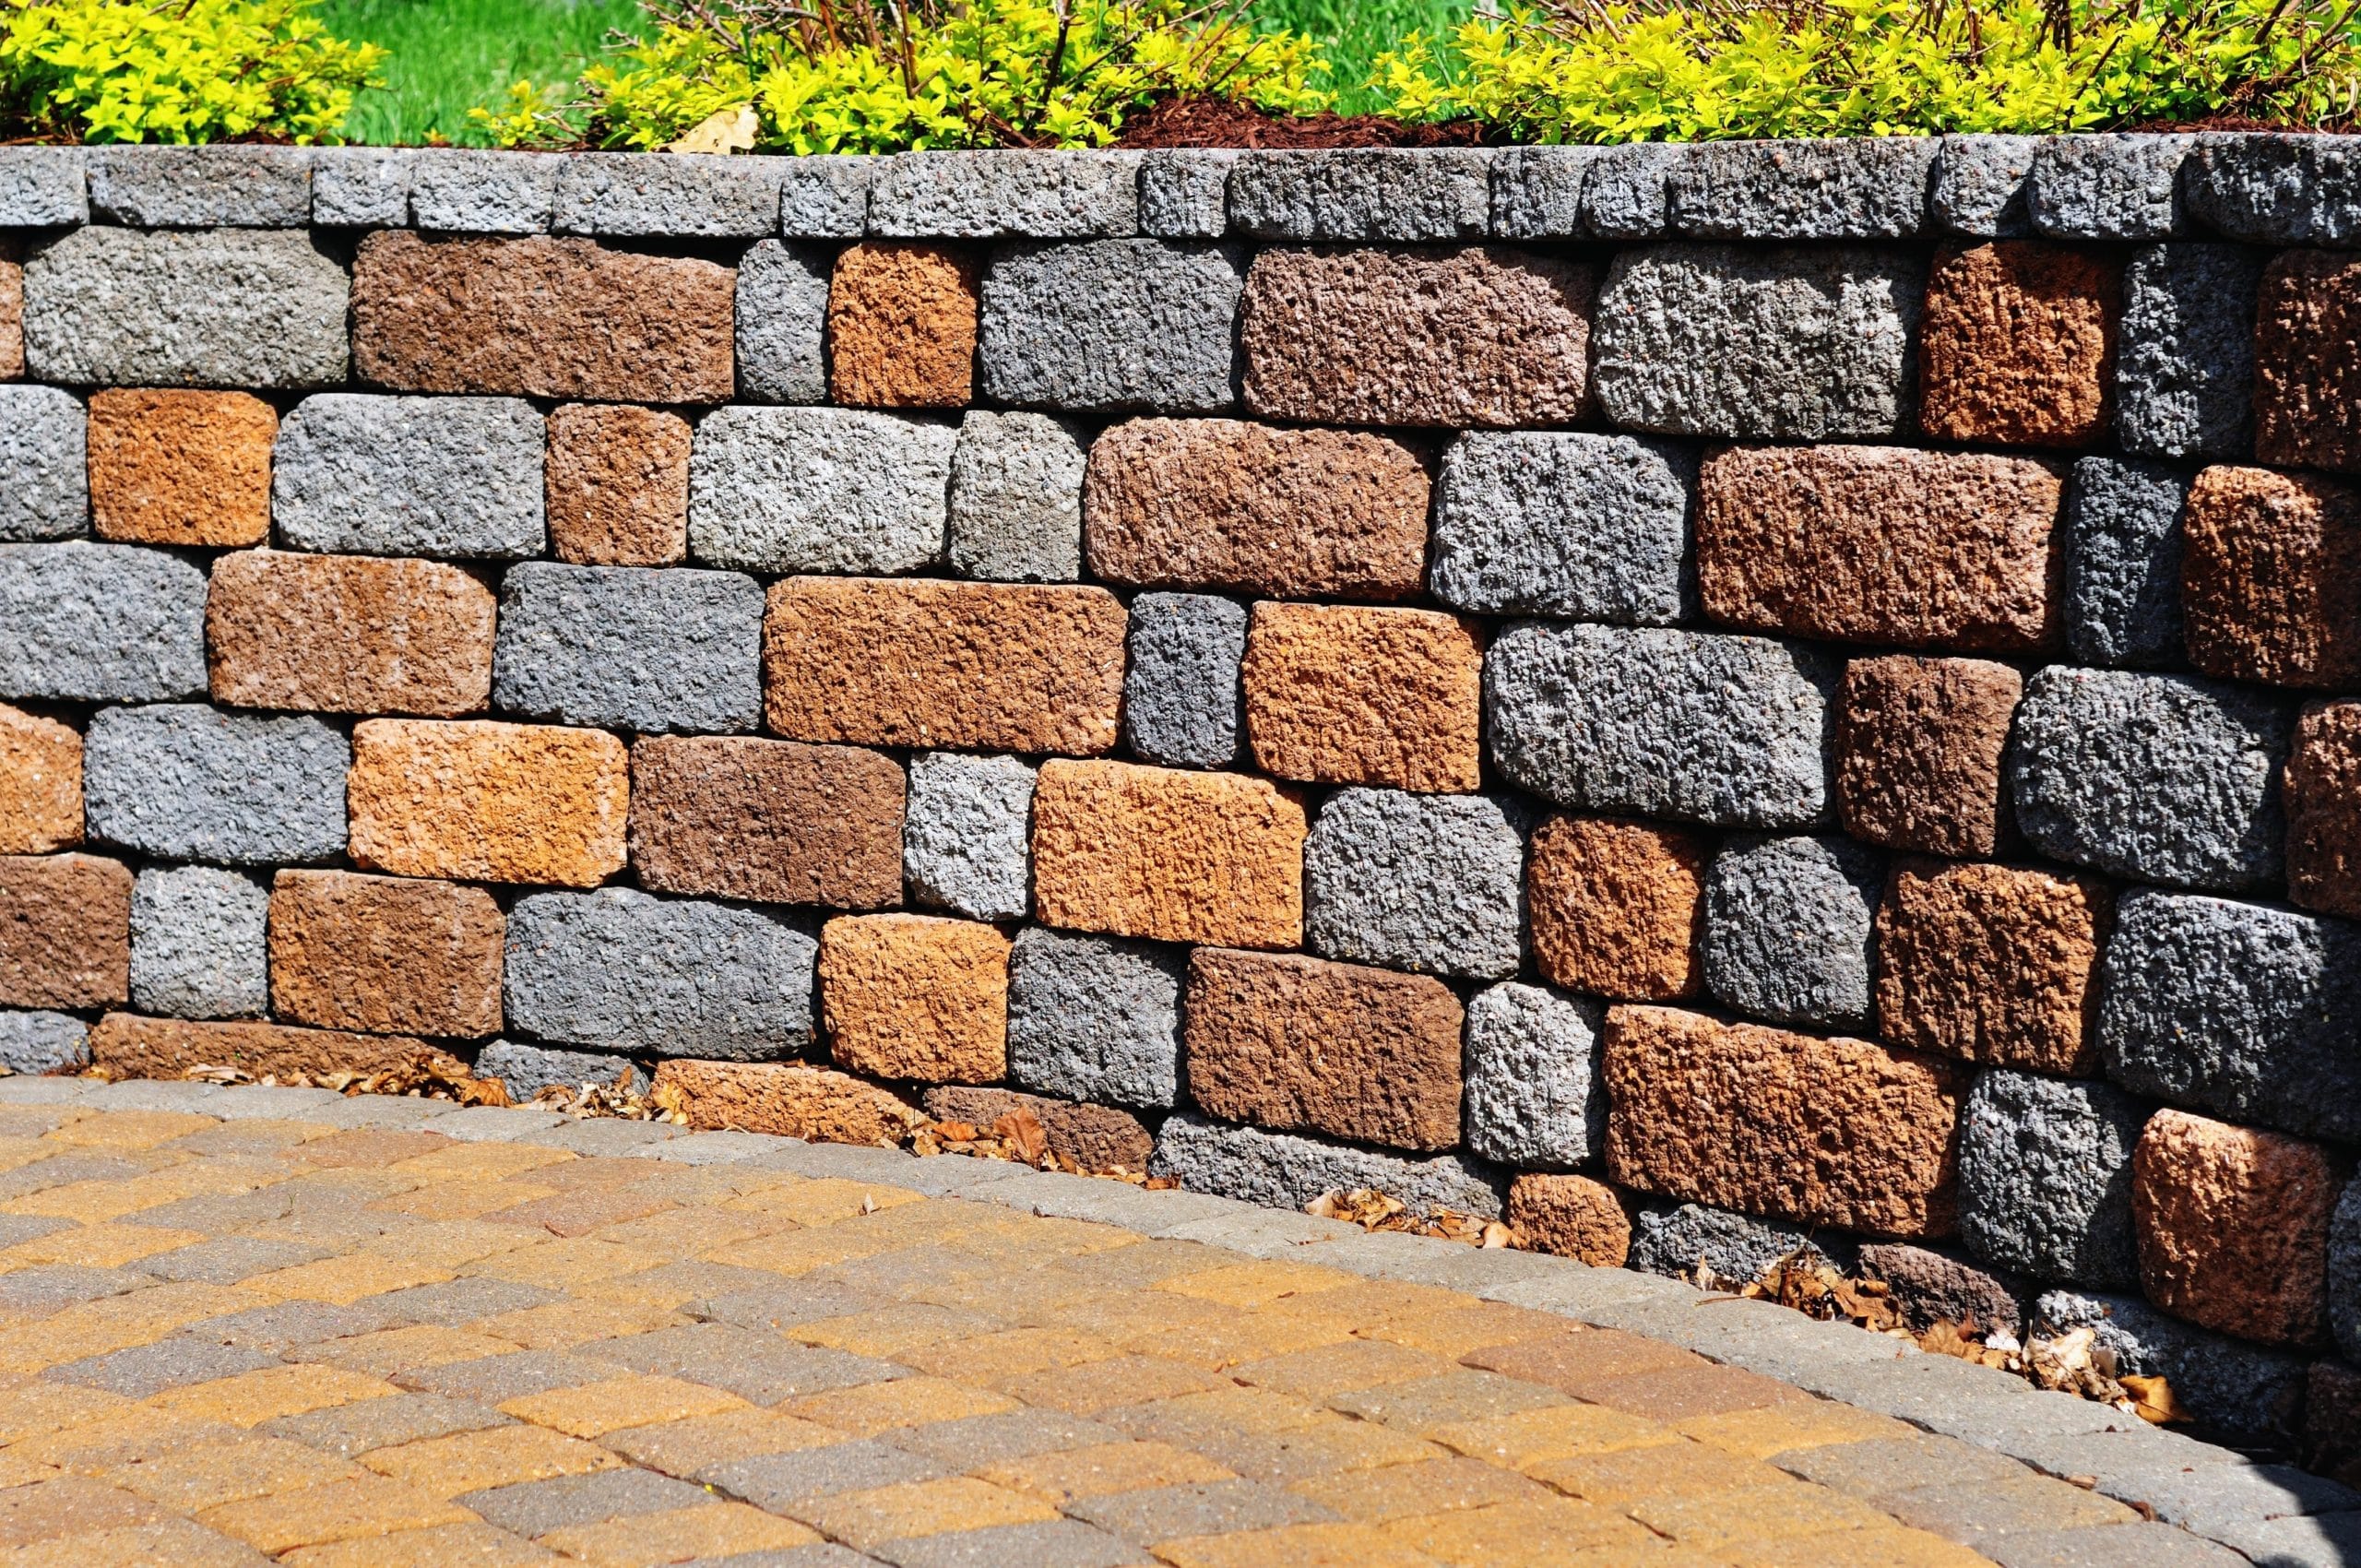
Seating walls, typical 18" to 24" high, provide a nice area for people to sit close to the fire and prevent the patio area from getting cluttered with chairs. Anticipate a cost of about $75 per foot.
20 x 20 Paver Project Cost Breakdown
As we noted, there are a variety of factors that can affect the cost of a paver patio. However, it often helps to illustrate this concept by walking through an example of a project. Let’s take a look at the cost breakdown for a 20 x 20 paver patio. For this example, we will look at a 400 sq. ft. patio with a firepit and brick seating wall.
Let’s also make a number of other assumptions about this project. First, we will assume that the entire project uses clay bricks pavers. Additionally, we will assume that the pattern is a relatively simple one and that the site does not need any extraordinary preparation for the project.

Item | Average Cost |
|---|---|
Pavers | $2,000 |
Installation | $3,200 |
Fire Pit | $850 |
17" Seating Wall | $680 |
Total |
|---|
$6,730 |
The materials for this project will run approximately $2,000 on average while installation will be $3,200. It is important to note that installation would have cost more if the site needed extensive preparation or an intricate pattern was used. Additionally, brick is one of the most affordable materials for paver patios so other options would likely add to the price tag.
The fire pit, on average, would add $850 to the price tag while a 17-foot brick seating wall at two–foot height would add an additional $680, bringing the project total to $6,730 for a beautiful paver patio perfect for entertaining guests. It is important to remember that his is based on national averages. Prices will vary from area to area.
The Project Process for Paver Patios
Understanding the process of the project is important for discussing with contractors.

Planning
The first step is planning (which you are probably doing if you are reading this far!) Use our guide to get a sold understanding of what you want, and what you can afford.
Think like an architect, and draw it out on paper freehand, with notations. It may not be an ‘architectural rendering’, but this step is very important as a simple plan ensures that you get apples to apples bids.
Get Estimates
Next up it is time to get estimates from paver contractors. This is often frustrating as paver contractors don’t return phone calls or voice mails.
What gives? Typically they are smaller operations with the owner running the crew and often over worked. Simply put the owner can’t answer the phones all day while they are out working in the sun and making sure projects get done right. If they are booked out several weeks, with many customer inquiries coming in daily, the best use of their is getting work done, not chasing customers.
Pro tip: In our experience the best way to find contractors that respond fast and are price competitive is to use a network like HomeAdvisor where contractors pay for the opportunity to earn your business.
Once you’ve got contractors lined up to bid the project, be sure to show them your drawing and details from the the previous step.
Keep it simple. Don’t ask for a quote on a 10 x 20, 20 x 20, and 16 x 25 paver patio each with and without a fire pit of a varying size and maybe seating wall. Miscommunication and contractor attrition (dis-interest in working for you), occurs when you ask for many options and seemingly no set project that you want. Instead ask for a quote on one or two clear scopes of work.
Award Project
Once you’ve gotten quotes, you’ll have to move forward with your chosen contractor. You can refer to this guide we wrote on vetting and hiring a contractor.
For paver projects specifically, there’s a few more details you’ll want to cover before making a deposit and signing on the dotted line. (1) Paver pattern and colors, (2) the payment schedule.
Get Permits / Order Material
After making a deposit, the contractor should start with getting permits if necessary. In most locations around the United States, no permit is required for paver patios. However, structural footers that they may be doing under the pavers to accommodate a future covered roof or other feature, may require a permit.
After permits are obtained, the contractor will need to order the pavers themselves from the manufacturer. All pavers are made to order. This is typically the longest part of the process as paver manufacturers are notoriously unorganized, and short-staffed. As of July 2021, the major paver manufacturer’s are all backordered over 12 weeks.
Site Excavation & Footers
Once the project is actually ready to begin, this will typically be when the pavers are delivered to your home, the contractor will start with site excavation. The area will be marked off with some type of marking on the ground where the actual patio will go. Then any vegetation or grass in the area will be removed. Most backyard projects will typically require a sod cutter that goes underneath the grass and allows it to be rolled up and easily removed.
With the sod and vegetation removed, the next thing will be doing any footers, and leveling the area. If footers are required, you should expect to see wooden ‘form boards’ set up until concrete is poured.
A professional paver contractor will use string lines running across the excavated area to make sure that the area is level, possibly with a slight slope for water run off.
Base Layer & Compaction
Once any footers are poured, your soil will be compacted to prevent settlement of the pavers. Base material (typically Ab-3, clean gravel, or concrete) will be set for the patio area. Edge reinforcements will be added as well.
Pavers Installed
The next step is to lay the actual pavers. The pavers will be cut, and set in place. Expect a lot of dust during this part. Cutting the pavers to the fit in the project shape will require a a concrete saw, and operation of this is dusty. You may want to move any furniture or grills from the area and plan on powerwashing that area of your home after the project is done.
Any Features on Top of it
Finally any features such as fire pits or seating walls of your project will be completed. Plan for dust here as well as paver cutting will typically need to occur.
Important Considerations When Planning Paver Projects
While paver patios are beautiful, every homeowner wants their project to truly be a great addition. Thus, it is important to keep in mind some considerations before moving forward. Here are some of the top thinks to consider when debating on adding a paver patio.
Paver Patio Project FAQs
There are two popular options for keeping pavers in place. One involves a small concrete paver border that provides a solid border that can be used with any curve. Another option is a Snap-Edge, which is a one-piece system that can form a complete radius. Both options are very effective.
Paver patios are not considered to be permanent structures. As such, they typically do not need permits. However, permit laws do vary between localities, so it does not hurt to check with your contractor. Highly complex patios such as those with electric or plumbing may need permits. Also if footers are required, typically to host some type of roofing structure, these will generally need to be permitted.
Most people know that pavers are very durable materials. However, you would probably be surprised to find just how durable they are. Pavers can routinely last up to 100 years. Additionally, repairing damaged pavers is a very easy and straightforward process.
The major differences between paver brands are color and shapes. Most expertise you need will come from your paver installer. Thus, the major considerations between brands are aesthetics and price. Start with the aesthetic you want and go from there. Feel free to ask for samples as well.
While it is possible to do a paver patio by yourself, it can be a frustrating project if you aren’t very experienced in landscaping. It is easy to miss a step or overlook something that will cause your new patio to not look right or to sink in places. Thus, unless you are very experienced, you will probably want to turn to a professional to ensure quality that will last.
Final Thoughts
Ultimately, paver patios are great additions that can enhance a home’s value while providing a great outdoor space. If you are in the market for a paver patio, talk with your local installer to begin assessing the process and whether a paver patio is right for your home.