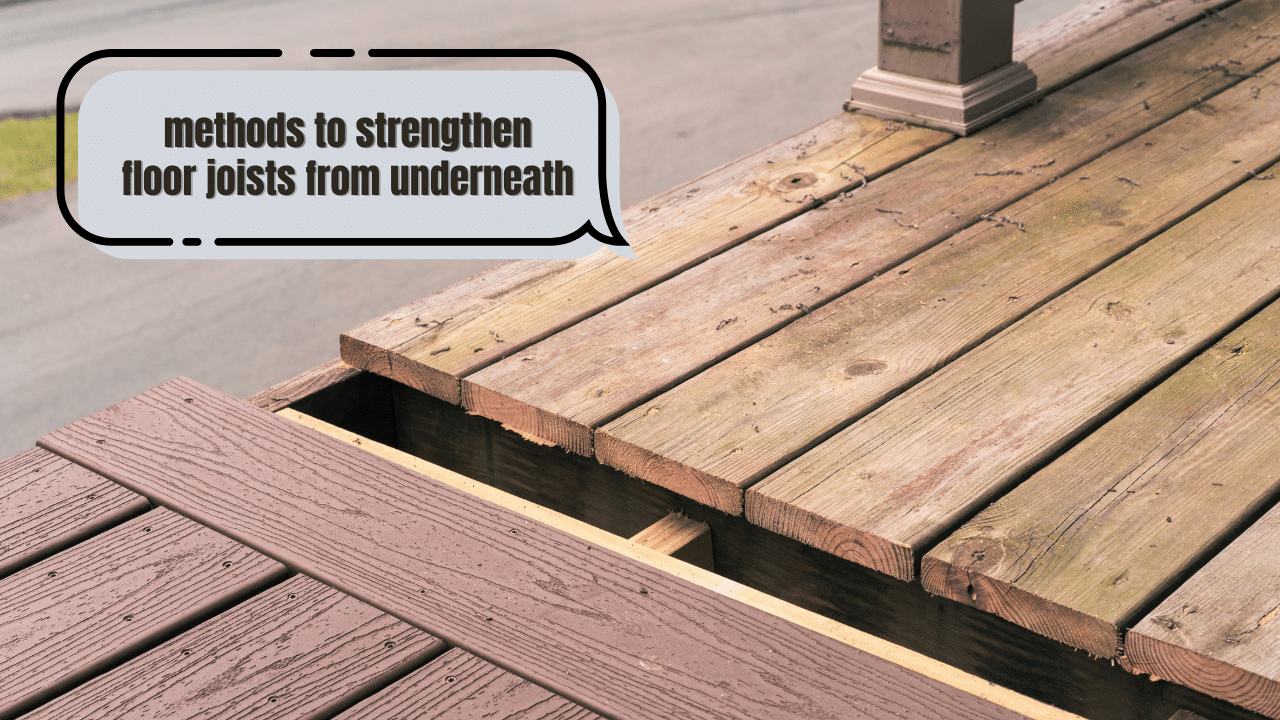
If fixing your bouncy floors has been on your to-do list for quite some time now, it might be time to strengthen the floor joists from below. There's nothing more bothersome than the constant wobbling– so it's best to act on it at once.
Fortunately, you have different methods to strengthen the floor joists underneath. Each of these may help you solve the "bouncy floor" problem.
Let's discuss all the different solutions you can consider without having to tear up your entire basement.
Gather the Right Tools
First off, you must gather all the necessary tools for this project. Here's a list for your reference.
5 Options to Strengthen Floor Joists From Underneath
As previously mentioned, there are different methods you can consider if you want to strengthen your floor joists to stop the bouncing.

Method 1: Use Plywood
To strengthen your joists with plywood, you will need to fasten a layer of ¾ inches of plywood to the joists' undersides. Doing so prevents the joists from bending side by side.
The critical task here is to sufficiently fasten the upper edges of the joists to the subfloor. If you're dealing with squeaky floors, chances are the subfloor is loosened from its joists. Hence, you will need to ensure the new plywood addition is bonded with the undersides of the joists– using multiple screws and adhesive (for construction use).
Start by sanding each joist's underside using coarse sandpaper, around two or three passes just enough to leave a clear surface for the construction adhesive.
Next, screw the plywood parallel to the joists. You can choose between CDX or BC plywood for this. Just ensure to use an adhesive that's designed for subfloor use.
Method 2: Blocking
Next, you can consider the "Blocking" method to reinforce your floor joists. It is often the most preferred method by many homeowners. It uses lumber (around the same size as the joists) to fit perpendicularly.
Upon installation, lay the blocking materials in a linear direction to ensure substantial support. In contrast, alternating it may enable you to nail the blocking into each side– but it will give you weaker support.
Method 3: Bridge the Floor Joists
Another method to strengthen the floor joists from below is Bridging– which uses lumber or plywood strips to connect a joist with the other immediately adjacent ones. When viewed from below, it's common to see this method as x-shaped connections.
This method enables the joists to share the weight. A portion of the force is distributed to the surrounding joists with every footstep. Not just one.
Although this third solution on strengthening floor joists won't ensure a 100% stiff floor, it is relatively affordable and easy. You can always give it a try and resort to other options if it doesn't work.
Method 4: Strengthen Floor Joists with Steel
Steel bridging is another solution to consider in reinforcing your sagging floor joists. Before bolting it in, this involves a steel plate that measures the same as your floor joists.
Some are nailless, with steel flitch plates sandwiched in between two joists. You can have them bolted together to ensure maximum strength.
To do this, have the plates run the entire joist length, so they are supported on both ends. Pre-cut holes help you bolt the plate in the joists quickly. Once you attach a flitch plate, this limits your chances of drilling through the joists for various plumbing or wiring purposes.
Steel is known to help strengthen the joist, but it falls behind the strength offered by other solutions, such as a sistered joist, which enables you to drill.
Method 5: Reinforce the Floor with Sistering Joists
Lastly, you can also opt to "sister" the floor joists, which require lumber (about the same size).
Start by removing any obstruction in the way and raise the joist to your desired height with a jack post. Then, apply adhesive to the old joist's surface. Attach the new joists and follow an x-pattern as you nail it in, preferably every 6 inches.
Sistering the joists allow for increased strength in your floor joists. Unlike steel bridging, it enables you to drill through for wiring or plumbing purposes.
Homeowners looking to add additional strength may opt to include another plywood layer along the l-beam on either side, from the bottom to the top. Work in an alternate pattern if you want to get the most strength.
This is ideal only for heavy items above, such as appliances or huge cabinets.
How to Inspect Bouncy Floors
Before making any big decisions, it's crucial to assess your floors to confirm that they have a severe bouncing problem.
Don't worry; the steps are relatively quick and easy to do. Here's how you can inspect your bouncy floors:
Note that there are different causes of sagging floor joists. The main beam may have insufficient support by the wooden posts below (as observed in older homes), or it may rot and get soft.
In that case, the wood's rigidity is lost, and they begin to sink. It will be noticeable and felt on the floor joists of these soft posts.
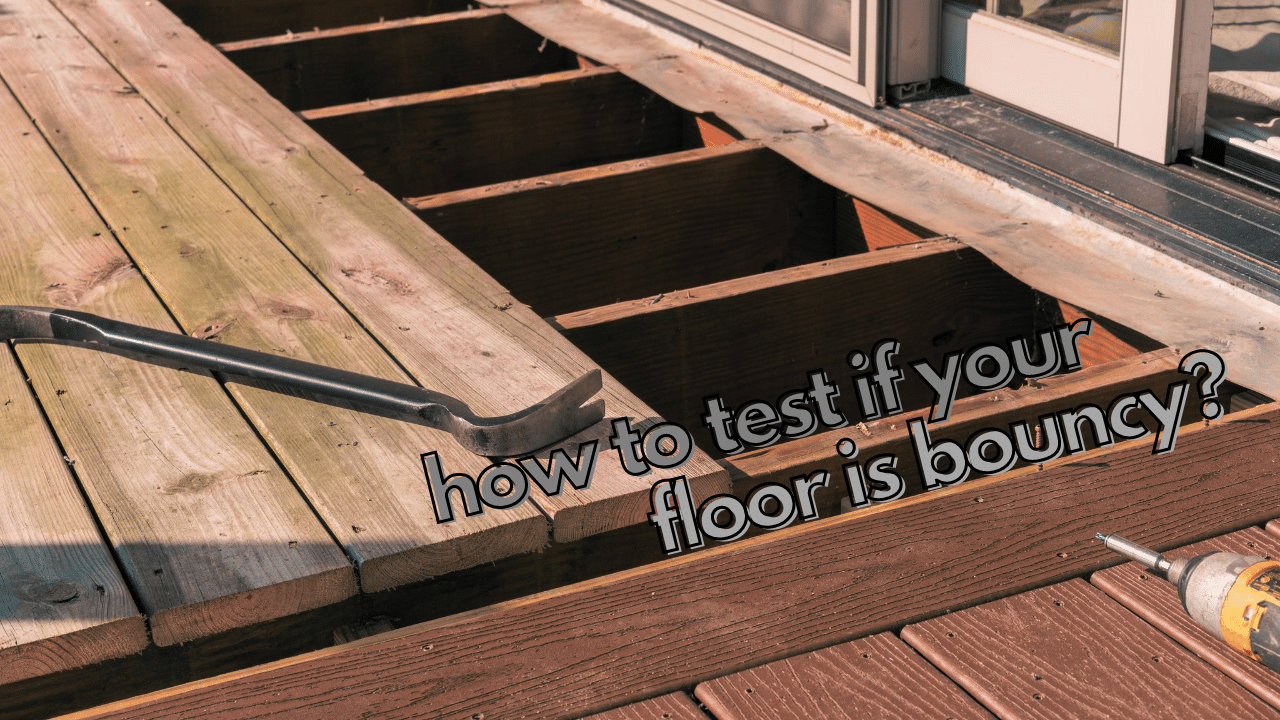
How to Test if You Have Bouncy Floors
Some floors will always have a slight bounce, which is okay. It is commonly observed in homes with kids jumping around or one or two adults doing Zumba exercises in the room.
Before you find a solution to strengthening the floor joists below, you may need to do a visual inspection to determine if your beams need one.

Here's how you can do it:
To solve the problem, you can consult your local building inspector to know about the correct sizing of the beam.
Final Thoughts
Bottom line, you may come to realize that reinforcing the floor joists can be a straightforward task that gives stability to your floors and removes any wobbling.
Fixing a bouncy floor is now easier than ever with five different methods to strengthen floor joists.
