
vinyl
$30,000 to $60,000
fiberglass
$25,000 to $80,000
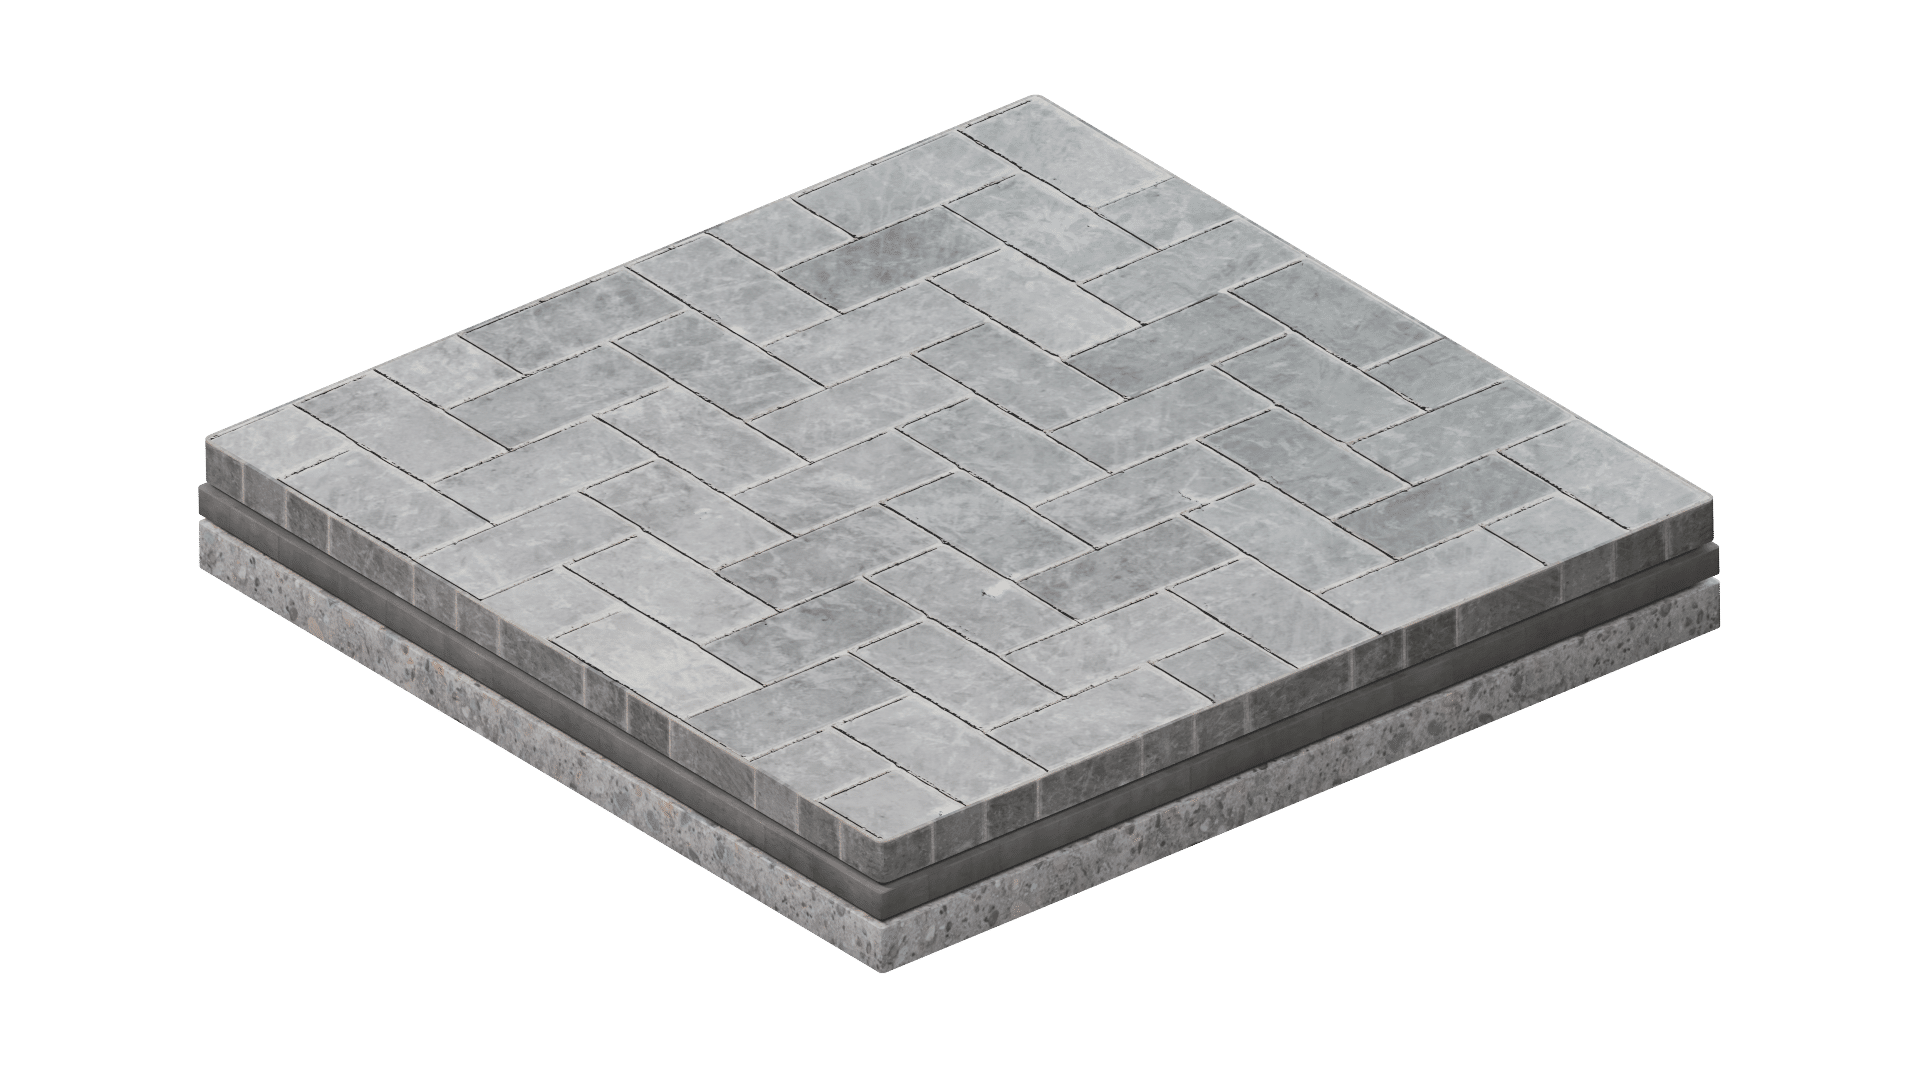
concrete
Up to $100,000
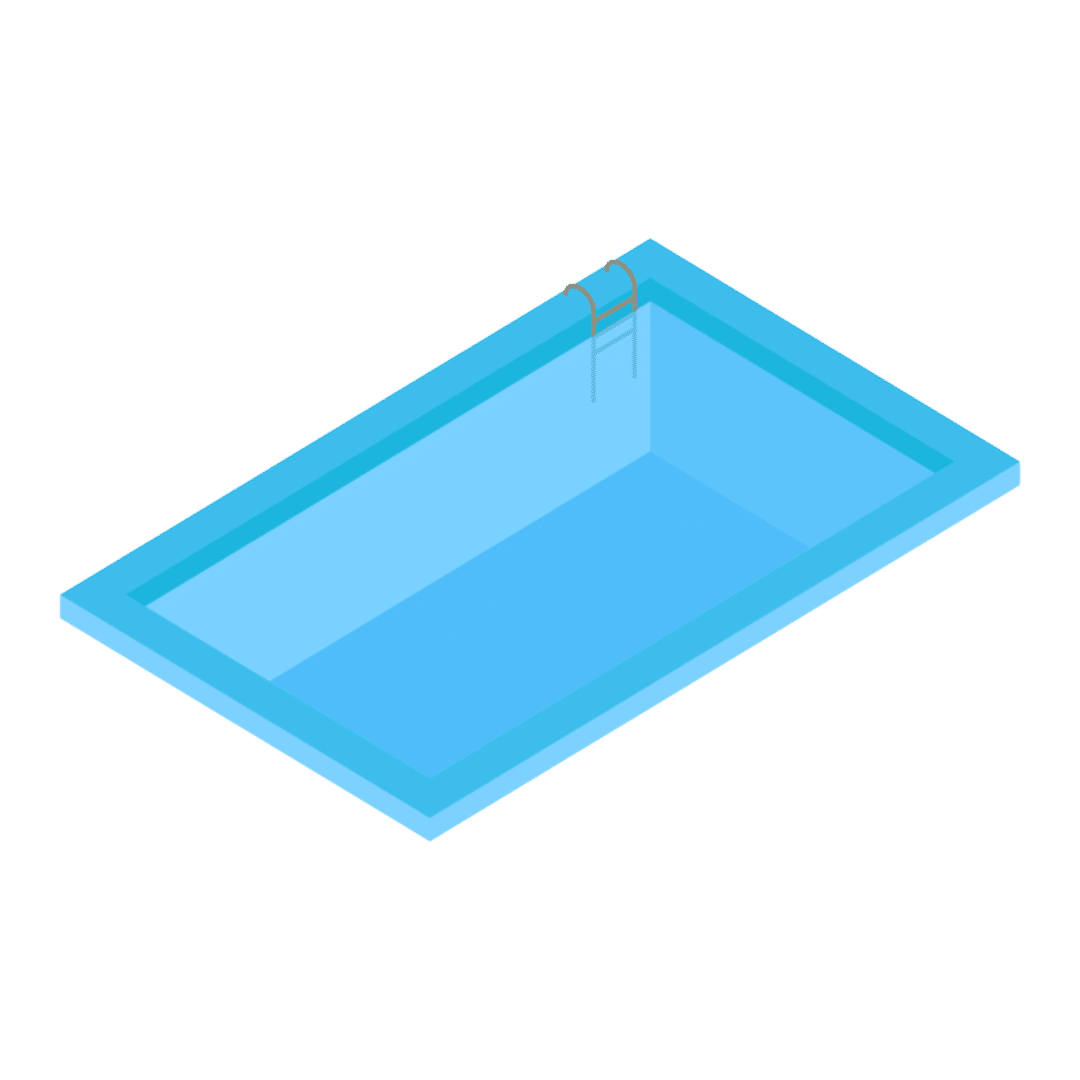
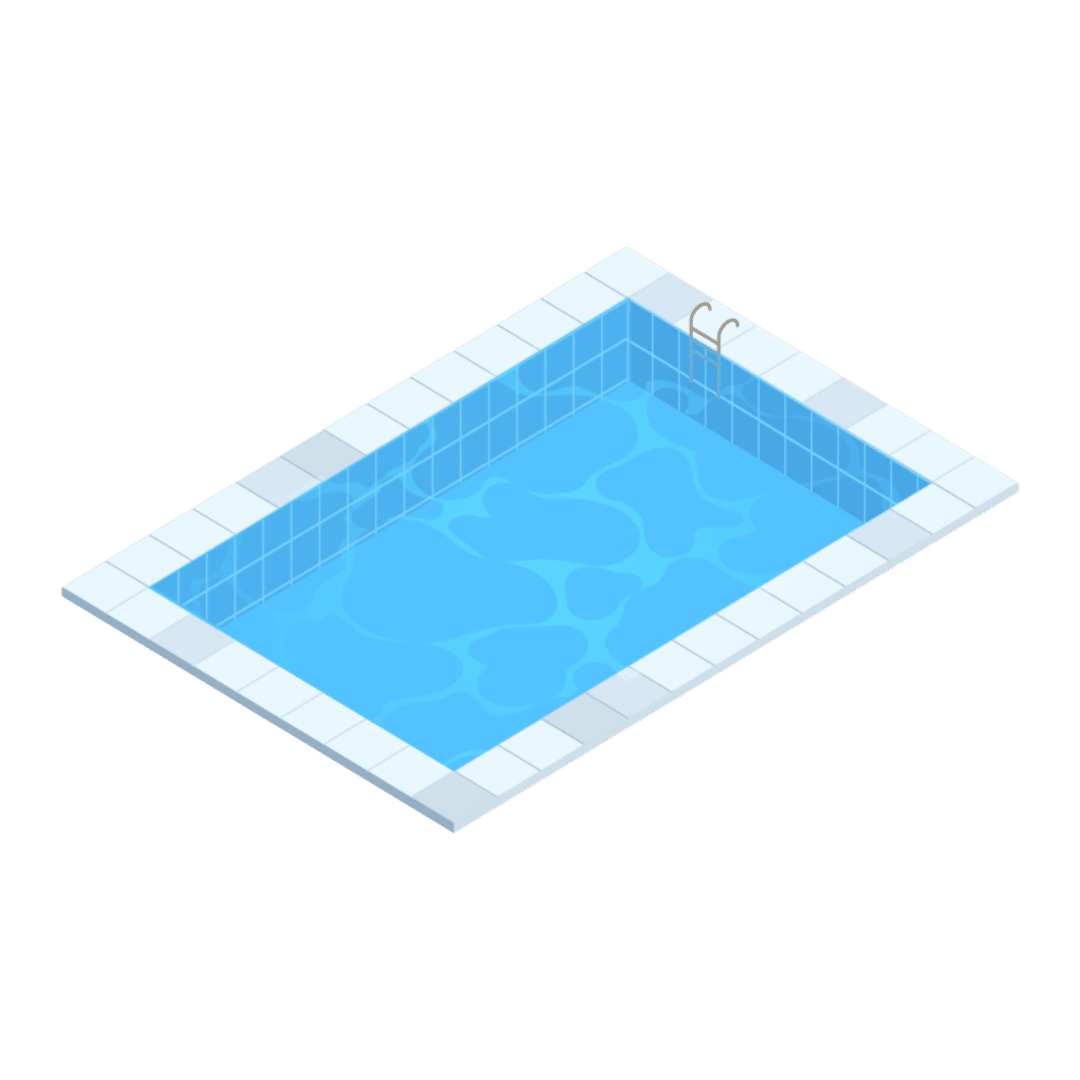
If you are planning to have an inground pool made for your home, you need to have a comprehensive understanding of the costs that comes along with owning one. Besides the installation costs, there are other expenses to take into account such as the pool maintenance costs.
An inground pool can be an excellent addition to your property. Not only does it add value to your home but it can also transform your backyard into your own private oasis.
On top of that, there’s an endless array of customization and design options to suit your needs and budget. But, nothing worth it comes easy as installing an inground pool can get lengthy and costly. So to make the process easier and economical, let this cost guide help you.

On the low side, inground pools typically cost around $25,000, and that is not inclusive of the expenses for lifetime ownership. On the high side, bigger and fancier designs can easily be priced in excess of $100,000.
Moreover, $1,000,000 pools are not far-fetched. Nonetheless, the costs will ultimately depend on your preferred size and design because inground pools offer limitless customization.
To help you get an estimate of how much it will cost you to own one, I have enumerated the basic installation costs, the costs variations according to your inground pool preference, and the lifetime cost of ownership according to each pool type.
Cost Comparison by Size

12 x 24 Inground Pool Cost
Over 12 feet wide and 24 feet long, a basic vinyl liner pool might cost between $25,000 and $35,000 (basics alone). Small fiberglass pools of this size typically cost between $40,000 and $45,000, depending on the features you need and the needs of your property.
Retaining walls, for example, will always increase the cost of your project by at least several thousand dollars, regardless of the style of pool they get placed with. Concrete pools of this size typically cost at least $40,000, but you’ll most likely end up paying closer to $50,000, if not more.
15 x 30 Inground Pool Cost
A 15 x 30 feet vinyl–lined swimming pool can cost as little as $30,000 and as much as $40,000 or more, depending on the variations you select. Basic packages for fiberglass pools of comparable dimensions might cost $45,000 or more. Concrete pools of this size can cost nearly more than $55,000 in materials.
16 x 32 Inground Pool Cost
A 16 x 32 vinyl liner pool often costs more than $45,000, even for the most basic bundles. It’s possible but doubtful that you’ll be able to locate lower costs. Vinyl liner pools are frequently the least expensive inground pools to install. However, all pool kinds have become more costly in 2021.
Please bear in mind that while the initial cost of a vinyl liner pool installation may be less than that of other pool types, the lifetime costs are much different. Every ten years, you can expect to spend approximately $12,000 to maintain a vinyl liner pool.
Fiberglass swimming pools with dimensions of approximately 16 x 32 will most likely cost more than $55,000 for the most basic bundles. Upgrades, optional add-ons, and any supplemental features will, of course, cost more.
20 x 40 Inground Pool Cost
A 20 x 40 feet inground pool is far from the largest swimming pool that can get built or installed. It is, nonetheless, a very common size for larger pools. Expect to pay at least $60,000 for a vinyl liner pool with these dimensions and possibly $70,000 or more, depending on how much customization and add–ons you choose for your pool project. Fencing, landscaping, water features, and other amenities may or may not get included.
Fiberglass pools of comparable dimensions (fiberglass pools usually cannot be wider than 16 feet) can cost at least $50,000 for the most basic bundles. A 20 x 40 concrete pool typically costs more than $100,000 to install. However, this might vary greatly depending on the type and scope of your project. Keep in mind that these are rough approximations.
Factors & Options that Drive Costs
There are a plethora of factors that drive the cost of an inground pool. Here, let’s discuss some major ones that influence the cost including the materials. I will also talk about the pros, cons, specific maintenance, and lifetime cost of each material. Let’s get started!
Site Prep and Excavation

The first factor that plays a role in the pricing is preparing the site. That involves various measurements and excavation. You will have to perform a soil test before commencing the procedure.
The rate of soil testing adds up to the cost. If the soil is less suitable for a swimming pool, this will drive up the cost. If you start excavating before testing the soil and later find out that the soil is unsuited for an inground pool, the impact on overall expenditure will be massive.
The soil condition affects the budget. If the soil is soft or reactive, then extra work will be needed. Similarly, if the soil has a high water content of the soil is rocky, preparing the site will be difficult. The additional chores shall drive up the expense.
Type
When it comes to inground pools, there are three basic types. They are vinyl liner pools, fiberglass pools, and concrete pools. Each of them has its respective pros, cons, unique features and price range.
An all-inclusive starting price for vinyl pools is about $30,000. Concrete pools are the most expensive ones which can easily cost as much as $100,000. So, the average cost of an inground pool is $65,000 dollars regardless of the material.
|
Pool Type |
Cost Range |
|---|---|
|
Vinyl |
$25,000 to $60,000 |
|
Fiberglass |
$40,000 to $80,000 |
|
Concrete |
$50,000 to $100,000+ |
The common price range of vinyl pools is $25,000 to $60,000 so the average is $45,000. This type of pool offers the lowest initial cost. Fiberglass pools cost a bit more, typically between $40,000 to $80,000 with the average standing at $52,500. Concrete pools are the most expensive as they average at $75,000.
Quite frankly — averages can be irrelevant. Read on to the ‘factors & options’ to get a better understanding of costs as they apply to your pool. Nonetheless, I will discuss each type separately below so that you have a better understanding of the basic pool types:
Vinyl
Vinyl pools are affordable and offer versatility for inground pools. They are more popularly termed as vinyl liner pools because the peripheral surface of the pool is lined with vinyl. The bottom surface is usually made of vermiculite or grout. Pieces of Steel or aluminum are used to make the walls that are supported from behind by concrete.
The wall pieces are joined together to build the shape of the pool. The vinyl liner is installed over the metal frame to give the pool its shape. The liner can be embossed to give you a soft and comfy feeling. Or it can be non-embossed and flat all the way through.
Vinyl pools are very affordable and widely available. You can customize and design the pool any way you want. There are endless options in terms of size, shape, and color for vinyl pools. Vinyl is flexible, so they don’t crack, unlike concrete pools. The initial cost of a vinyl liner pool depends on the size and a few other factors, but it is usually between $25,000 to $60,000.
When is it the best choice?
If you don’t mind spending a bit more money over time, then you can go for vinyl liner pools. These types of pools have a lot to offer. You will get tons of freedom over the shape of the pool. Vinyl is flexible, so it goes with any shape. The design option is also vast.
As the initial cost is reasonable, you can opt for a vinyl pool if you are running low on funds.
Lifetime Cost of Ownership
A vinyl liner usually lasts about 10 years. Periodic maintenance adds up to the total cost. Unlike concrete pools, acid wash or re–plastering isn’t necessary for vinyl pools. The necessary maintenance includes replacement of the liner every 10 years which is roughly $4,500.
The electricity charge is more or less $300 a year that makes $3,000 every 10 years. Chemical cost is about $400 per year, making it $4,000 after 10 years. So, the lifetime cost of owning a vinyl pool sums up to $11,500. The figure is tentative and might vary slightly.
Specific Maintenance Requirements
Proper maintenance is the key to the longevity of vinyl pools. There are some key requirements for the maintenance of such pools.
They are as follows:
- Always keep your vinyl pool clean. It will prevent algae growth.
- Don’t allow waterline build–up.
- Keep the chlorine level between 1.5 to 2.5 ppm.
- Cover your pool when not using it.
- Do not bring sharp instruments near the pool.
- Don’t empty the pool. Doing so can cause shrinkage and a change in shape.
- Chemical balance is crucial for vinyl pools. pH levels between 7.2 to 7.6 will allow the chlorine to work effectively.
Pros and Cons
Pros
- Relatively affordable
- Shorter construction time
- Easily Customizable
- The smooth surface offers a pleasant walking experience
Cons
- Less durable than the other options
- Higher lifetime cost
- Foster algae easily
- Low resale value
- Vinyl liner needs to be replaced every 6 to 10 years
- Prone to staining if debris is left for a long time in the pool

Fiberglass
Fiberglass pools are premade. They are like readymade bathtubs, just bigger in size and exotic in shapes. The pool shell is premade in the factory. After excavation and site preparation is complete, the fiberglass pool is carried to the pool site by trailer trucks and placed on the excavated site via crane.
As fiberglass pools are premade, there is less freedom to choose shapes and sizes. Yes, there are options, but if the one you’re looking for is not available, then you might have to settle for another shape or custom order your desired shape. This will be slightly more expensive.
The cost of a fiberglass pool is between $25,000 to $45,000. However, vendors offer various installation packages. The price can vary depending on the package. You can buy the pool and do the complete installation by yourself. This will cost you only the price of the pool.
The turnkey package, in which the vendors completely take over the project, can cost up to $80,000. Most homeowners settle for somewhere in the middle, to balance both the price and convenience.
When is it the best choice?
A fiberglass pool is a great choice if you don’t mind paying a bit more upfront for a low–maintenance pool. The low lifetime ownership cost will compensate for the extra initial expenses. Fiberglass pools are very durable, so you won’t have to worry about damage.
In addition, it’s the best choice if you are dreading that long construction and installation process of getting an inground pool.
Lifetime Cost of Ownership
Fiberglass pools are the clear winners of lifetime ownership costs. The only expenses are electricity bills for the pump, heater, and filters, and chemical cost. Chemical cost is around $150 per year and electricity bill is $200 per year. For a period of 10 years, you will only have to spend $3,500.
Specific Maintenance Requirements
Fiberglass pools require little maintenance. Not only that but also the necessary maintenance is easy to do. Here are some maintenance tips for your fiberglass pool:
- Always keep the pool clean from dirt, debris, leaves, etc.
- Keep the water level above skimmers all the time.
- Use a soft bristle brush to clean your pool. Avoid harsh cleaning agents.
- Complete one circulation per day with the pool filter. Fiberglass pools do not need more than that.
- You don’t have to worry about the chemical levels because the surface doesn’t affect the chemistry of the water.
- Algae is rare in fiberglass pools. If algae grows in your pool, shock the pool. The pool will be ready to use within 24 hours.
Pros and Cons
Pros
- Very durable
- Requires very low maintenance
- Resistant to algae growth
- Compatible with saltwater systems
- Fastest installation than any other pool type
- The surface is smooth yet non-slippery
- Lowest cost of lifetime ownership among the three types
Cons
- Limitation in designs
- DIY installation can be difficult
- More initial cost
- Not suitable for small properties
- Limitation in shapes and size
Concrete
Concrete pools are the best among the three types. But excellence also comes with a price tag. The starting price of a concrete pool is $50,000 and can go up to $100,000. Not only the initial price, but the lifetime expense is also higher which we will get into later.
Concrete pools are entirely made of concrete over a rebar grid. This gives the pool structure enough tensile strength. Then the entire pool is waterproofed using any type of waterproofing membrane. You can just plaster the whole surface after that, which is the cheapest option. Or you can install pebble tec or tiles for a better aesthetic.
When is it the best choice?
Concrete pools look pretty amazing if properly decorated. They are durable and last a lifetime, but that’s just it. The cost of concrete pool construction is ridiculously high. It also takes a long time to finish. Maintenance has to be a top priority here.
So, if money is not a problem for you, you prefer aesthetics over expenses and you have enough manpower for frequent maintenance, concrete pools are for you. Or else, stick to vinyl or fiberglass pools.
Lifetime Cost of Ownership
The lifetime ownership cost of concrete pools is more than those of vinyl and fiberglass pools. Concrete pools use more chemicals and electricity. The annual cost of chemicals and electricity is $750 and $400 respectively. Acid washing every 5 years will cost $450.
Pool cleaning is $500 every year. You have to resurface the pool every 10 years which is $10,000. So, the cost of ownership for every 10 years is $27,400.
Specific Maintenance Requirements
Concrete pools require more maintenance than others. Or they can turn unusable pretty quickly. Here are the maintenance requirements for concrete pools:
- Resurface the pool shell once every 8 to 10 years
- Acid wash after every 5 years.
- Brush the walls, then vacuum the pool weekly.
- Run the filtration for 8 hours a day.
- Clean the skimmer basket every week.
- Keep the calcium hardness between 200 to 250 ppm.
- Concrete pools easily harbor algae so add algaecide every week. Check manufacturers’ instructions for the right amount.
- Water chemistry is very important for concrete pools. Maintain a pH of 7.2 to 7.6. Never let the pH go below 7.2 because acidic water will eat away the concrete.
Pros and Cons
Pros
- Long-lasting
- Highly customizable
- Any shape is possible
- Aesthetically pleasing
- Extremely durable
Cons
- Very expensive
- Fosters algae
- Requires intensive maintenance
- Incompatible with saltwater
- Time-consuming and laborious process
- Alters the chemical balance of the pool
- Both initial and lifetime cost is extremely high
Size
The size directly impacts the cost and it’s a no–brainer. If the size is big, the cost of excavation, plumbing, electrical wiring will increase. Also, more pool construction material will be needed which will skyrocket the cost.
Heater
For cold climates, a pool heater is a must. The type of pool heater will determine the price. The most common types of pool heaters are solar heaters, gas heaters, and electric heat pumps.
Let’s take a look at their pricing:
Solar
A solar pool heater unit costs between $2,000 to $7,500. The price varies depending on the capacity and brand of the heater. The installation charge is $500 to $2,000. The overall cost is $2,500 to $9,500.
Electric Heat Pump
Electric heat pumps operate on electricity. Per unit pool heat pump costs around 2,000 to $6,500. The labor charge for installation is $500 to $1,000. The total cost is $2,500 to $7,500.
Gas
Gas pool heaters are the most affordable ones and price between $1,000 to $4,500. The installation charge is also low which is $500 to $1,500. The total cost is $1,500 to $6,000.
Pro tip: Gas pool heaters may be the most affordable option but don’t let this low-cost fool you as gas costs are incurred to heat it.
As you can see, solar pool heaters are the most expensive, and gas pool heaters are the cheapest. Which one you should choose depends on specific factors, but it’s needless to say that whatever you choose shall influence the cost of your inground pool.
Pool Pump & Equipment
The pool pump is the principal equipment of any swimming pool. It circulates the water to make sure the water does not stagnate and the chemicals are equally dispersed. That said, the average cost of a pool pump ranges between $700 to $1,400.

There are different types of pool pumps such as low-head pumps, medium–head pumps, single speed, dual speed, high–head pumps, etc. The low-head pumps are the cheapest and cost $120 to $600. The high–head pumps are needed for complex pools and their price is $800 to $1,400.
A pool filter strains the pool water constantly and keeps the water clean and free from any debris. Like any other electrical equipment, there are various types of pool filters. For example, Pocket, Cartridge, Sand, Glass, Diatomaceous Earth, etc.
The capacity to filter the smallest particles determines the price. Sand filter filtration range is between 20 to 100 microns, which is higher than any other type. Hence, they are the cheapest ones starting from only $200. Diatomaceous earth can filter particles as low as 3 microns. Their price is $500 to $1,600.
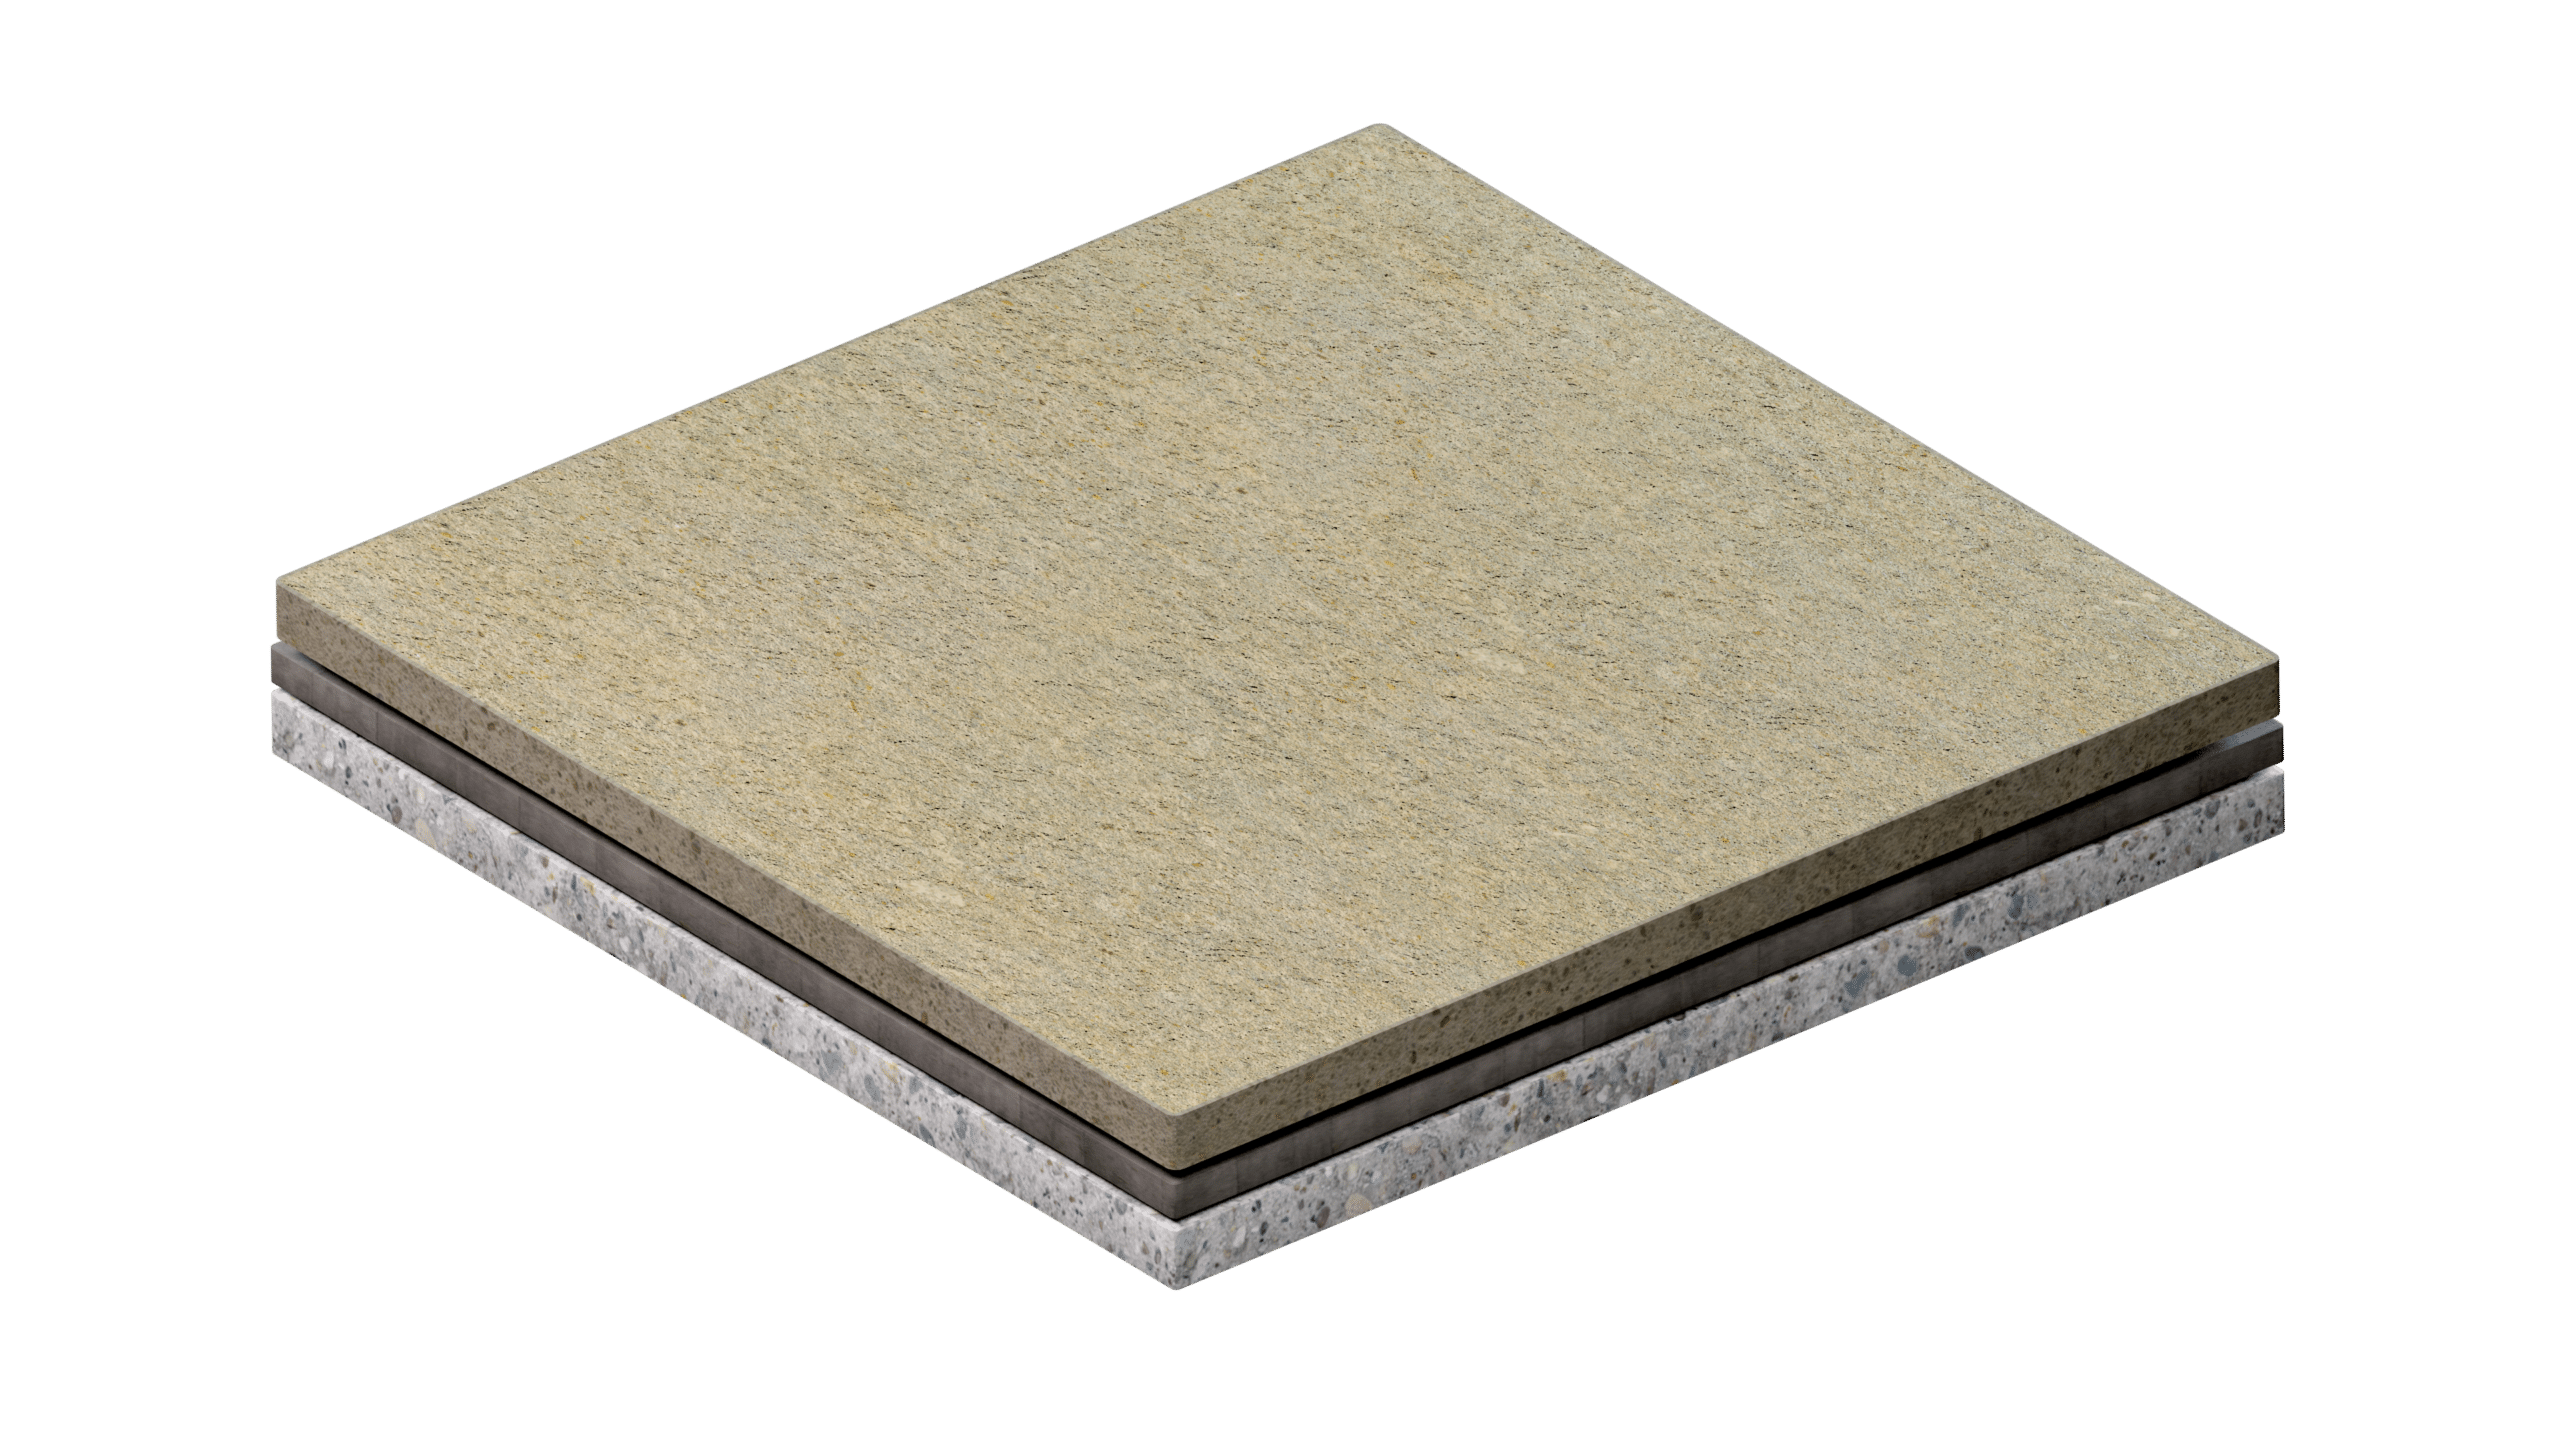
Pool Deck
The pool deck is the adjacent area to your pool. Its decorations more or less determine the view of the pool. You can use a variety of materials from pavers to concrete. The material you use shall determine both the price and aesthetic. Here are some common deck materials for your pool:
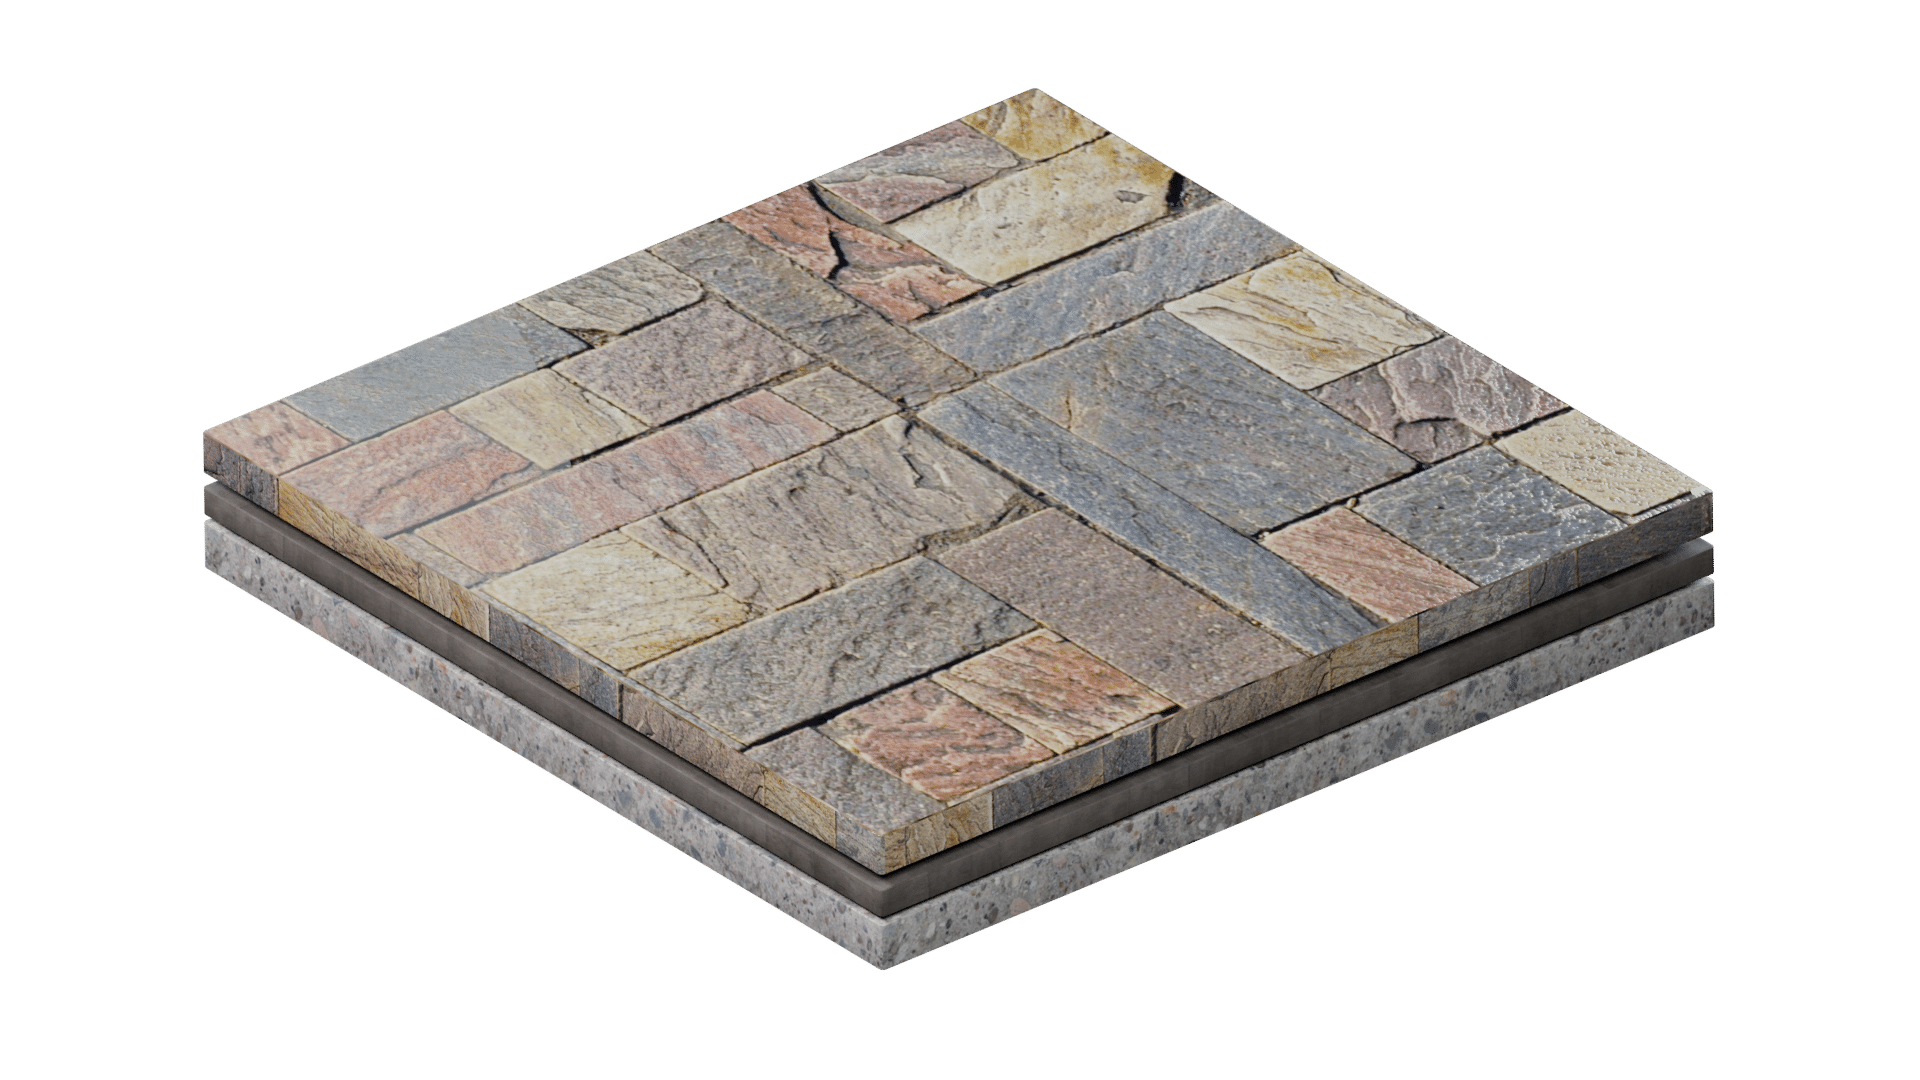
Stamped Concrete
Stamped concrete is a very common option for pool decks. After pouring soft concrete on the deck, the builder stamps the soft concrete to give it a look like brick, stone, or any other material. The price of stamped concrete is between $12 to $20 per square foot.
Textured Concrete (Spraycrete)
Textured concrete is the same as stamped concrete, just a bit messy. After pouring the concrete, the joints are created using a hand or concrete saw, resulting in a rough-looking pattern. The cost is a little bit less than stamped concrete at $10 to $18 per square foot.
Pavers
Pavers are more expensive than the other two options as the pool will still require a concrete footing, and then the pavers must be cut around the end of the pool. Materials aside, labor is more intensive than the two aforementioned options, and labor is commonly the most expensive factor in any home improvement service. Expect to pay $15 to $25 per sq. ft. for a paver deck.
Fencing
Pool fencing is mandated by the law in every region around the world. Installation of a pool fence will come at your own expense, however there may be some exceptions for properties that already have a perimeter fence, are a certain distance from property lines, or are built on a raised surface.

The most common type of pool fence is aluminum picket. This is the lowest cost option that is resilient to the elements and will look great for a long time. Expect a cost of $15 to $25 per linear foot. Other options include tempered glass fence on the high (but beautiful side) with pricing from $8,000 to $20,000.
Alternatively, particularly if you are in Florida, a screen enclosure may serve as a code compliant fence.
The latch height of all fencing options will be specified by local building codes, with requirements of at 36” to 54” above the finished floor. As long as the pool is permitted and inspected (it should be) this will be checked and will be your contractors’ responsibility. (Related article: Fencing Options and Cost Guide)
Overhead
The overhead costs include permit fees, equipment rental, dirt hauling, and disposal costs, etc. I will briefly discuss the following:
- Permit. The permit fee varies from state to state but it is always below $300. The usual range is $200 to $300.
- Equipment rental. If you hire a contractor, then you won’t have to worry about equipment rental. But otherwise, you’ll have to rent a concrete mixer, excavator, crane, etc. The total renting cost of all the necessary equipment is usually $2,500 to $3,000.
- Disposal. Excavation and dirt disposal cost $8 to $25 per cubic yard. So, for a standard 12 x 24 feet inground pool, the dirt-digging and disposal cost will be $256 to $800. This may increase if you live in a remote location and the operator needs to drive far for disposal.
12 x 24 Inground Pool Cost Breakdown
The average cost for a 12 x 24 inground pool can be anywhere between $25,000 to $90,000. This is just the basic price; the overall price may increase depending on the level of customization.
So the price is $100 to $300 per square foot. A 12 x 24 vinyl pool cost is between $25,000 to $62,000. For fiberglass pools, the price is $42,000 to $80,000. Concrete pools are the most expensive of them all. The price range is $50,000 to $90,000.
The pool material price is fairly cheap. For example, a 12 x 24 feet inground vinyl pool liner costs between $1,000 to $1,500. So, you might wonder why the overall cost is so much. So here is a cost breakdown of a 12 x 24 inground pool.

Note that I have included the fundamentals here. So costs of things like landscaping your pool, installing fancy decks, or pool lights don’t include here.
- Permit. Inground pools are considered permanent structures by the urban authority. So, you will need to obtain a permit by paying a specific fee. The fee varies but it is usually $200 to $300.
- Equipment rental. The renting price of necessary equipment such as excavator, crane, etc. also adds up to the total price. You will have to spend between $2,500 to $3,000 on rental.
- Excavation. No matter what type of pool you want, an inground pool requires excavation. The cost of excavation is $500 to $3,500. This price variation depends upon a few factors. If the soil condition is tough and the excavation process faces difficulty, the price can go higher. Dirt hauling also impacts the cost. If you live in a distant locality, you will end up paying more.
- Blasting rocks. As I have mentioned earlier, rocky soil will drive up the price because the contractors need to undertake additional measures to go through the rocks. They need to use explosives to blast through the rocky soil. The cost is $500 to $7,000.
- Installing pool equipment. You can install a variety of equipment in your pool and the price shall vary accordingly. But the basic equipment is a pool pump, a filter, and a pool heater. This will cost you about $5,000 to $7,000.
- Installing pool materials. Installation cost of pool materials depends on the type. Vinyl installation is the cheapest whereas concrete installation is the priciest. Fiberglass pools sit on a bed of concrete so their price is somewhere in the middle. The material installation cost is between $5,000 to $20,000.
- Finishing. Finishing is mandatory for any type of pool. Otherwise, they won’t be usable. The finishing can be smoothening of the concrete surface, step installation, etc. Pool finishing cost is about $5,000 to $25,000.
Planning for an Inground Pool
Building an inground pool is a lot of work. So you’ll have to be meticulous in your approach. In this section, I will try to guide you on planning for an inground pool. Let’s go!
Estimate the Overall Cost
It’s always better to estimate the overall cost for any project. I have mentioned every type of expense you’ll have to bear throughout the entire process. So get a piece of paper and write down everything you will need.
The pool type, shape, material, additional decoration all will play a role in the cost. The renting cost for the excavator, crane, labor charge, permit fee, etc., all of these also add to the cost. Contact your contractor and suppliers, write down the price of everything and figure out the approximate expense beforehand.
Plan the Timeline
Building a pool takes about 12 weeks. You should be aware of the breakdown of the timeline so that you know when to expect what. Designing takes 1 to 4 weeks. Obtaining permission from the local authorities might take 2 to 6 weeks. Excavation, installing plumbing and electrical equipment requires 2 to 3 weeks.
Lastly, installing the pool takes 1 to 3 weeks depending on the type of pool. Additional finishing and decoration 3 weeks more. Keep this entire timeline in knowledge so that the contractors or any associated parties can’t stall you.
Check the Wires Running over your Backyard
If there are electrical or other utility wires running over your backyard, you won’t get the permit to build a pool for safety reasons. During the time of storm or turbulent wind, the wire might get detached from the utility pool and fall directly into the pool, resulting in electrocution.
In such circumstances, you will have to reroute the wire or relocate the location of your pool at your own expense.
Check for Underground Utility Lines
Utility lines also run underground. In fact, most utility cables run underground these days for the aesthetic purpose of the city. Checking what’s underneath the ground isn’t as easy as checking above. I suggest you contact the department of city planner to check if there is any sensitive structure below your property.
Not every underground structure will be on the planning papers so you should also talk to them in person.
Make sure there is no High-water Table
A high-water table is an issue for inground pools. If there is a high water table near the supposed pool structure, pool installation can be difficult because when you excavate deep enough, water will ooze in the excavation site from the walls.
You can still build the pool, but there will be lots of difficulties. So, make sure the pool is at least 100 feet away from any nearby source of water such as a pond, lake, etc. This will ensure that the water table is low enough to build the pool conveniently.
Find the setback requirement
The setback requirement is not constant across regions. It is the space that you must maintain between the edges of the pool and the boundary of your property. This is important because the setback requirement shall determine the size of your pool.
You cannot choose any size you want for the pool if it exceeds the setback requirement. Contact local authorities for more information on this.
Check if you are located in any Special Locale
Special locales such as wildlife protection zones, historical areas, or properties sometimes have different requirements for building permanent structures. The permission obtaining procedure, or the fees, the setback requirement, etc. might vary in such regions.
If your property is in this kind of region, you should already know that. If you are unsure, contact your city’s historic preservation department and wildlife department.
The Pool Building Process
Whether you are considering a DIY pool installation or hiring professionals to build your inground pool, it is important to know what goes on into the process of installing one.
Here is a step-by-step breakdown of the pool building process:
step 1 
Obtaining Permission
The first and foremost step is obtaining permission. The process is usually very easy unless there is any restriction in your area or particularly in your property. If there is an above ground or underground utility line, or your property is considered a special zone, then the process might take longer.
step 2 
Excavation
Despite the pool type, excavation is a must for inground pools. You can rent an excavator yourself to do the work. Or you can hire a contractor to do all the heavy lifting. You should also plan ahead on what you will do with all the dirt and soil.
If there is enough space on your property, then you can put them on one side. If not, then you will have to haul the dirt away. This will require additional manpower and equipment.
step 3 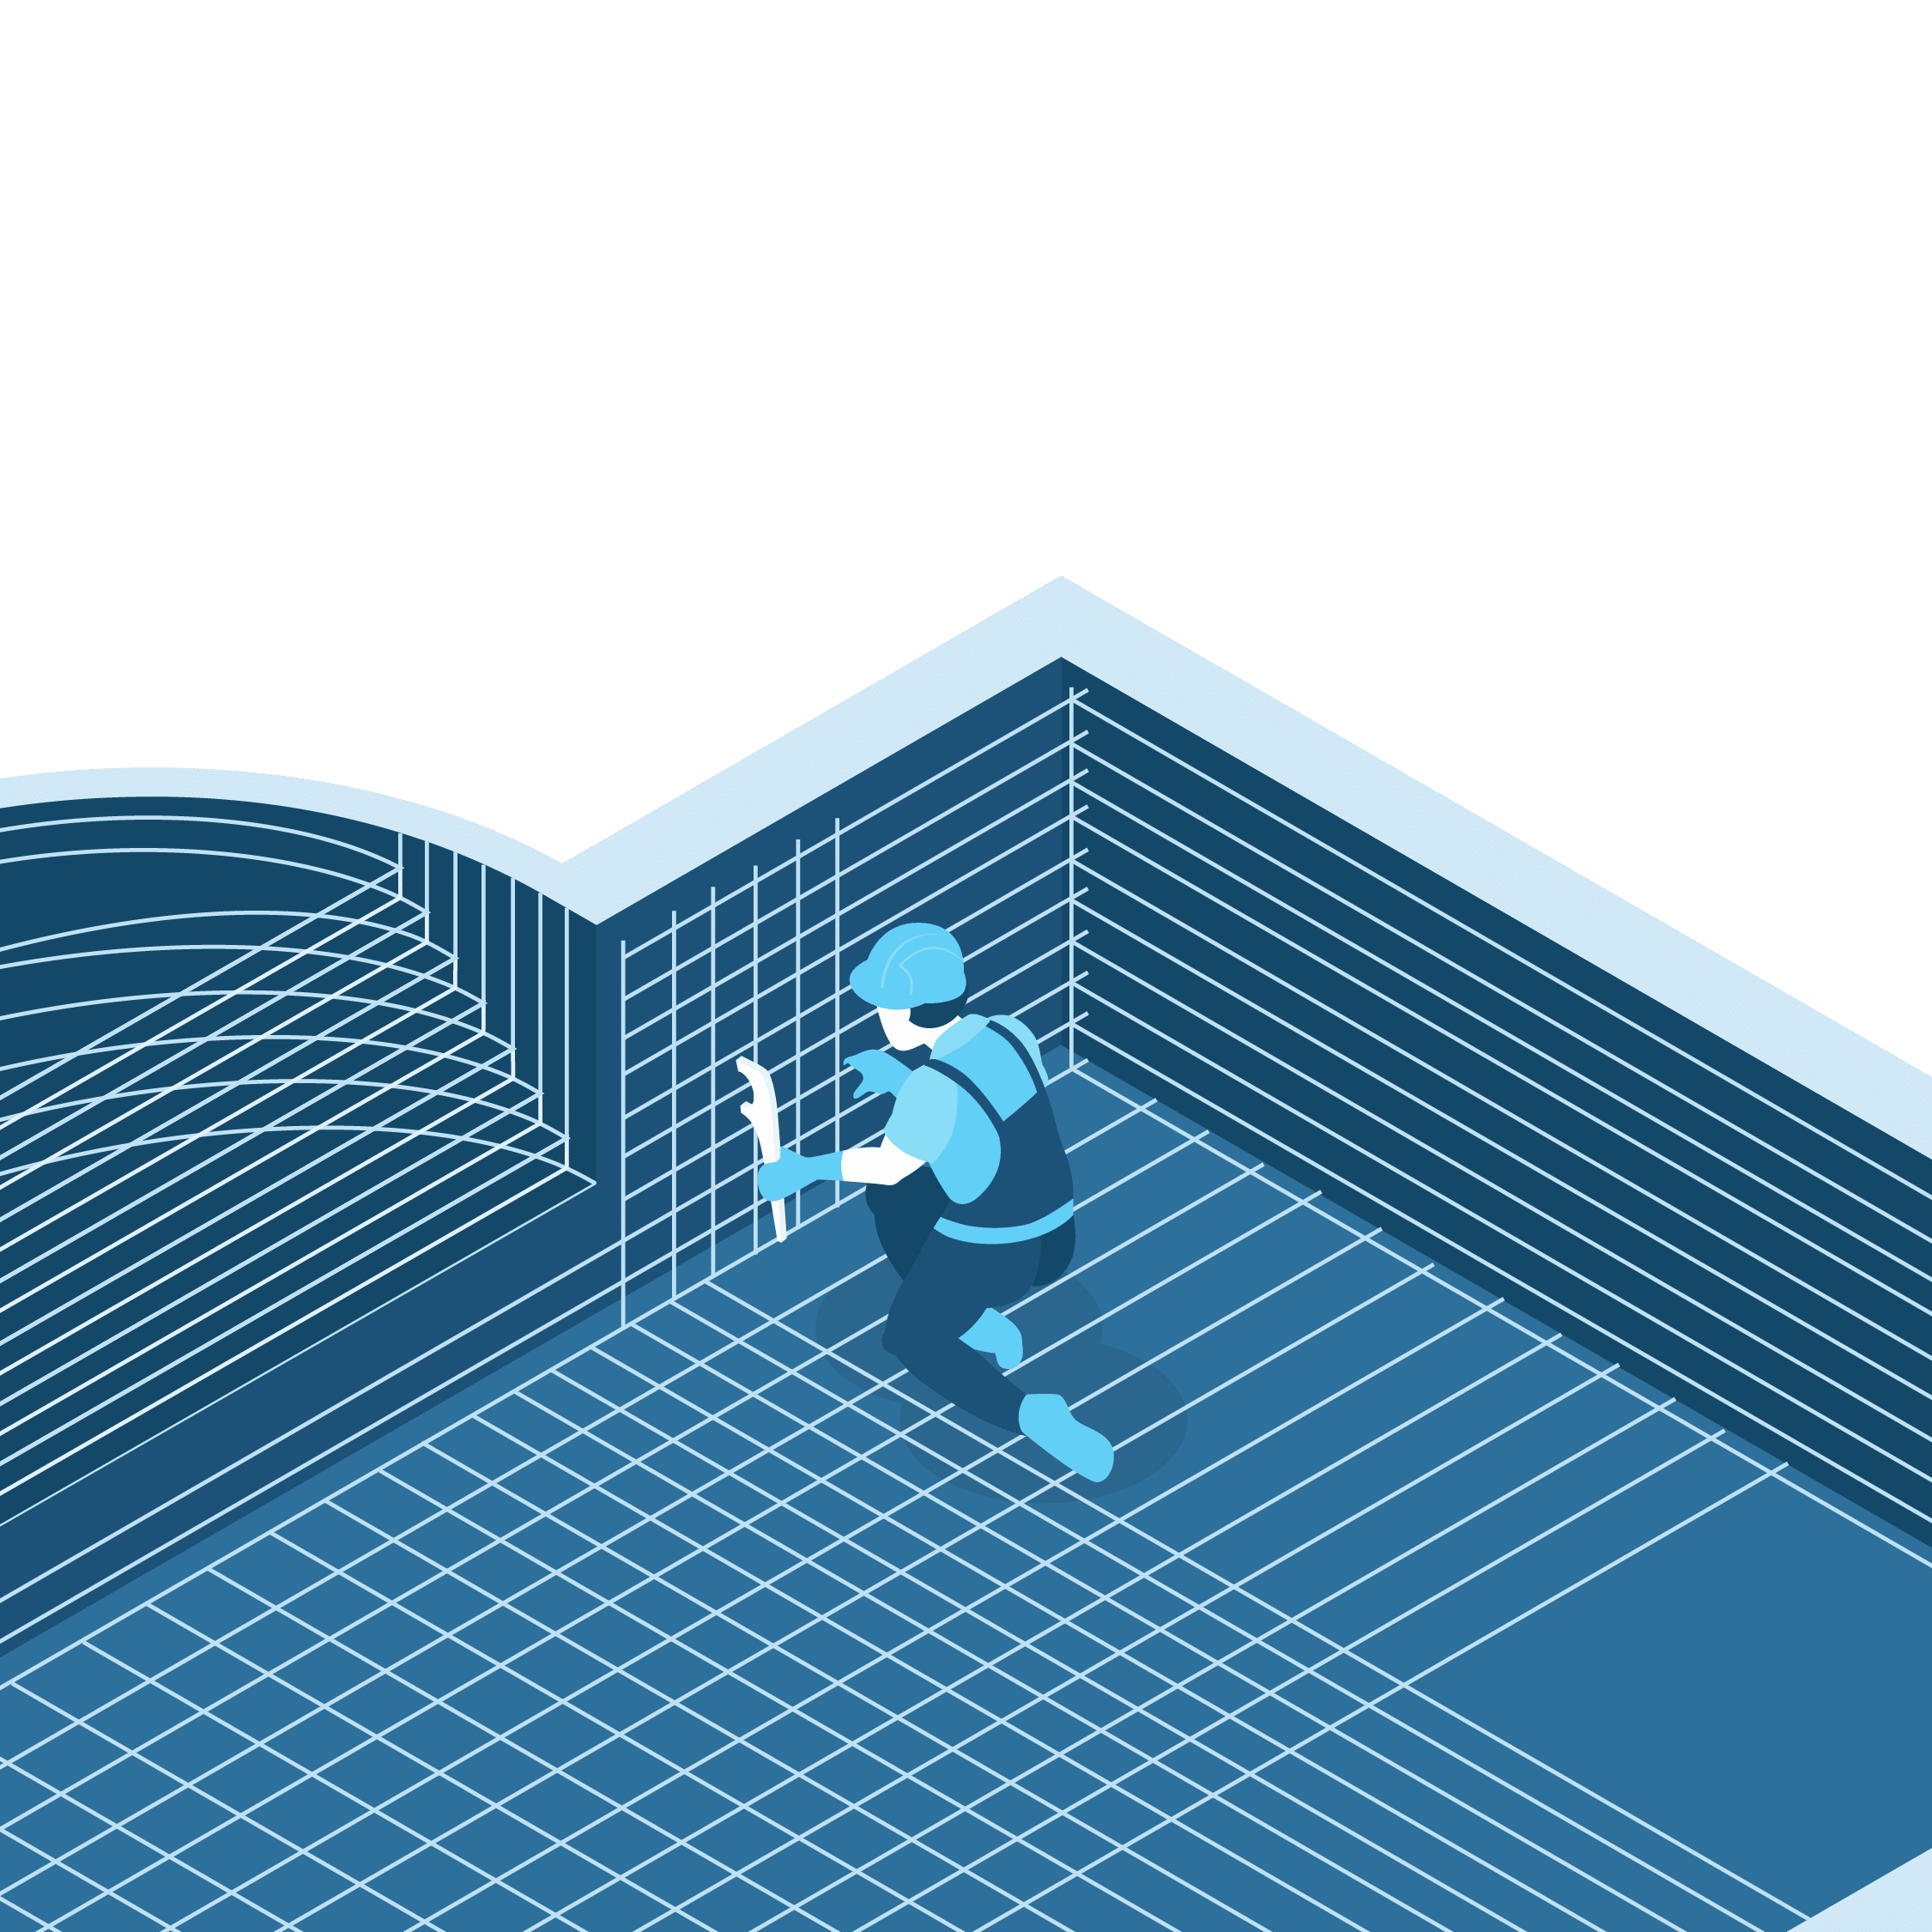
Construction of the Main Pool Structure
Pool base construction is the main part of the pool building process. Because no matter the pool type, every other step of the process is the same such as excavation, installing plumbing, etc. But construction of the base differs for three different pool types. Let’s take a look at them:
1. Vinyl Pool
In vinyl pools, the vinyl liner is applied after the construction of the base and the floor. The walls of a vinyl pool are constructed using blocks of steel or aluminum. The floor is made by using a premix vermiculite pool floor or a mixture of cement and vermiculite. After that, the vinyl liner is applied to the walls and floor.
2. Concrete Inground Pools
After excavation for concrete pools, you will have to make a rebar grid. The term “rebar” is very common in construction which is the abbreviation for the reinforced bar. It is made by placing steel rods across each other to make a mesh-like structure. This gives the pool floor and wall extra strength.
Then a mix of concrete is sprayed on the walls and the floor through a hose. This process is sometimes called shotcrete. After the concrete is set, the pool is waterproofed and surfaced using any material of your choice. Coping is also important for concrete pools which are integrating the edges of the pool into the deck or patio.
3. Fiberglass Pools
Fiberglass pools require the least labor to install. After excavation, usually, a sump system is built on the floor. Then a stone bed is prepared before placing the fiberglass pool in the excavation site. After setting the pool in the excavation site, the pool hole is backfilled using sand or gravel.
After adding about 6 inches of gravel, an equal height of the water is poured into the pool. This process is to maintain equal pressure on both inside and outside of the pool wall and lock the pool to the ground.
step 4 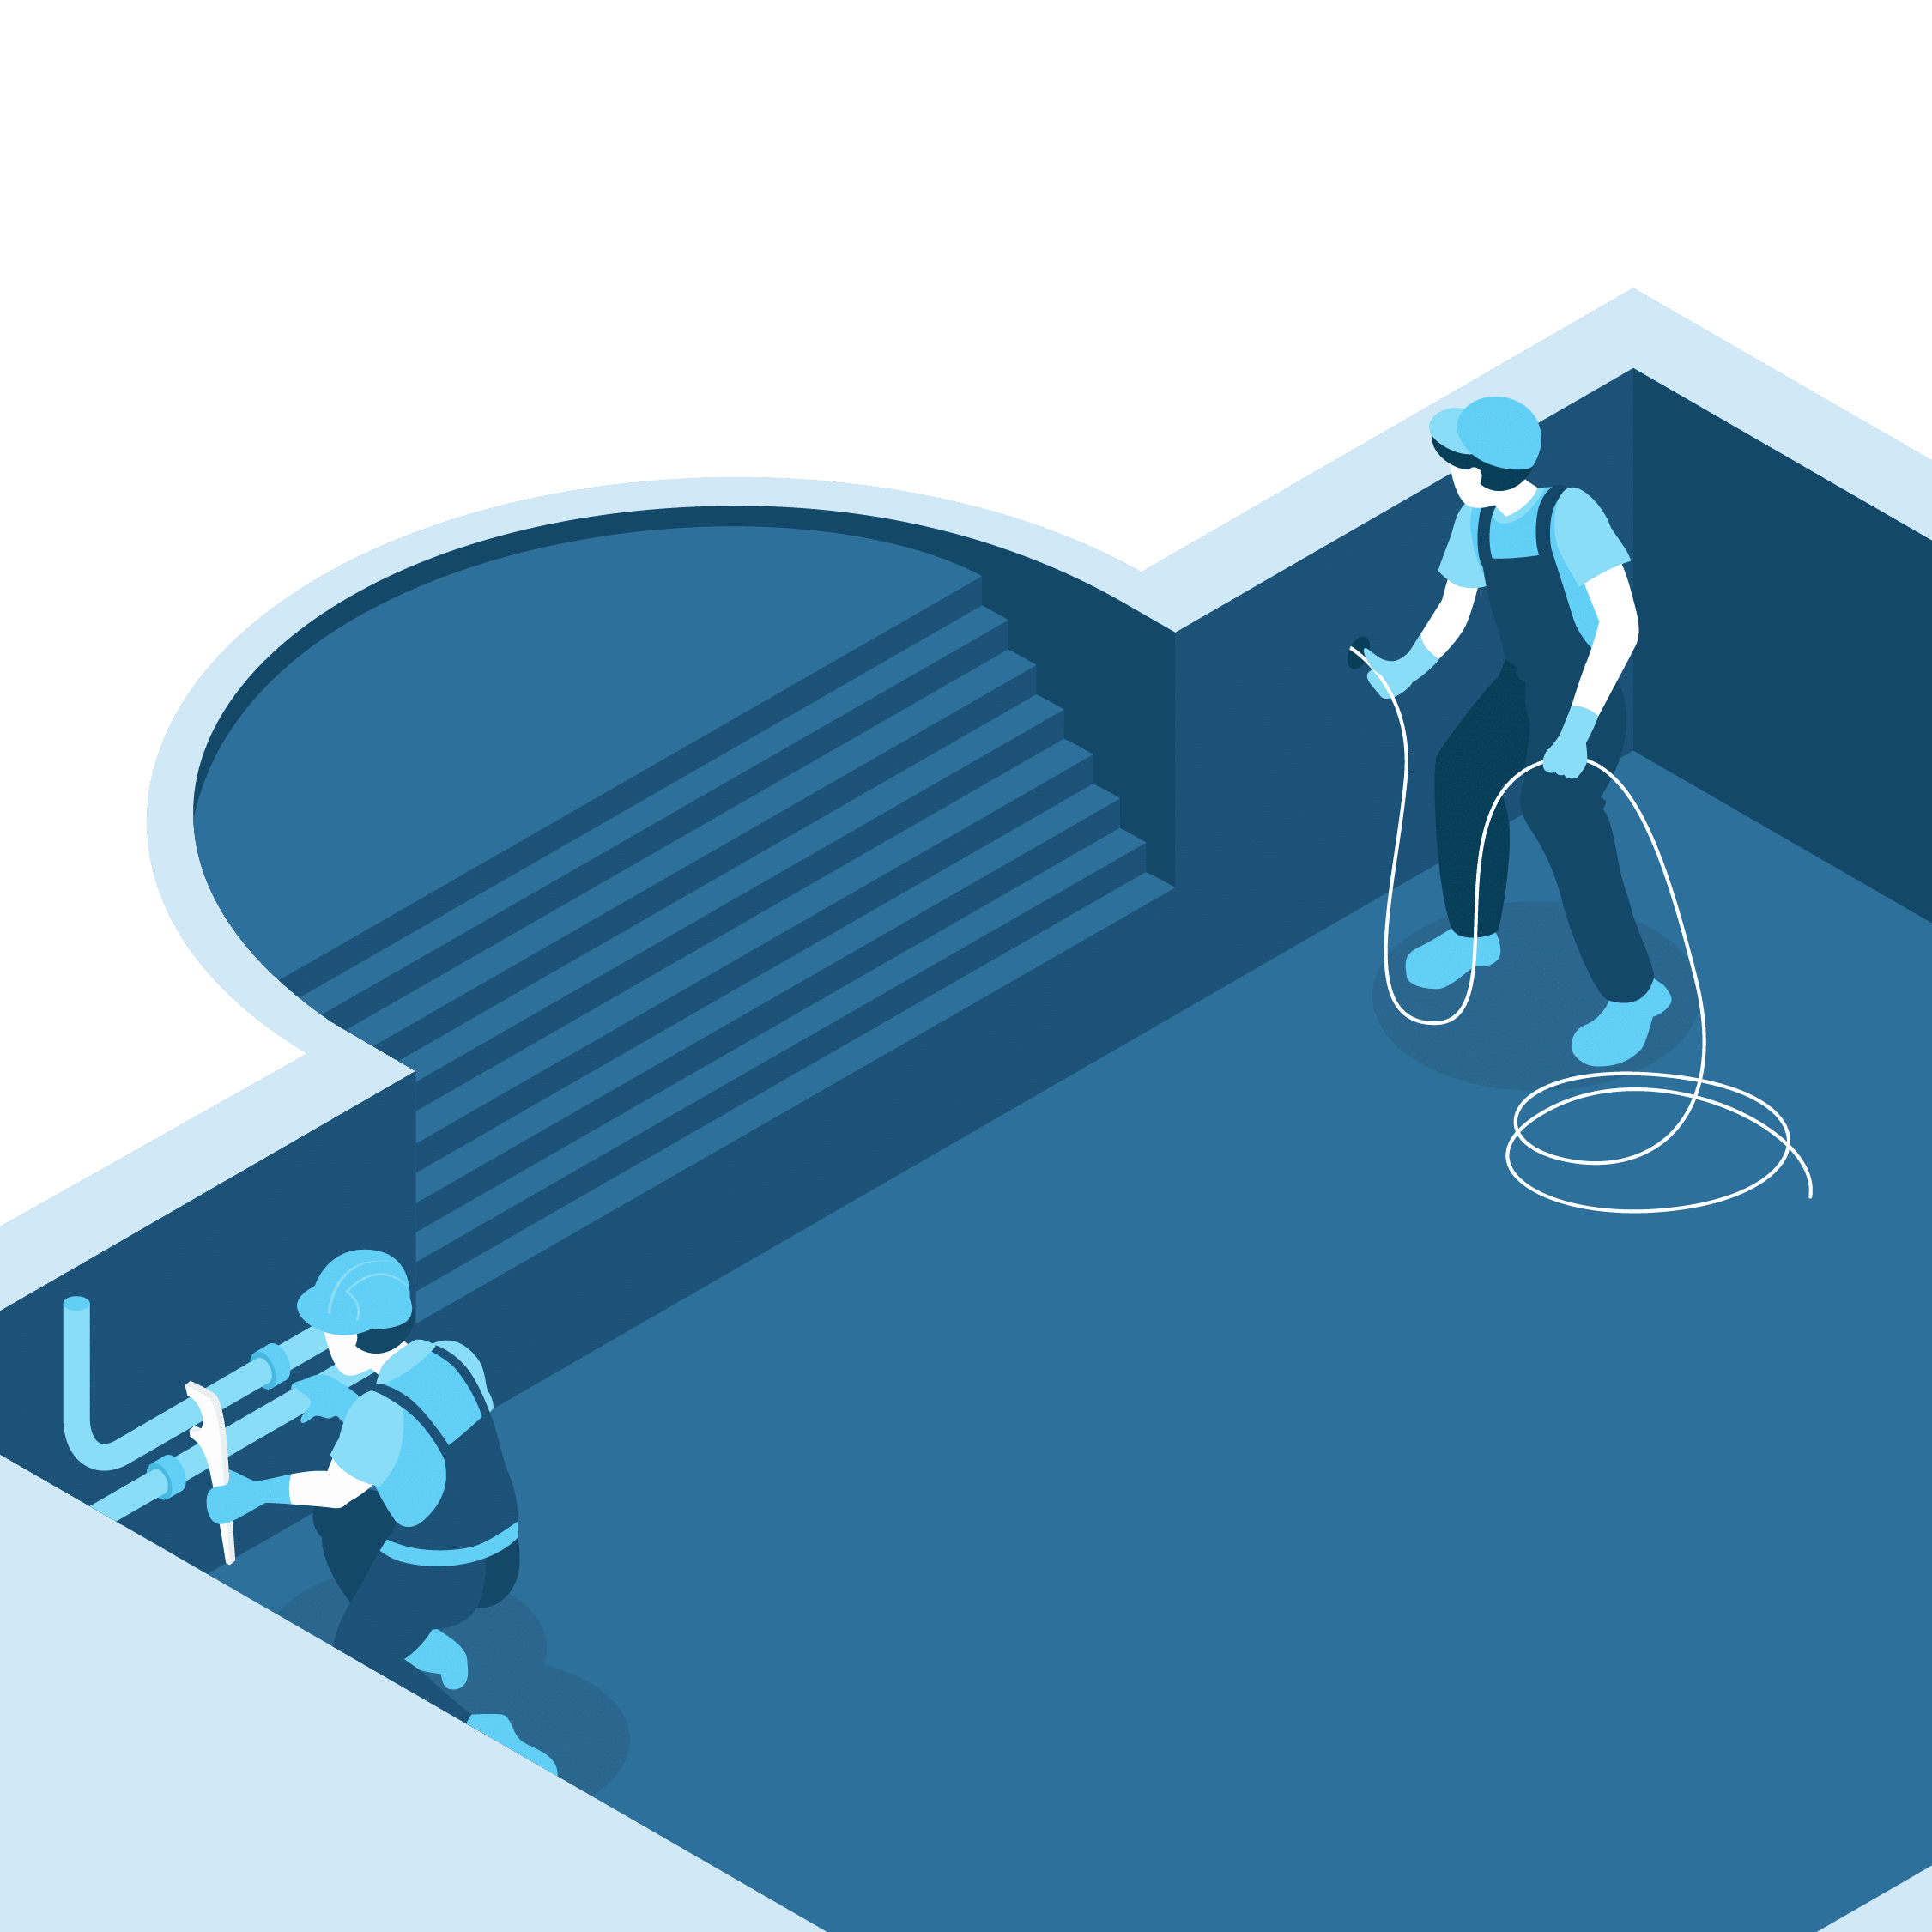
Installing, Plumbing, and Electricals
Plumbing and electricals work in unison to supply water to the pool and maintain associated tasks such as filtering the water, heating the water, etc. The outline for plumbing and electrical wiring is specifically designed for each pool.
This depends on the pool type, shape, and materials. In concrete pools, you’ll have to install the electrical and plumbing system before constructing the pool structure for obvious reasons. This step is very important. Always go for high-quality plumbing and electrical apparatus. Cheap ones might result in costly repairs.
step 5 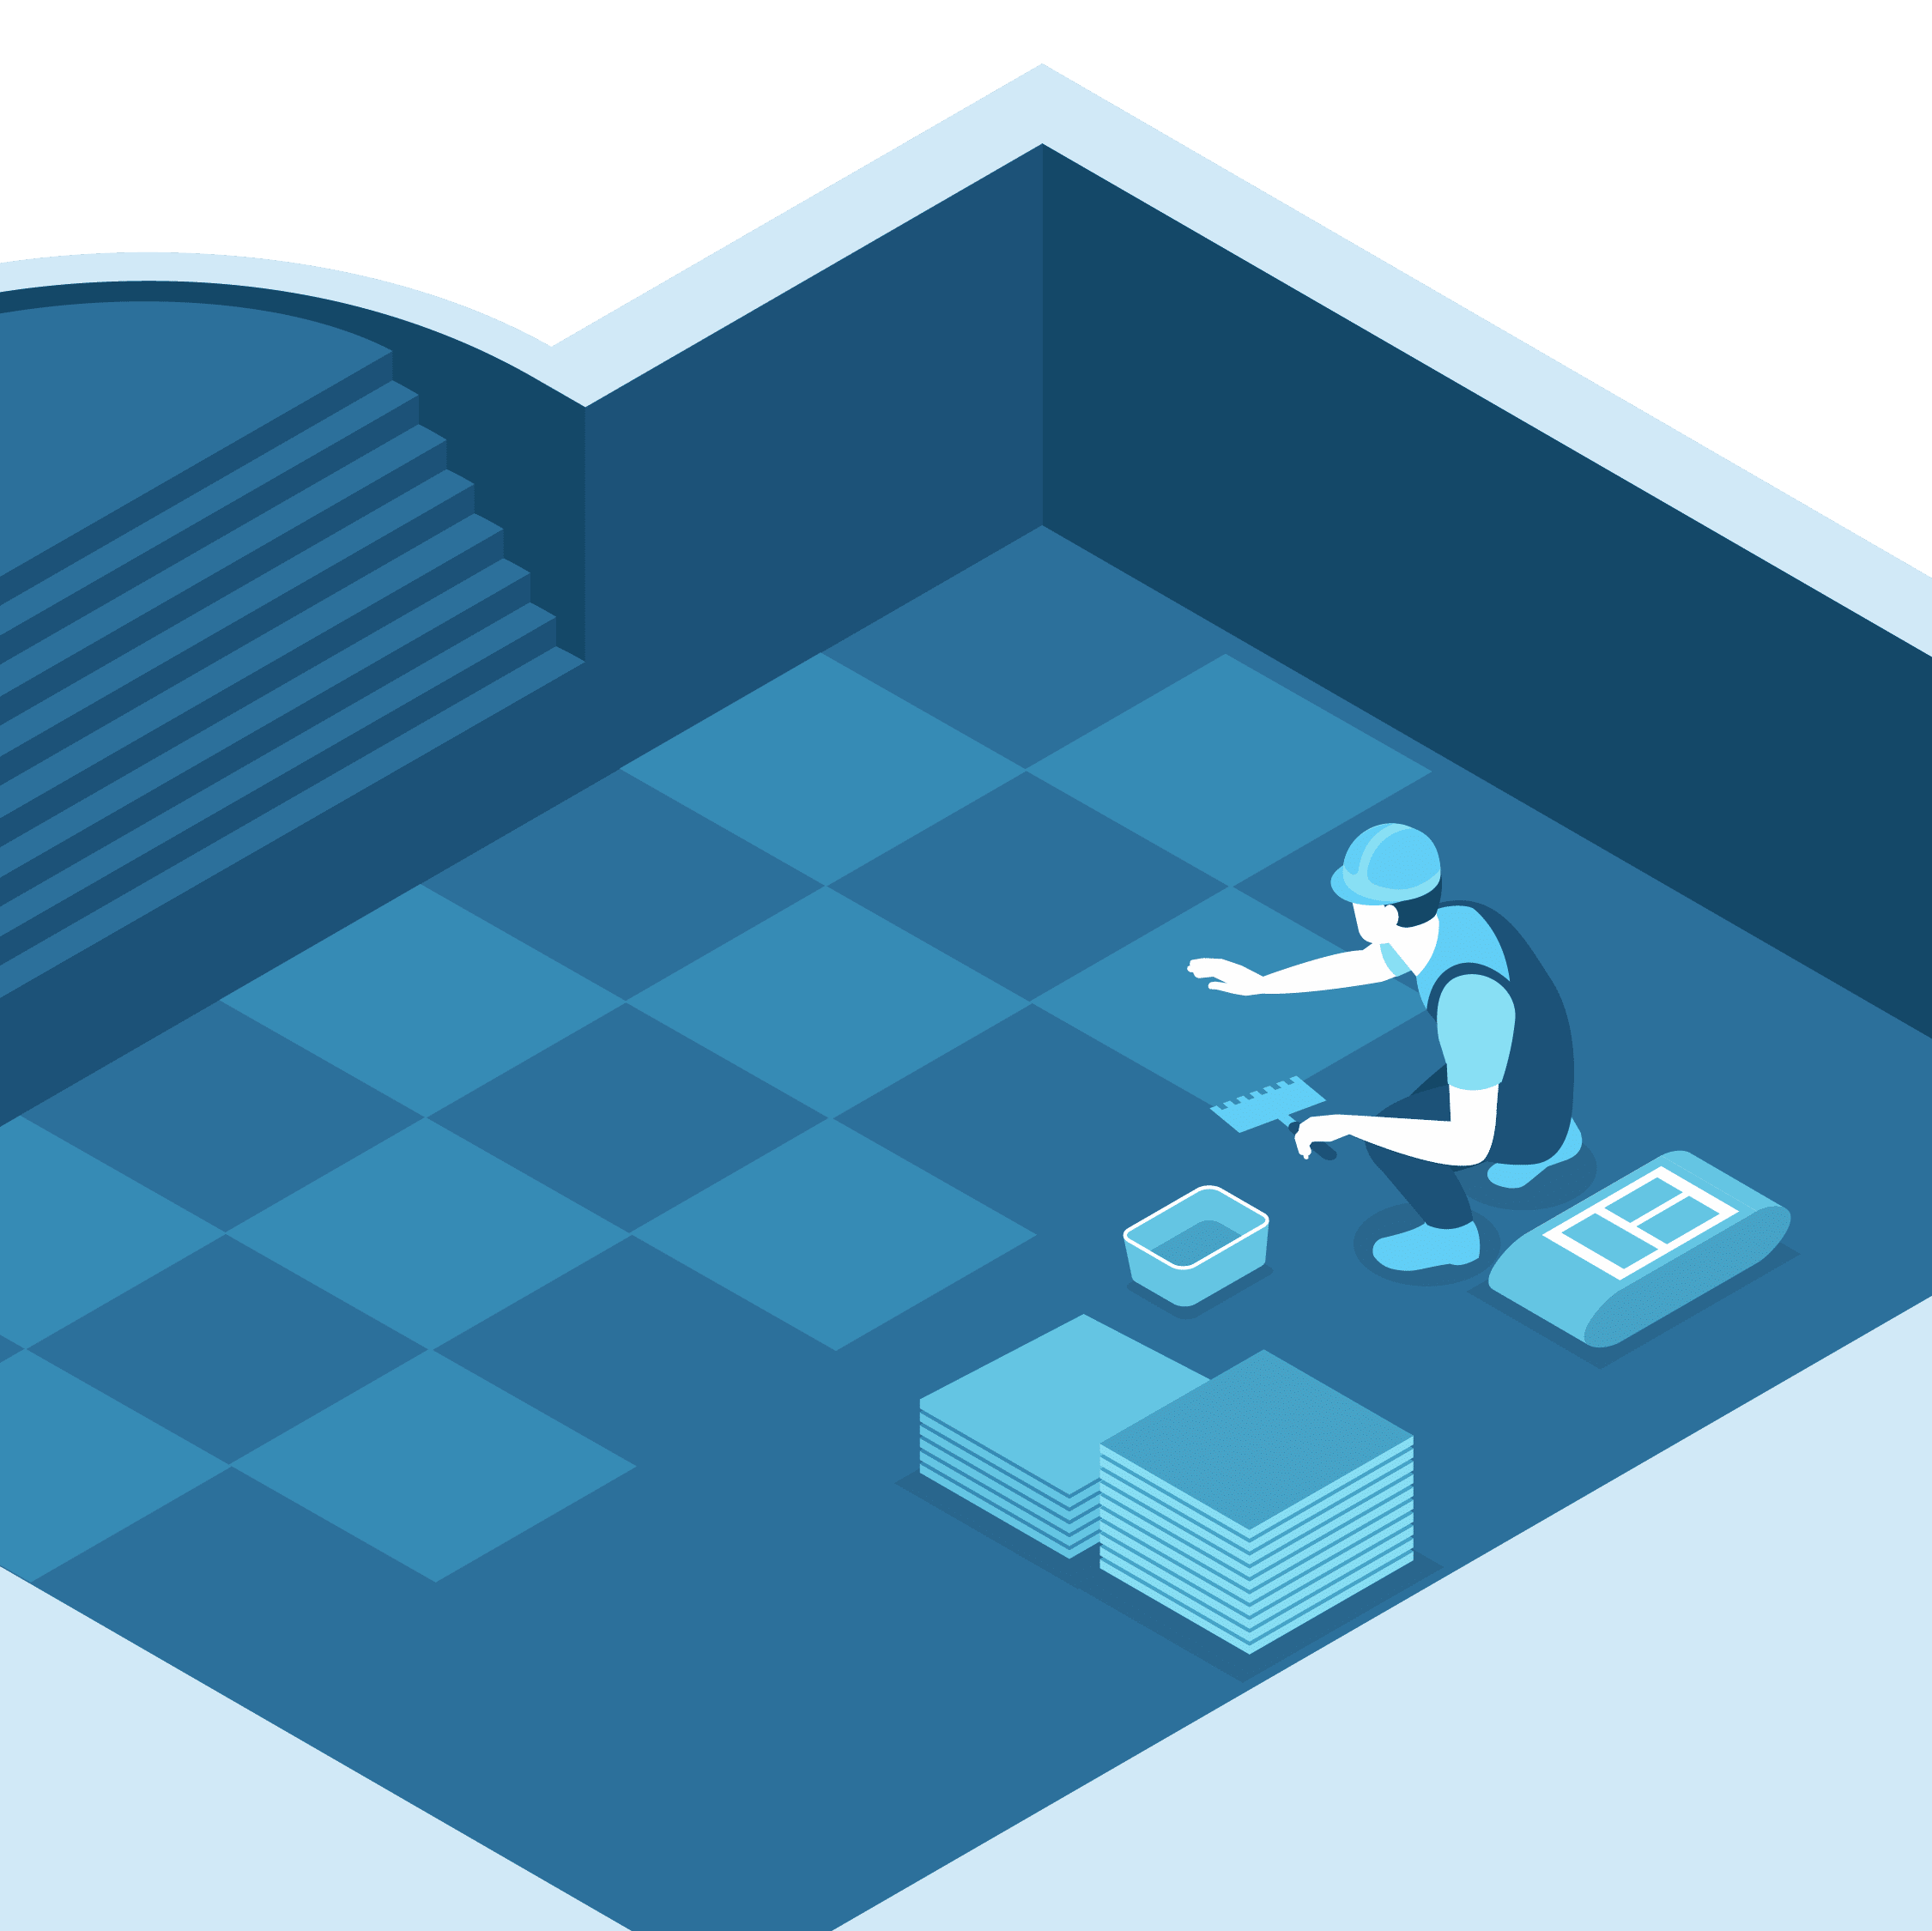
Decking and Tiling
The tile setter is a designer who is in charge of the aesthetics of the pool area. Tiles are used to beautify the parameter at your request. The tiling and decking phase takes around a week (seven days) to finish. This gets also determined by the design and square footage of your preferred design.
step 6 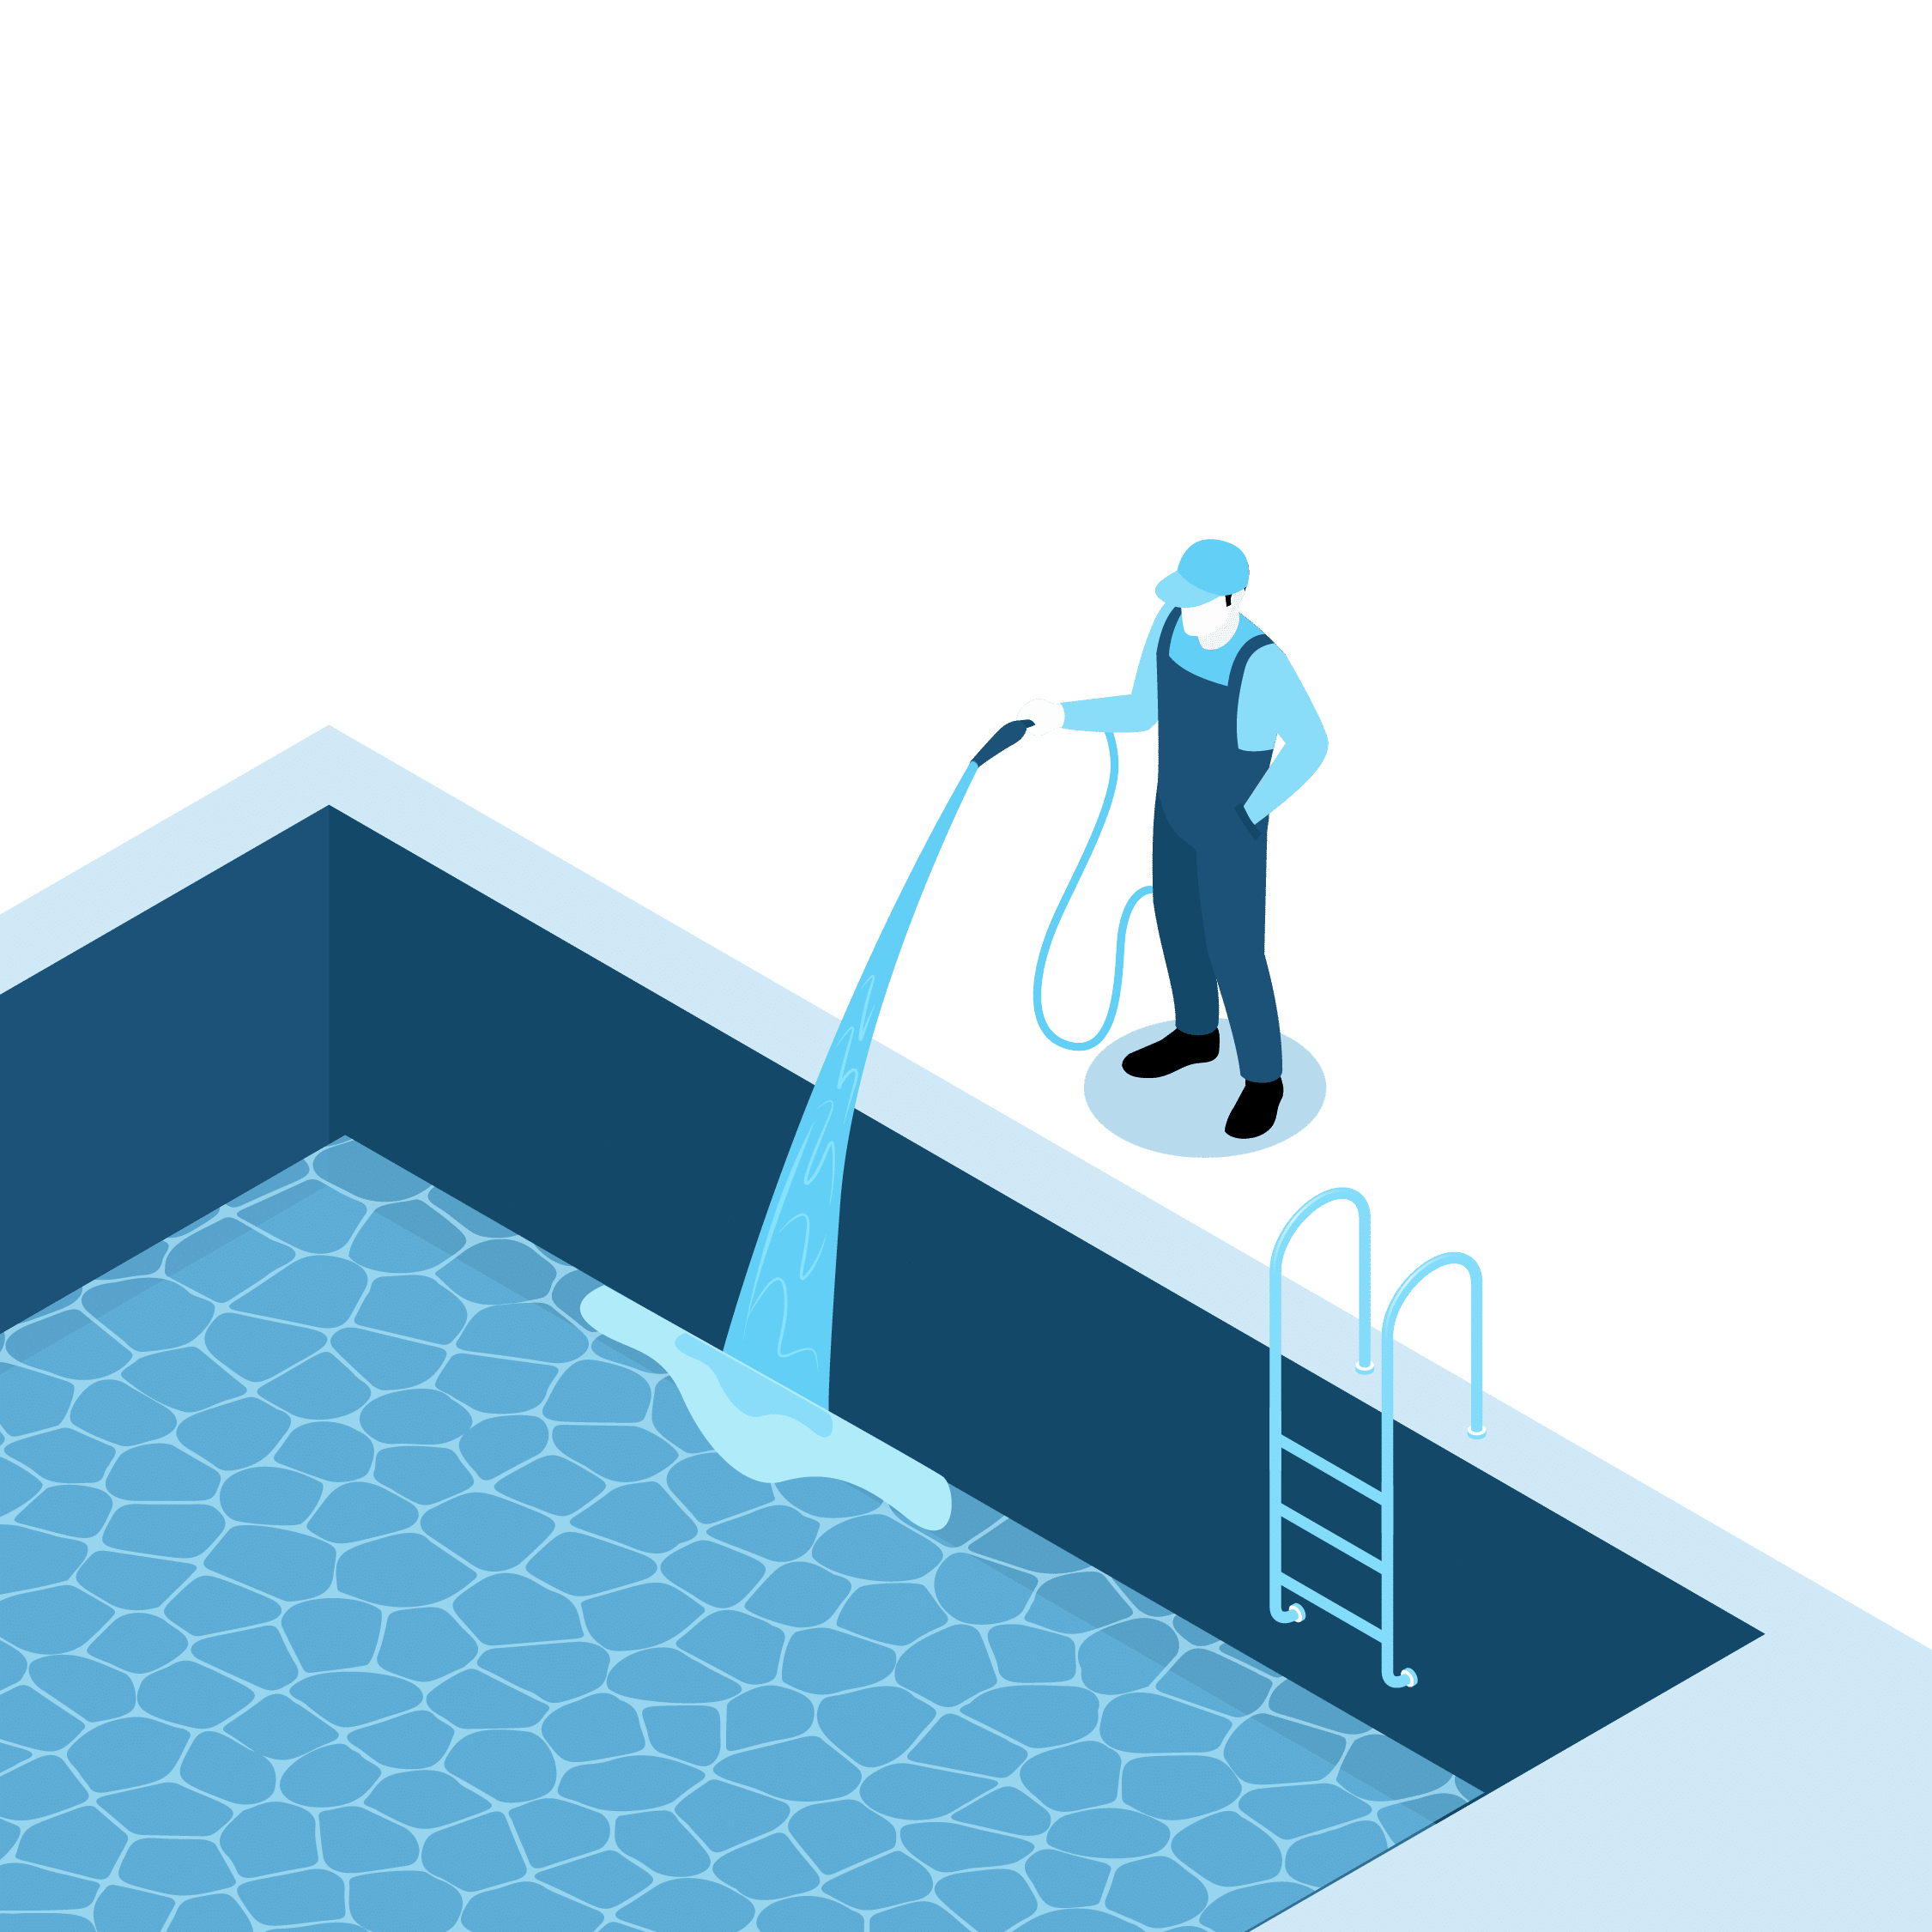
Starting up the Pool
During the start-up phase, the swimming pool is nearly finished and ready for use. The start-up technician is in charge of testing the swimming pool to ensure that it is in good working order.
The start-up tech, for example, starts the circulating pump and sets the timing. The overall job that the technician must complete will get determined by design. If your design calls for eye-ball fittings in the return and jets, this tech will install them at this stage.
The pool and tile deck will also be carefully cleaned by the start-up professional. After completing the cleaning and brushing of the pool and surrounding areas, the tech will begin the water balance and chlorine start-up. The chlorine is gradually added over a few days to ensure that the correct amount, but not too much, is added. The process takes roughly a day to complete, but it will take a few more days to blue the pool completely.
step 7 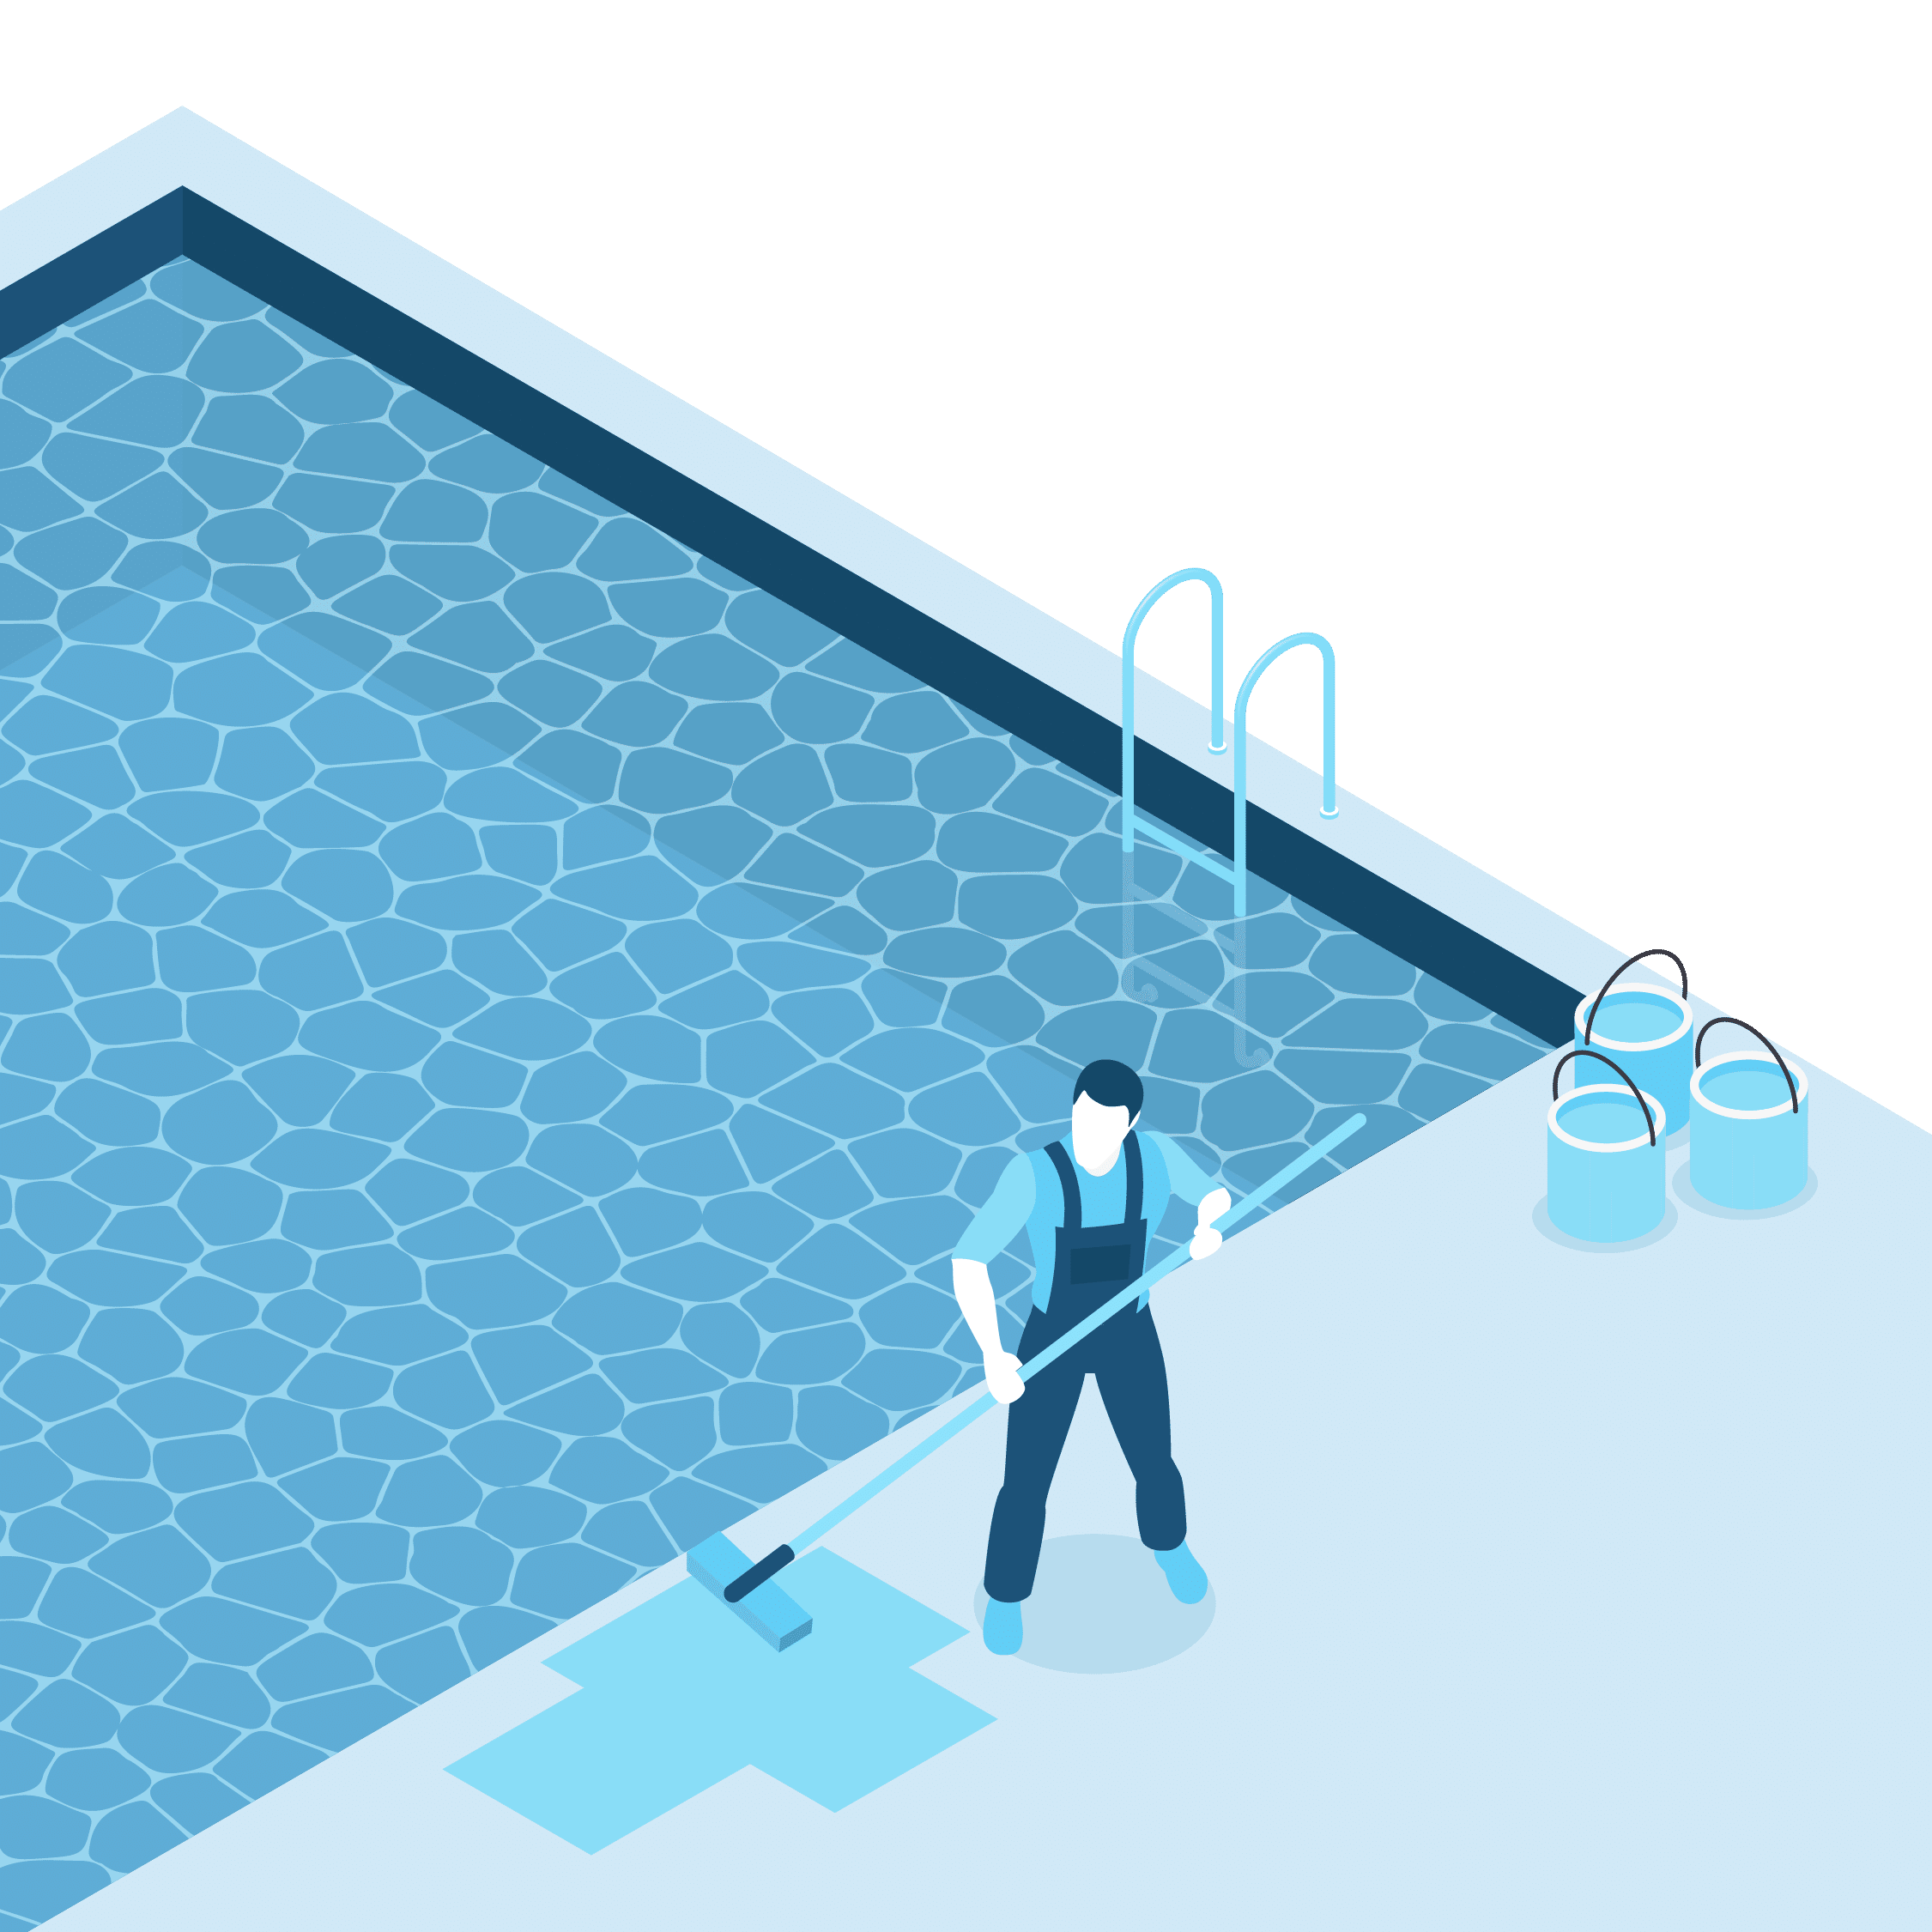
Final Touch Up
The deck receives its last coat of paint; this is the final step in completing the actual swimming pool construction procedure. The applied painting adds luster to the pool and requires 12 hours to dry. This procedure takes around a day and a half to complete.
Cost-Saving Tips for Inground Pools
Adding an inground pool to your property isn’t cheap. Even the cheapest option shall cost you over $20,000, just the material and installation. Most of the first–time pool owners get caught up in the process and spend more than what’s necessary. By following some simple tricks, you can drastically cut down the costs.
Here are some ways to make your inground pool more affordable:
Go for Vinyl Liner Pools
You can be easily confused about what to choose between vinyl and fiberglass pools. One offers low upfront cost but more long–term expenses, the other is exactly the opposite.
If you want to save money, go for vinyl pools. If you do the math, you will see that lifetime ownership cost is roughly equal to the initial cost of fiberglass pools.
Choose a Smaller Size
Small-sized pools are great to use. They offer the same feasibility at a low budget. Many first-time owners do this mistake of choosing big–sized pools which takes a toll on their wallet and yields nothing added in return. Avoid that and stick to smaller pools.
Leave any Access Equipment
Do not think of installing fancy equipment such as underwater lights, pool heater, pool air blower, etc.
This will do nothing except increase your expenses. A pool heater can be necessary if the temperature in your area is very cold. Other than that, leave all these fancy accessories.
Scrap all additional Decorations
Decoration for your pool is a temptation that is hard to avoid. If you are looking to make your pool more affordable, you have to opt out of any extra decorations such as landscaping, installing expensive decks, fountains, and many more.
Use High-quality Equipment
It’s a good thing that you are trying to reduce the cost but don’t overdo it. Using cheap components may save your budget for the time being. But they are highly likely to cause expensive repair or replacement in the long run. Go for quality equipment and renowned brands.
Important Considerations
This part might seem unimportant but if you look closely, you will realize the amount of impact these seemingly irrelevant considerations could have on the process. Here are some important ones for inground pool building:
- Check the correct site. Building the correct site is very important and many pool owners often disregard it due to lack of knowledge. Always place the pool where you can keep an eye on it from the inside of your house. Lack of sunlight will make the water cold and exposure to wind will evaporate the water faster. You can build screens to protect the pool from excessive wind. If you plan further decorations or accessories to install in the future, make sure there is enough space for them after building the pool.
- Be meticulous in choosing size and shape. Inground pools can come in different sizes and shapes. Size only increases the price. Choosing the right shape depends on a few factors. If you want to swim for health and exercise purposes, rectangular pools with a bigger length is a must. If you choose other shapes like Grecian pools or lazy L shapes, make sure it matches the surroundings and maintains aesthetics.
- Know the laws. Every region has laws regarding swimming pools as well as other permanent structures. They are very important to know to avoid legal troubles. What to do if there are utility lines underground or over the pool, what is the setback distance etc. All of these fall under specific laws. The pool fence is a must no matter where you live. There are strict requirements for pool fences that you have to follow precisely. Get the most recent update on these laws from local authorities before proceeding.
- Install lights around the pool. This might seem insignificant, but it is more impactful than you can imagine. Put lights around the pool so that you can see the pool from inside your house. This is very important especially if you have kids or live near a bear-infested area.
- Consider the climate. The climate will determine what accessories you will need. For example, if your area is scorching hot throughout the year then you will need a pool cover to prevent water and chemical loss. For cold climates, a pool heater is mandatory. These small details will determine the crucial aspects of the pool installation that you must not ignore.
Inground vs. Above Ground Pool
Inground pools are permanent structures. They get the name because they are built inside the ground after excavating the earth. On the other hand, above ground pools are temporary structures. They come as a prebuilt kit that you install on a side of your property.


If it’s hard to imagine, think of the fiberglass pool or a jacuzzi. You just install them on the ground in a pool–like manner without excavating the earth. In above ground pools, the water level stays above the surface of the earth.
There are notable differences between inground and above ground pools. Inground pools look attractive, last long, very durable, and add value to your property since they are permanent structures. The downsides are inground pools are expensive, take a lot of time to install, and tons of maintenance.
Above ground pools, on the other hand, are kind of the opposite. They are cheap, easier, and faster to install and require little to no maintenance. The drawbacks are they are pretty fragile and their lifespan is short. Options for size and shapes are very limited. Also, they add no value to your property, and resale value is also low. There is a negligible return on investment.
Frequently Asked Questions (FAQs)
Final Thoughts
A pool can be just the thing you need for a little refreshment after a long day at work. Between an inground pool and an above ground pool, the inground pool comes out on top. If you have the budget and space, there is no reason to go for above ground pools.
Just like anything else, you will need some basic knowledge about the inground pool cost to avoid scams. Proper understanding of maintenance and other relevant factors is also crucial. I believe I was able to teach you all of that through this write–up of mine. Have a great day!