Being able to know how to use self leveling concrete can be super useful and handy when it comes to needing to replace certain issues with flooring without having to completely redo the entire floor or having to deal with the insane amount of time and effort needed to scrap everything out and doing a whole replacement job.
Even so, we may not think we have the confidence and the ability to be able to use self leveling concrete, but this isn’t true! With the right knowledge and the right guide, any normal homeowner or amateur handyman can do the job necessary to improve the flooring of your residence, workplace, or wherever the job needs to be done.
In this guide, we’re going to be going over how to use self leveling concrete, such as what materials you’ll need, how to do it properly and safely, and general tips to guide you in the right direction.
What Is A Self-leveling Concrete?
So, what’s the deal with self leveling concrete? Self-leveling concrete is similar to actual concrete, except that it’s easier to use in most situations in which you need to replace a floor.Self-leveling concrete is a concrete mixture but it’s also mixed with water to make it more fluid.
After that, it makes it easier to spread across a floor and can harden within a relatively quick amount of time. This is useful if there are some incomplete and/or damaged parts of your floor that don’t necessarily need a complete do-over.

This is good if you just need to cover up some spots that are uneven within your flooring, or it can handle a more demanding job by filling in empty spots with more concrete so it can self-level over time.
Additionally, using self-leveling concrete can make the process of hardening and getting ready to use the floor afterwards a lot quicker compared to other methods. And if it’s a manageable job, you can probably handle the project by yourself without any hassle.
Important Tools When Using Self-leveling Concrete
The materials that are needed in order to be able to use self leveling concrete isn’t a huge list of things that are hard to find. However, it’s extremely important that you have all of these tools ready to use when you are ready to begin the process, and especially when you need to actually pour the concrete.
1.Gauge Rake
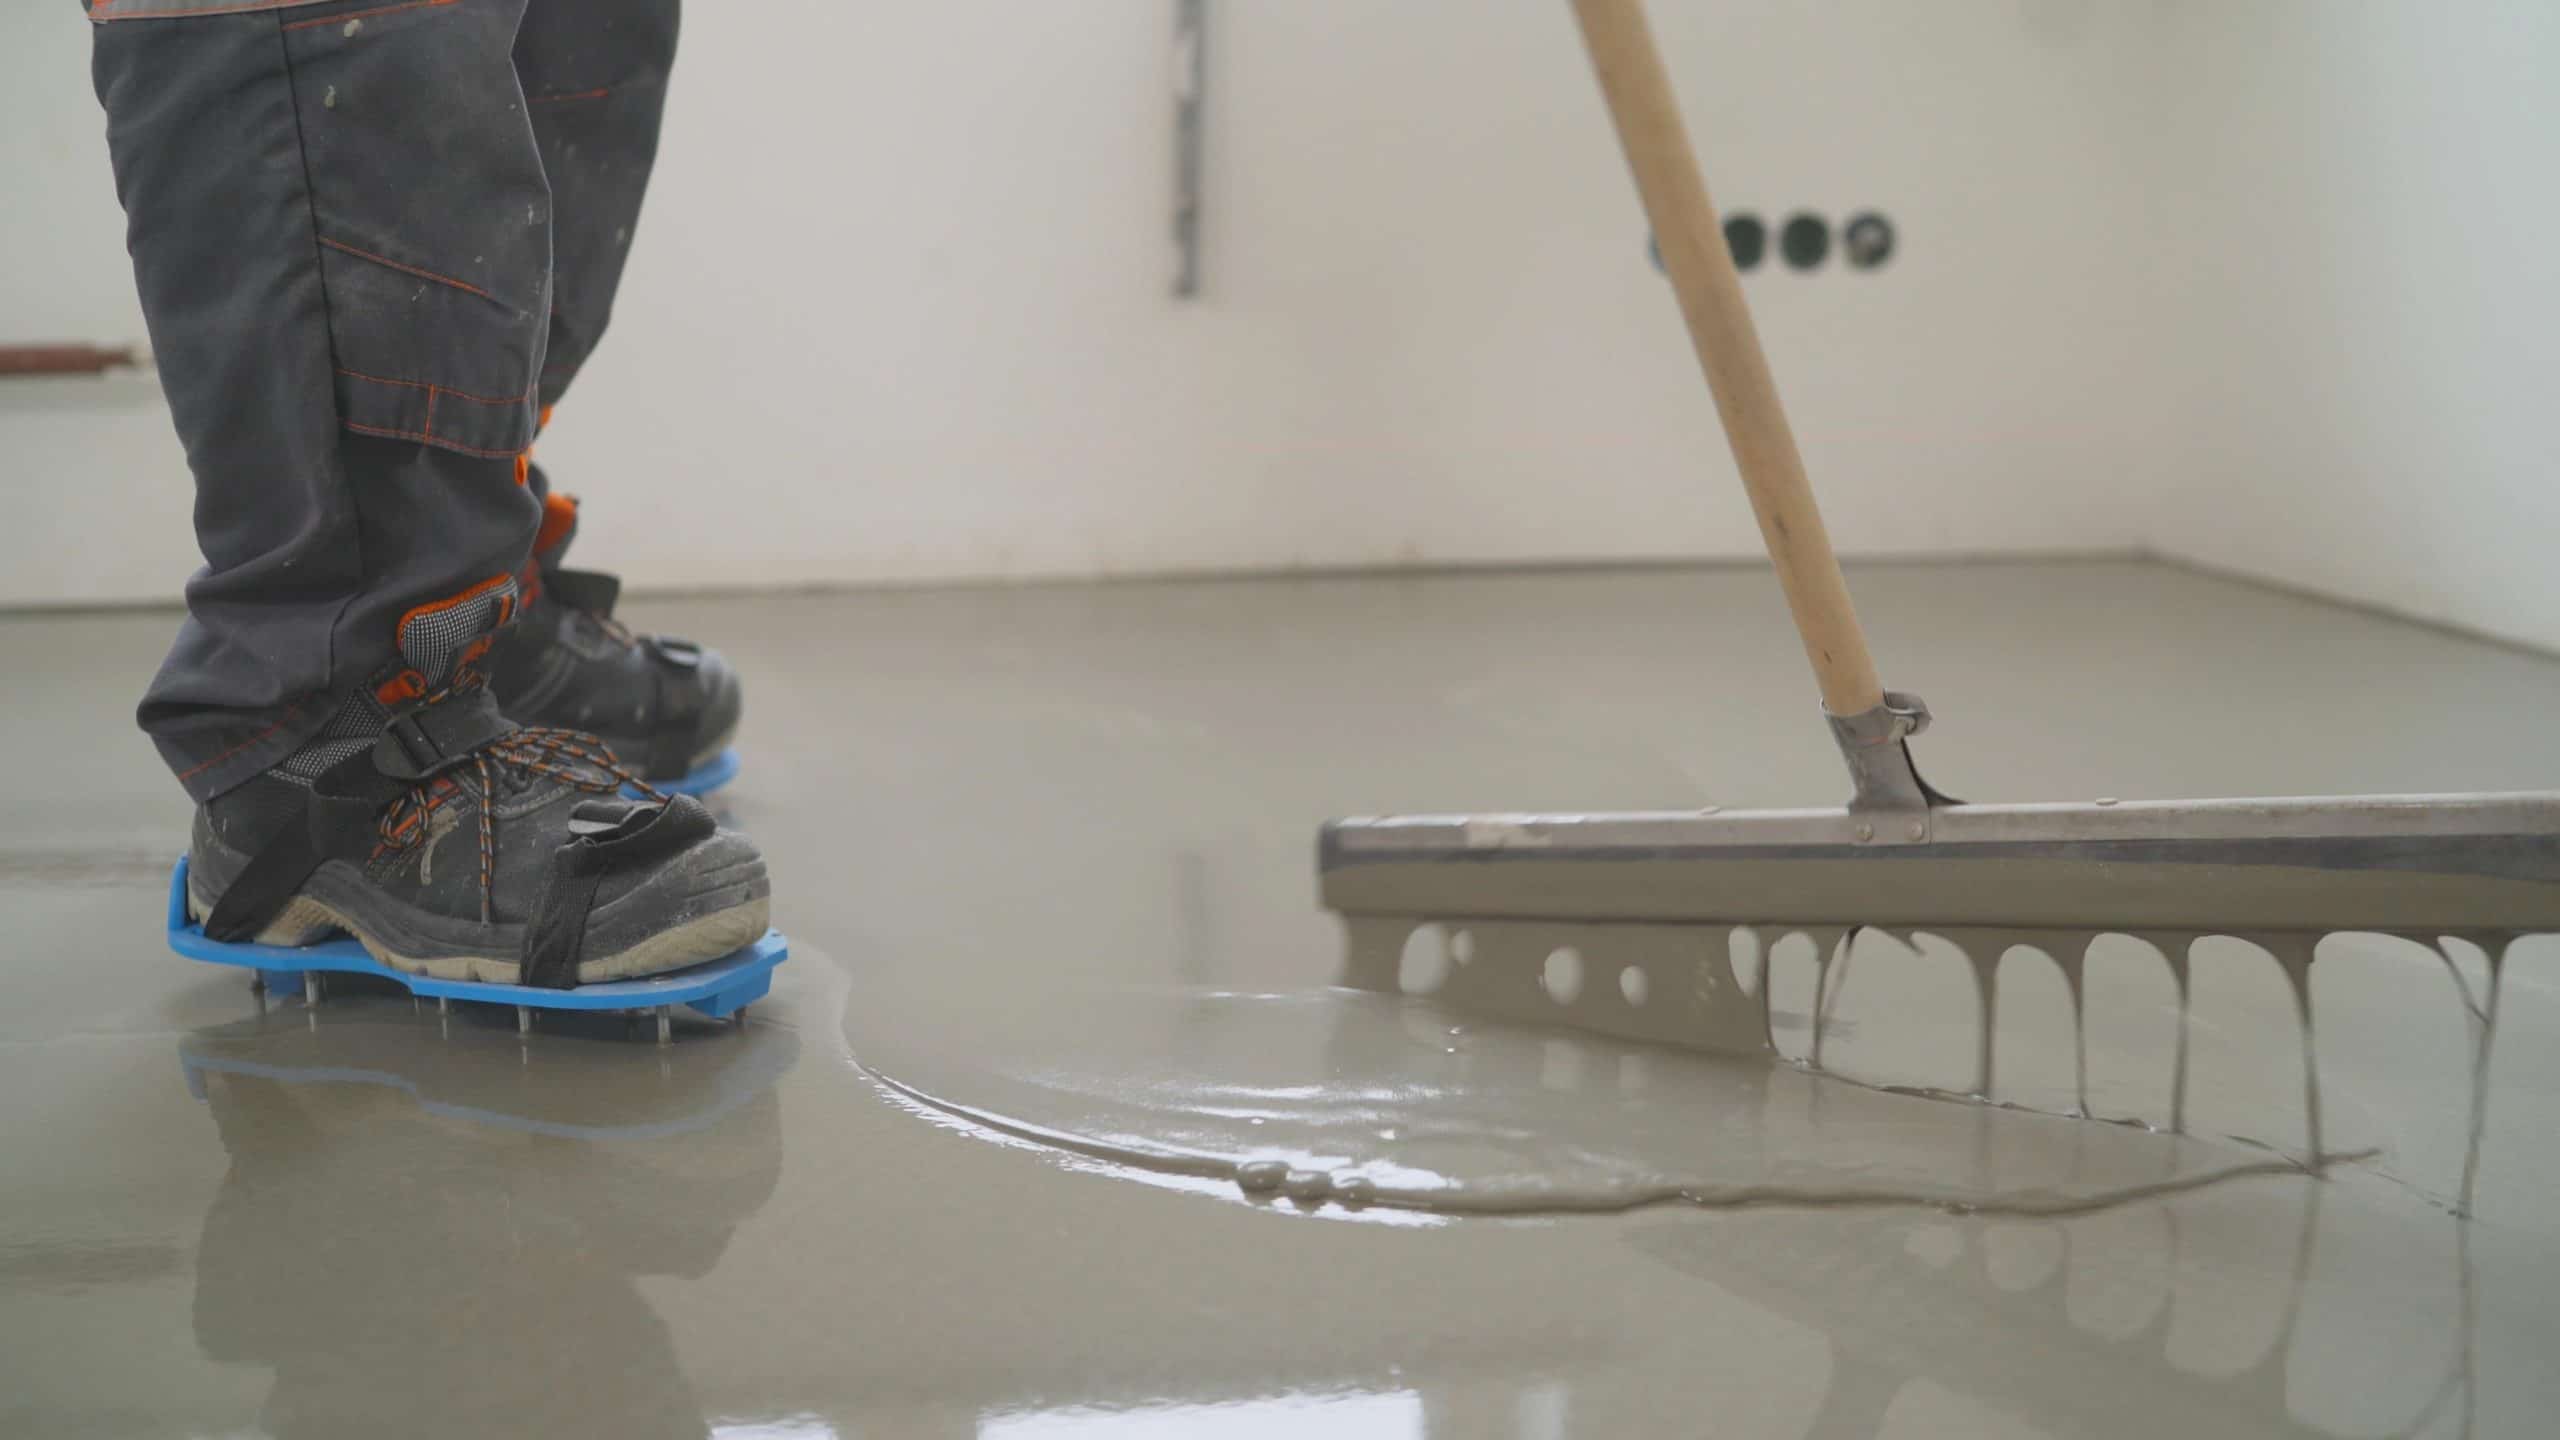
You will need a gauge rake, which is used for spreading the self-leveling concrete after it’s poured on the areas that you need it to be poured. As a side note, be sure to have durable shoes that can handle more heavy-duty things.
2.Buckets
For buckets, you want to be able to have a mixing bucket that is decently sized, relative to how small or big the project you are working on is. Typically, this bucket should be able to hold at least 6-7 gallons for optimal use.
3.Drill
You will also need a mixing drill as well as the head in order to loosen up the concrete to make it easier to pour over the floor that you are trying to repair.
4.Mixing Paddle
Another thing you will need is a cement mixing paddle to help yourself when getting the concrete fully ready to pour over the floor that needs to be done.
5.Primer
A primer is also needed in order to be able to coat the floor, and this is the most important material you need if you are installing concrete above old concrete. If you aren’t, and the surface is impermeable, then it’s not too necessary.
Before you start to plan and prepare for your project, don’t forget the typical cleaning supplies that you would need!
This includes a mop, a broom, a vacuum, and more to be able to clean it once the concrete settles and is ready to be used, as well as any of the working stations or places that you used to mix the concrete.
Once you gather all of the materials you need, you can then start to prepare and begin the planning phase, and then ultimately do the job or project that needs to be done. We will have general tips covering everything in the process below, so be on the lookout for those.
Things to Prepare Before Starting the Process
Before you start putting out your new floor, there are a bunch of different factors to consider to make sure you get the best floor possible.

The first is the moisture that is already in your concrete floor. All concrete floors have moisture, meaning that if the amount of moisture in the concrete is too high, it will have a negative effect on it causing it to decompose and degrade over a period of time.
Because of this, it is best to test it before you put it down. However, this isn’t a simple test because even if it looks good, moisture within it can come out and be detrimental. To solve this, there are numerous different tools that are set for the task. These tools are easily used to place a sensor within the slabs and it will measure the moisture.
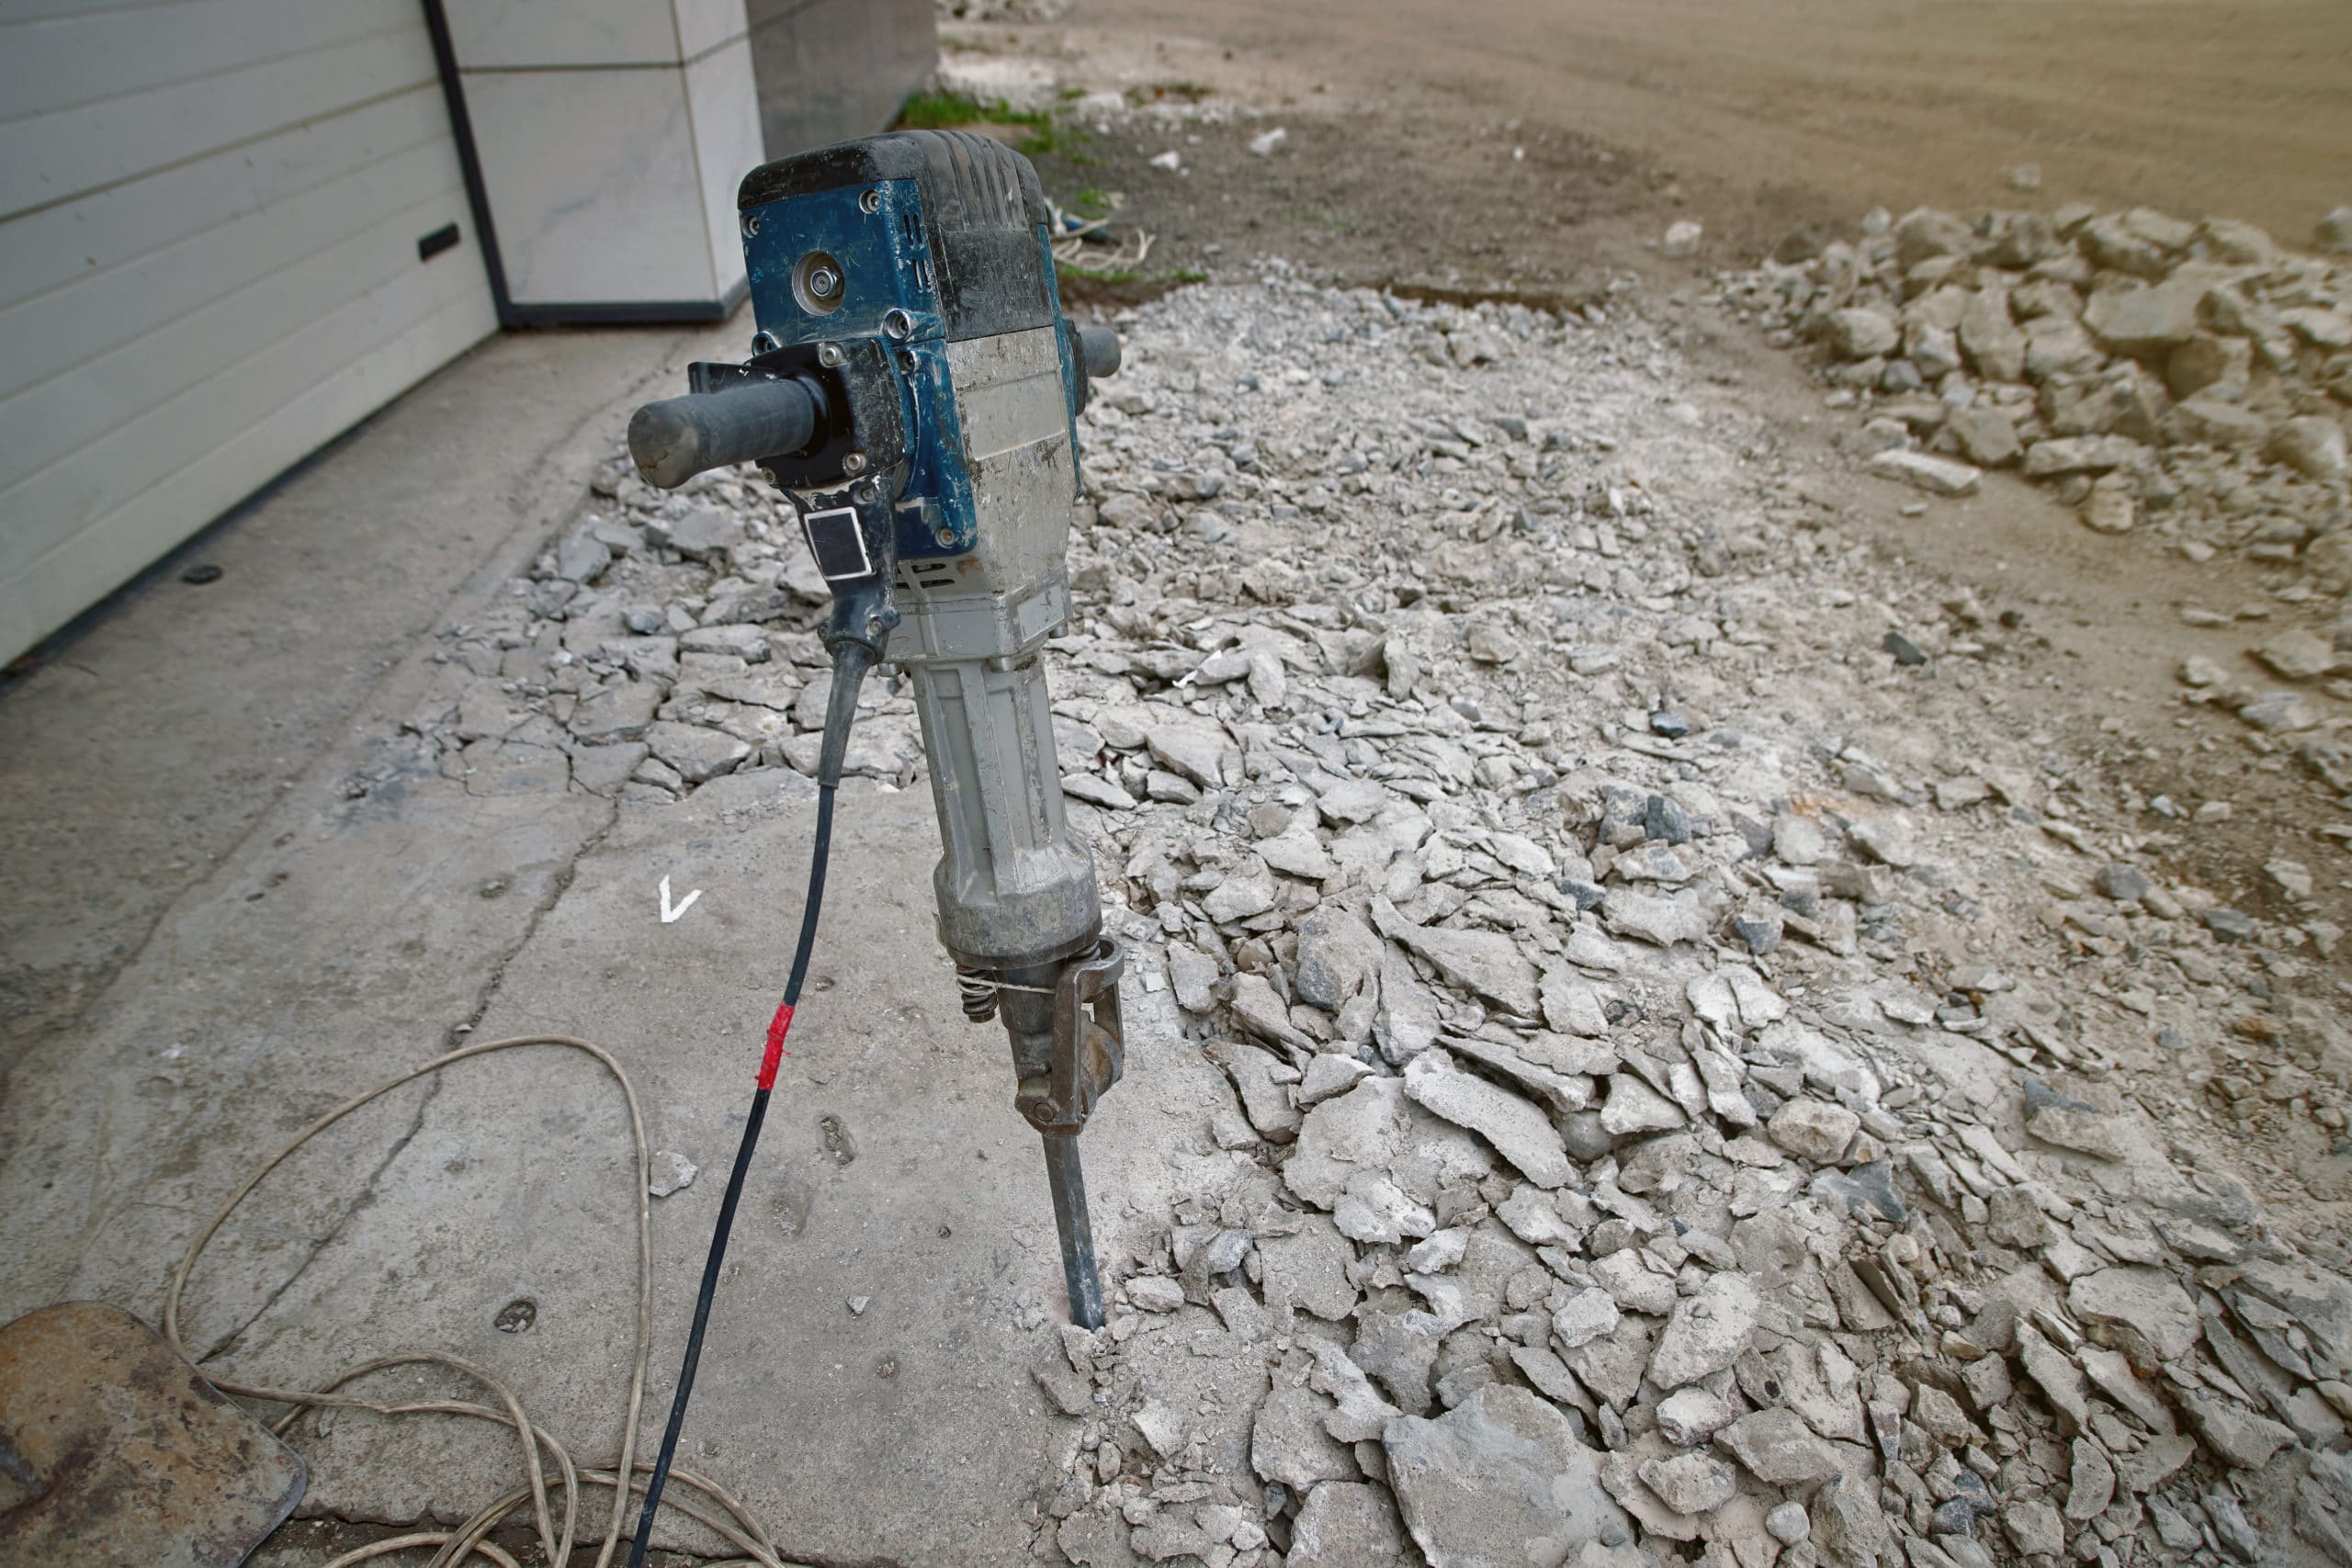
Along with that, if you already had concrete there, it is best to remove it before putting the new one there. To remove it, just use something such as a sledgehammer to break the concrete. Afterwards, remove the huge slabs then use a broom to get rid of the small remaining debris. After getting rid of most of the concrete, there may still be some remaining stuck on the ground. To remove that, use a hard, flat object such as a shovel to get rid of it.
How To Install A Self-leveling Concrete
Now that we have covered how to get ready for the concrete, now it is time to go over how to actually do it.
Step 1
The first step to do is to remove any loose debris on the floor. This is important so that none of it gets stuck under the concrete and may make it uneven.
This is especially important if you already have some stuff on the floor such as old concrete, dust, or other types of debris. Make sure to thoroughly clean it.
Step 2
After getting rid of all the debris, the next step is to fill in any holes or cracks on the floor so that the concrete does not run in there. This is important to prevent it from getting into places you don’t want it to.
If there are holes, the cement might leak meaning you can pour all that you want, but it still wont fill. To do this, you can use a simple solution, duct tape, by just covering it.
Step 3
After checking for holes, next you’re going to want to vacuum the surface to make sure it is clean. A final vacuum check is important just to make sure you get rid of some of the debris that you might have missed.
Step 4
Now that the surface is ready, we can now make our cement. Not all cement is the same, so make sure you follow the steps that it tells you to. This usually means adding water to a bucket, then some cement powder and then mixing.
Step 5
Finally, the concrete solution should be ready to use, so just pour it over the desired area then use a trowel to put it where you want. Clean up anything that gets out, then wait for about 24 hours before walking on it.
It is imperative to wait for at least 24 hours as the concrete still needs to dry and set it. Afterwards, it is still advised that you wait even longer, typically 3 days before putting any furniture on it.
Pro Tips To Help You With Installing Self-leveling Concrete
Now that we’ve covered all of the important things such as what self-leveling concrete is, why self-leveling concrete is a good solution to repairing and renovating damaged floors, and the materials and steps, let’s transition into the final section of this guide: general tips and tricks. These tips will guide you to install the concrete into the floor, and allow you to enjoy the eventual final product.
Tip # 1
The first tip is to make sure you clean the floor before you start to do your project. This seems pretty obvious to most people, but at the same time, it’s still important to do.
When you pour the concrete over the floor after mixing it, you want the concrete to be layered on top of the actual ground that needs to be covered, not any dirt, dust, or debris that is already on the floor. This can potentially cause major problems later down the road.
Tip # 2
The second tip we have is to order more concrete than you think you need. The first step in order to actually do this effectively is to measure the areas that you are trying to cover so that you can see how much you need. Once you do that, that’s not all!
This is the unfortunate mistake that many make: they just order amounts based on how big their project is. If you run out of the concrete and you already poured it, then there’s nothing you can do to save it. So, order around 20-30% more concrete leveler than you need so that if you need to pour even a small fraction of an inch thicker, you can do so.
Tip # 3
The third tip that we have applies to mixing the leveler and pouring it onto the ground. First, you want to mix all of the concrete at once if possible; the reason why this is the case is because it lessens the risk of the concrete being unusable if left out too long, and it also makes it more time efficient; once you start mixing and pouring the concrete leveler, you only have a limited amount of time before the concrete becomes unusable, so be careful!
Additionally, be sure to spread the concrete with the gauge rake we mentioned earlier as you pour the concrete. The reasoning for this is again, time efficiency, as well as being able to then move around while you pour and spread.
Conclusion
To wrap up this extensive guide, within this blog we talked about what self-leveling concrete is used for, why it can be so useful, materials needed, as well as the actual planning and steps that are needed to be taken in order to have a successful project. Lastly, we mentioned three tips in order to avoid common mistakes that many make when they first try and use a leveler to cover floors.
Overall, although this may make you hesitant to do it, it’s not bad at all! It’s easier than it looks once you understand the steps and the materials needed. Best of luck in all of your projects involving your self-leveling concrete!

