If you’ve spotted a foundation crack in your basement, it’s probably best to act on the issue before it becomes problematic. Almost a 1/4 (25%) of all homes will experience structural distress like a foundation crack within their lifetime. However, if you don’t act on the issue prominently, your home will be the unlucky 5% of houses that encounter significant structural distress.
Don’t want to be included within that 5%? Great, below we discuss how to perform a basement foundation repair with the best and most innovative method, epoxy.
1.Diagnose The Crack In Your Foundation
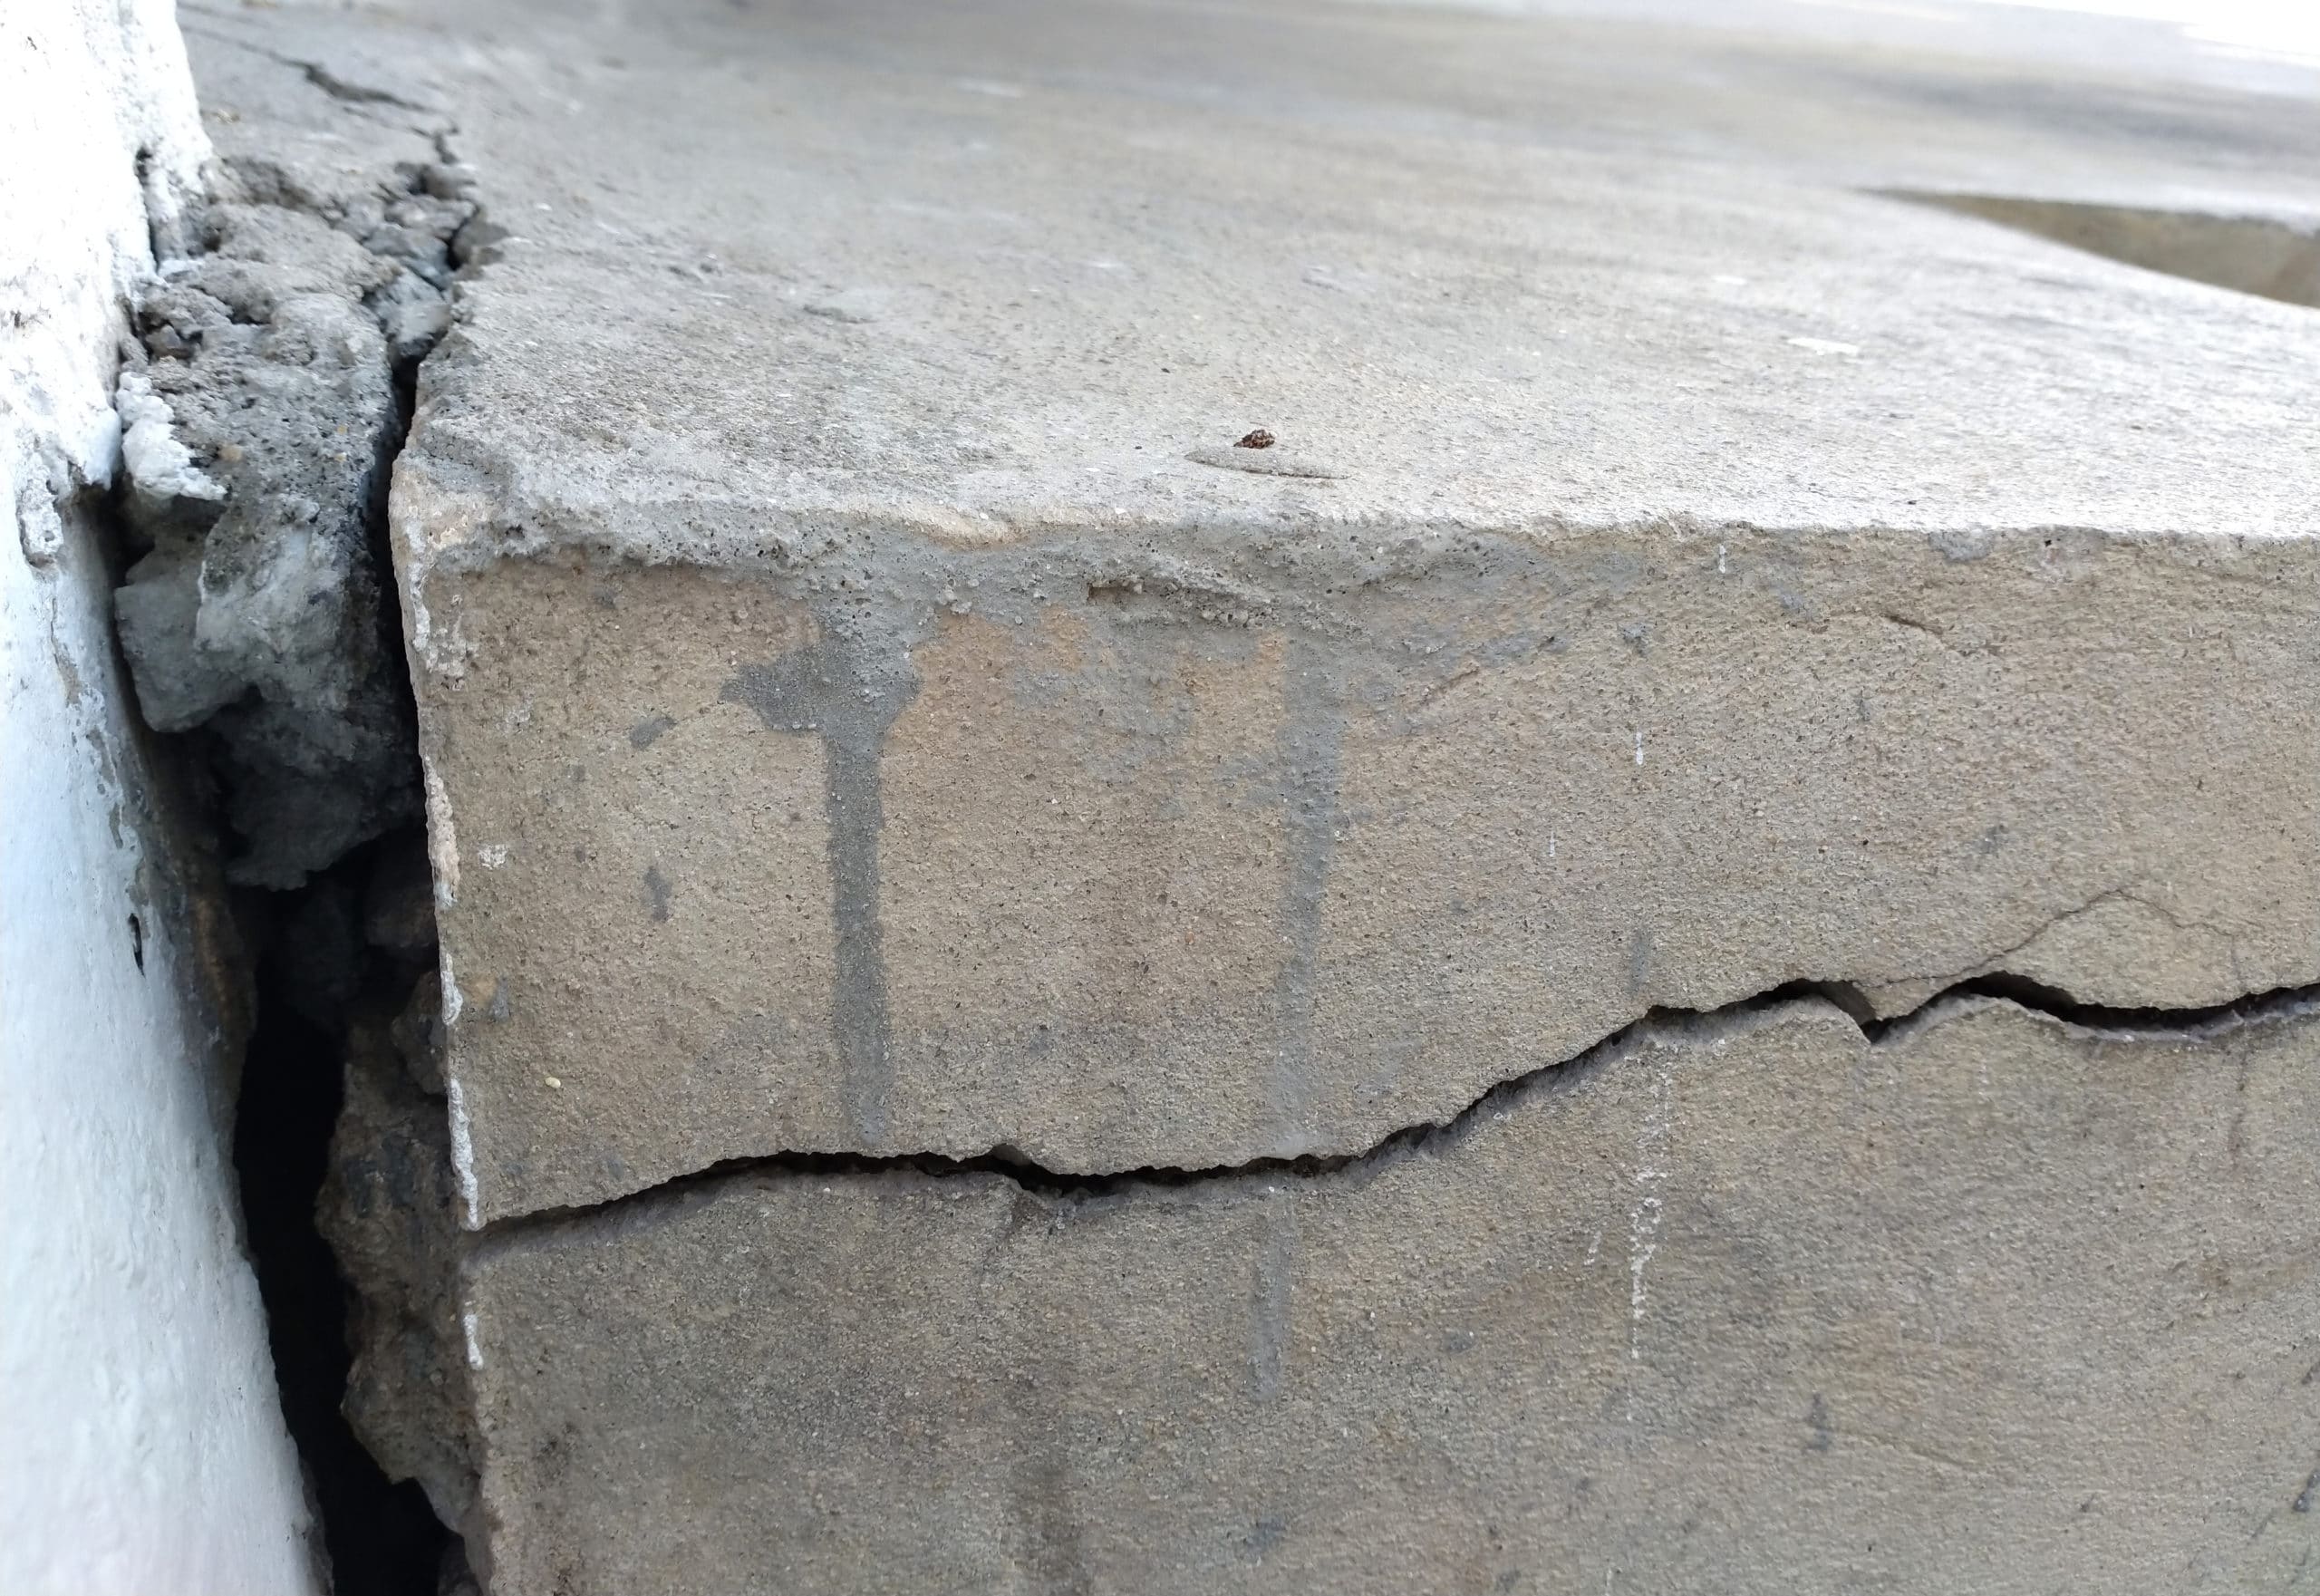
First, you’ll want to diagnose your foundation crack, as it may be more beneficial to hire a professional rather than trying to achieve it yourself. Foundation cracks come in all different types of shapes, sizes, and dangers. Most of the time, they appear within the first year of being constructed, near corners and windows, etc. This occurs when the concrete dries. As the water leaves the concrete, it creates a volume change, causing it sometimes to crack.
Is the Foundation Crack Normal or Considered Dangerous?
As mentioned, you may want to hire a professional, depending on how significant your crack is. To consider whether or not your crack is deemed dangerous, you’ll want to track the cracking process.
You’re able to achieve this simply by using a pencil. Here, you can mark where the end of the crack is. Either check daily, weekly or monthly, to see if the crack becomes more prominent. After tracking, if you find your crack is expanding quickly, I suggest you contact a professional and don’t undergo the job yourself.
This is because there’s something wrong with the waterproofing. This could either be internal, external, or even how the water is drained away from the house. Because there could be so many possible structural issues, contact a professional.
Foundation Crack Types
When identifying your crack expansion speed, you can also categorize your crack type. This could also suggest whether or not you should hire a professional to undergo your basement foundation repair. The two types of foundation cracks you can encounter are vertical and horizontal. Here’s what you need to know about them:
Vertical cracks

Usually, a vertical crack will appear in the wall because of the concrete drying from new construction. This is a common issue, and they’re generally around 1/8” wide. If the crack is wider than 1/8”, it’s probably not due to shrinkage. You should seek professional help for an inspection before it becomes problematic in the future.
Horizontal cracks

Whereas horizontal cracks are often an indication of something more seriously wrong with your foundation. These are caused by hydrostatic (water) pressure from the outside. The combination of both water and soil can build up too much pressure, forcing the foundations to crack horizontally.
When this occurs, it’s probably because of the foundation’s drainage system or the grade of your landscape. Again, when a horizontal crack appears, you should contact a professional for your basement foundation repair.
2.Prepare The Crack For Repair
After reading the above, the option between hiring a professional and doing it yourself should be narrowed down. To summarize, as a DIYer, you should only be considering this foundation repair method if you have a vertical crack that is 1/8” or smaller. Anything else, you need to contact a professional as the problem may be less visible than just a crack.
However, if you suit the above criteria, we can begin preparing your basement foundation repair.
Step 1
First, you’ll want an epoxy-injection kit that is specially designed for basement foundation repair. Polygem has a superb epoxy called the Liquid Concrete Repair Kit. Each kit comes with a two-part epoxy sealer, 10-oz tubs of liquid concrete, and injection ports. This is all you need to complete a foundation repair, apart from some cleaning and applying tools.
Step 2
When you have the epoxy, you’ll want to ensure that the crack is dry. If not, consider blow-drying it until it feels dried up. When you think you’ve achieved this, wait 15 minutes and re-check if it’s dry.
Step 3
After it’s dry, begin to scrub the crack clean with a hard-bristled brush. This will remove any loose concrete or paint which isn’t needed.
Step 4
To finish off the preparation, vacuum the crack to remove any small particles of dust or debris.
3.Use Nails To Align Injection Ports
Now, you’ll want to tap some nails into where you want to place the injection ports. You should use 10D finishing nails and space them roughly 12 inches apart as a rule of thumb. This is to ensure an even mixture of epoxy when you inject it later on.
4.Formulate The Epoxy Sealer
We’ll use the Polygem Liquid concrete Repair Kit as an example but remember alternative brands may be different. However, you’ll receive two epoxy crack sealers labelled “A” and “B” with the kit.
With the two sticks provided, scoop a generous amount of epoxy with each stick and place it onto a scrap board or container. When both mixtures are together, mix them with a clean putty knife until they blend into a uniform gray color.
5.Attach Injection Ports To Nails
Where you tapped in the 10D finishing nails earlier for the injection ports, you can now apply them. With the epoxy sealer, you mixed, place a small load onto the bottom of the injection ports to allow them to seal with the foundation.
6.Spread The Epoxy Mixture Along The Crack

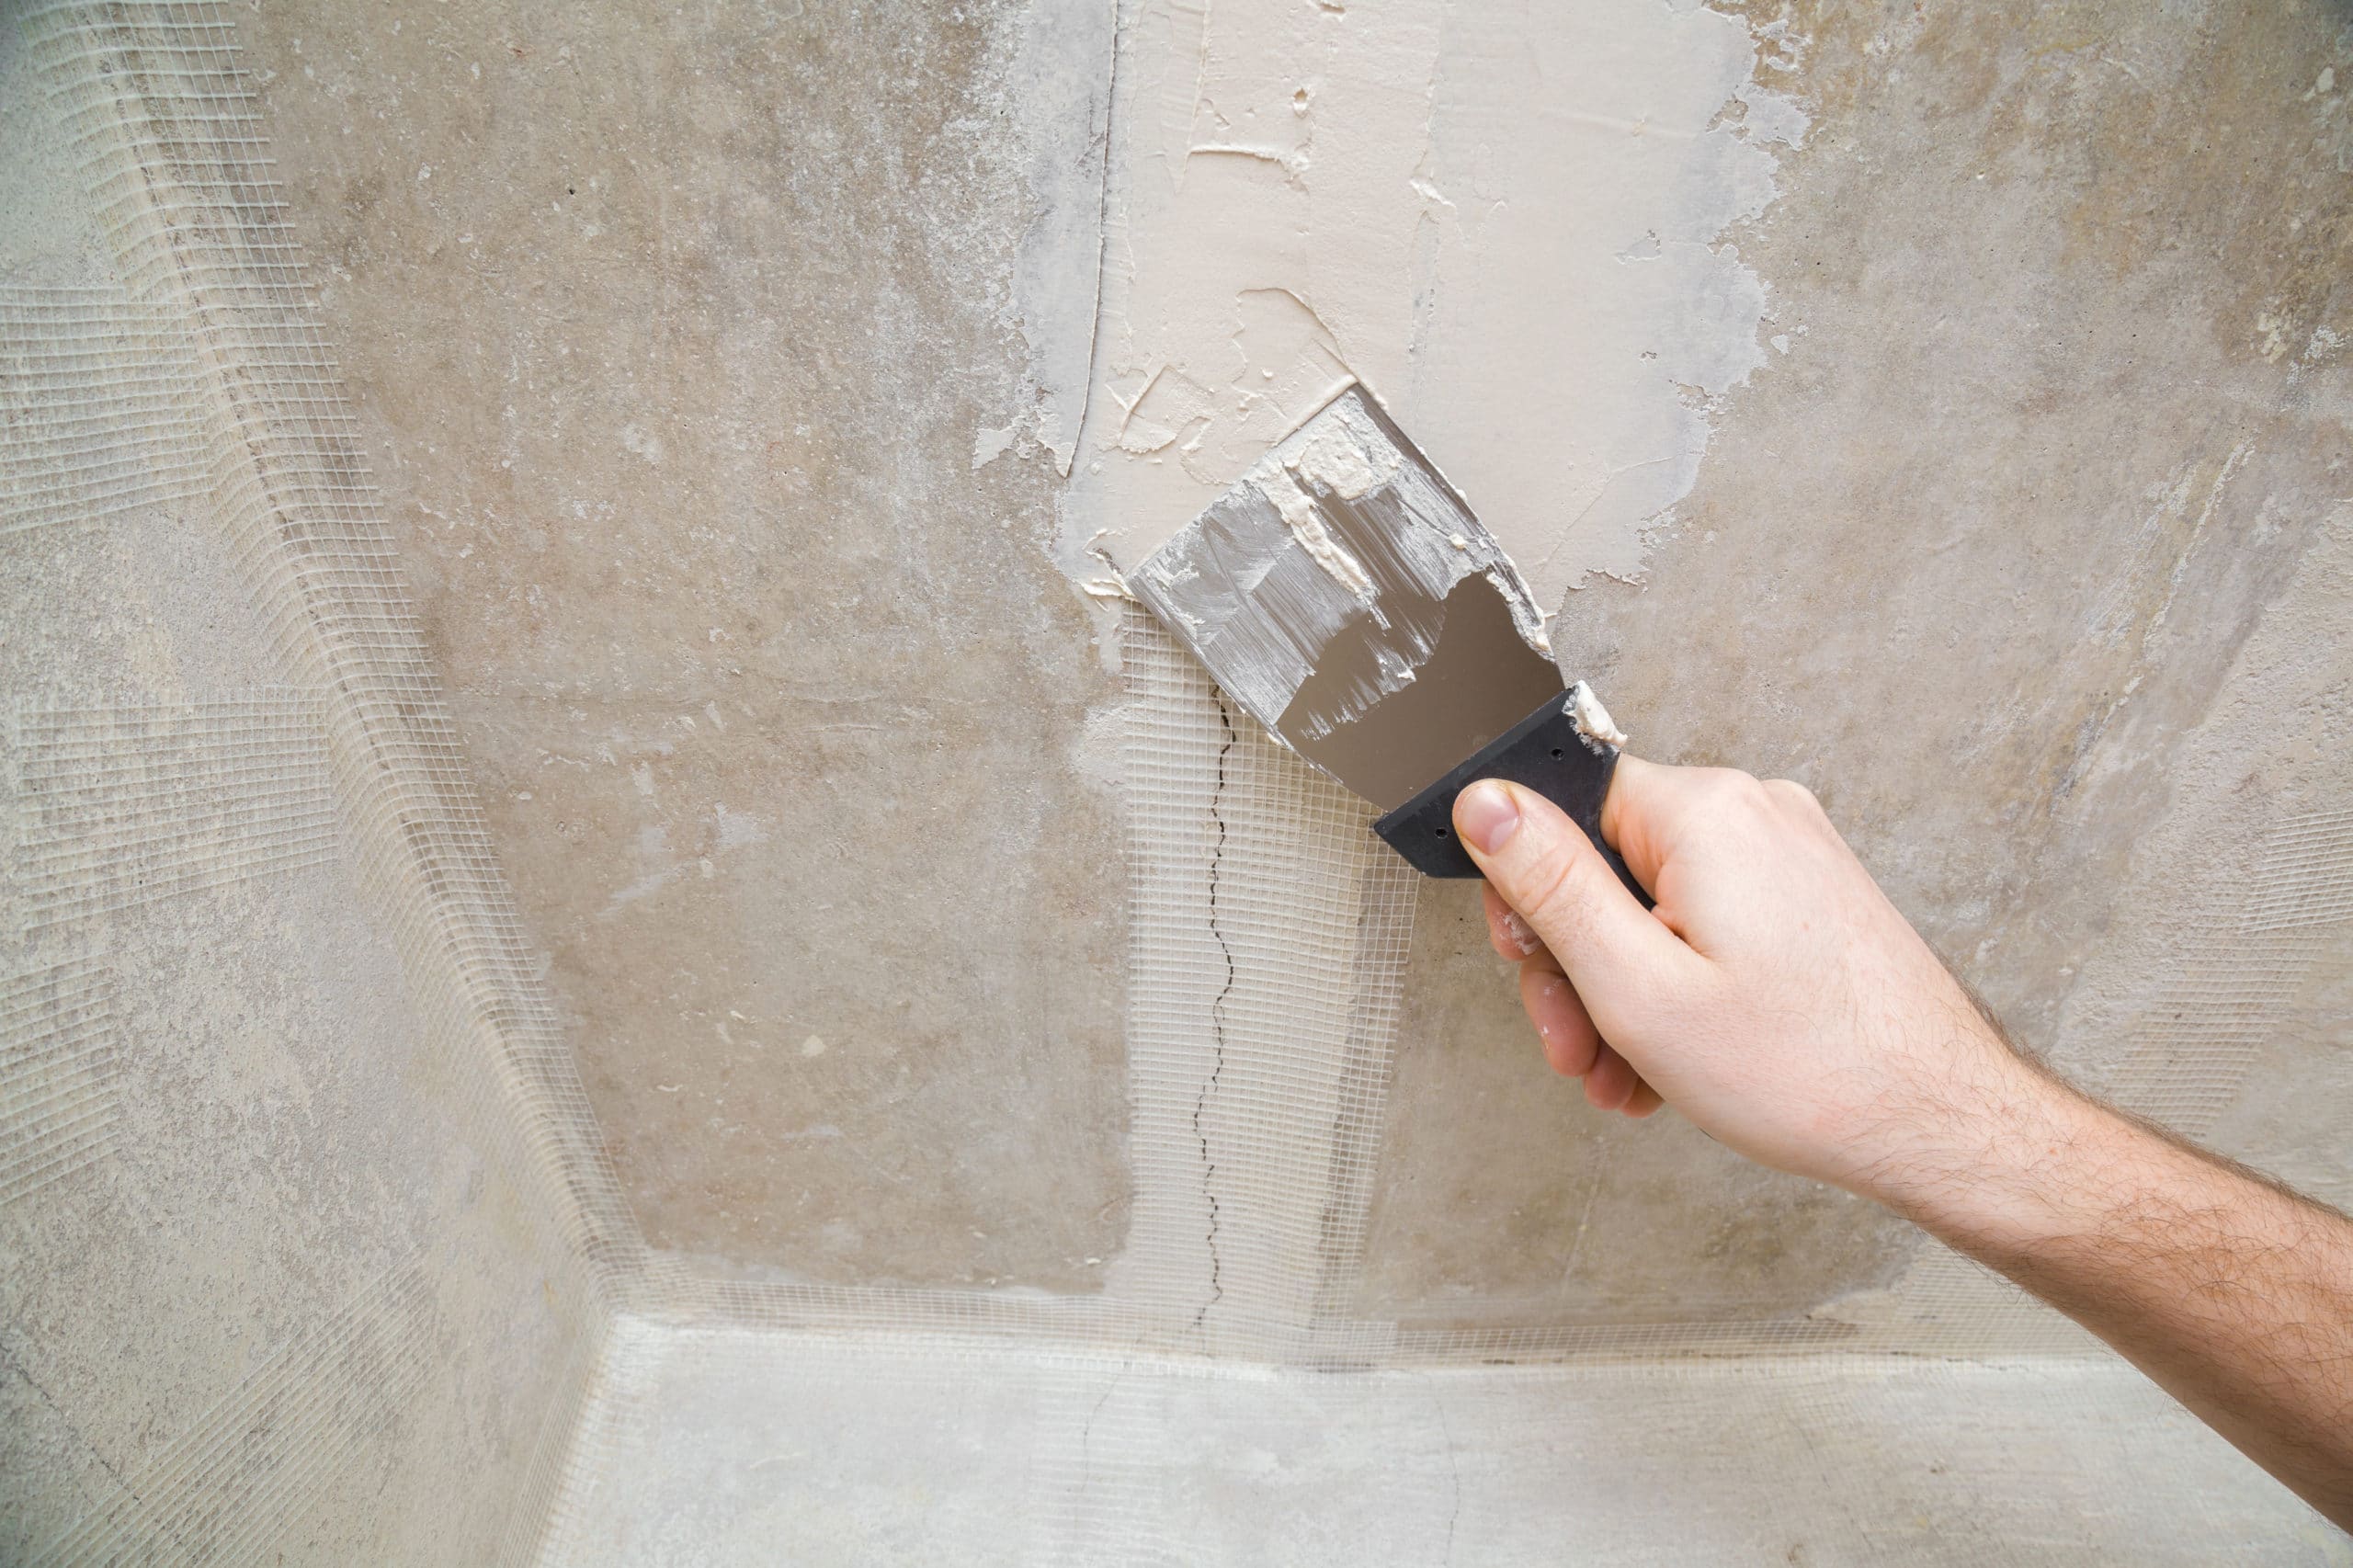
Now you’ve achieved the above, it’s time to cover the crack and the base of the injection ports with the epoxy sealer you mixed together. When applying, be sure not to overuse or underuse the mixture. With a wide and clean putty knife (or margin trowel), spread the mixed sealer in, around, and on the injection ports with approximately 1/8” of the mixture. When applied, smooth out the sealer with a paintbrush dipped in some type of spirits to make it look more visually appealing.
Note, be sure it doesn’t seal the injection points when covering the ports. If this occurs, you’ll have uneven resin in your wall, which could cause issues with the repair.
7.Inject The Epoxy In The Injection Ports

Once you’ve spread the mixture equally across the crack by following the above guidance, then you’ll want to wait around 6 to 10 hours to allow it to cure. Once it feels dry, you can then begin using the LCR epoxy, which looks like a silicone tube in the kit.
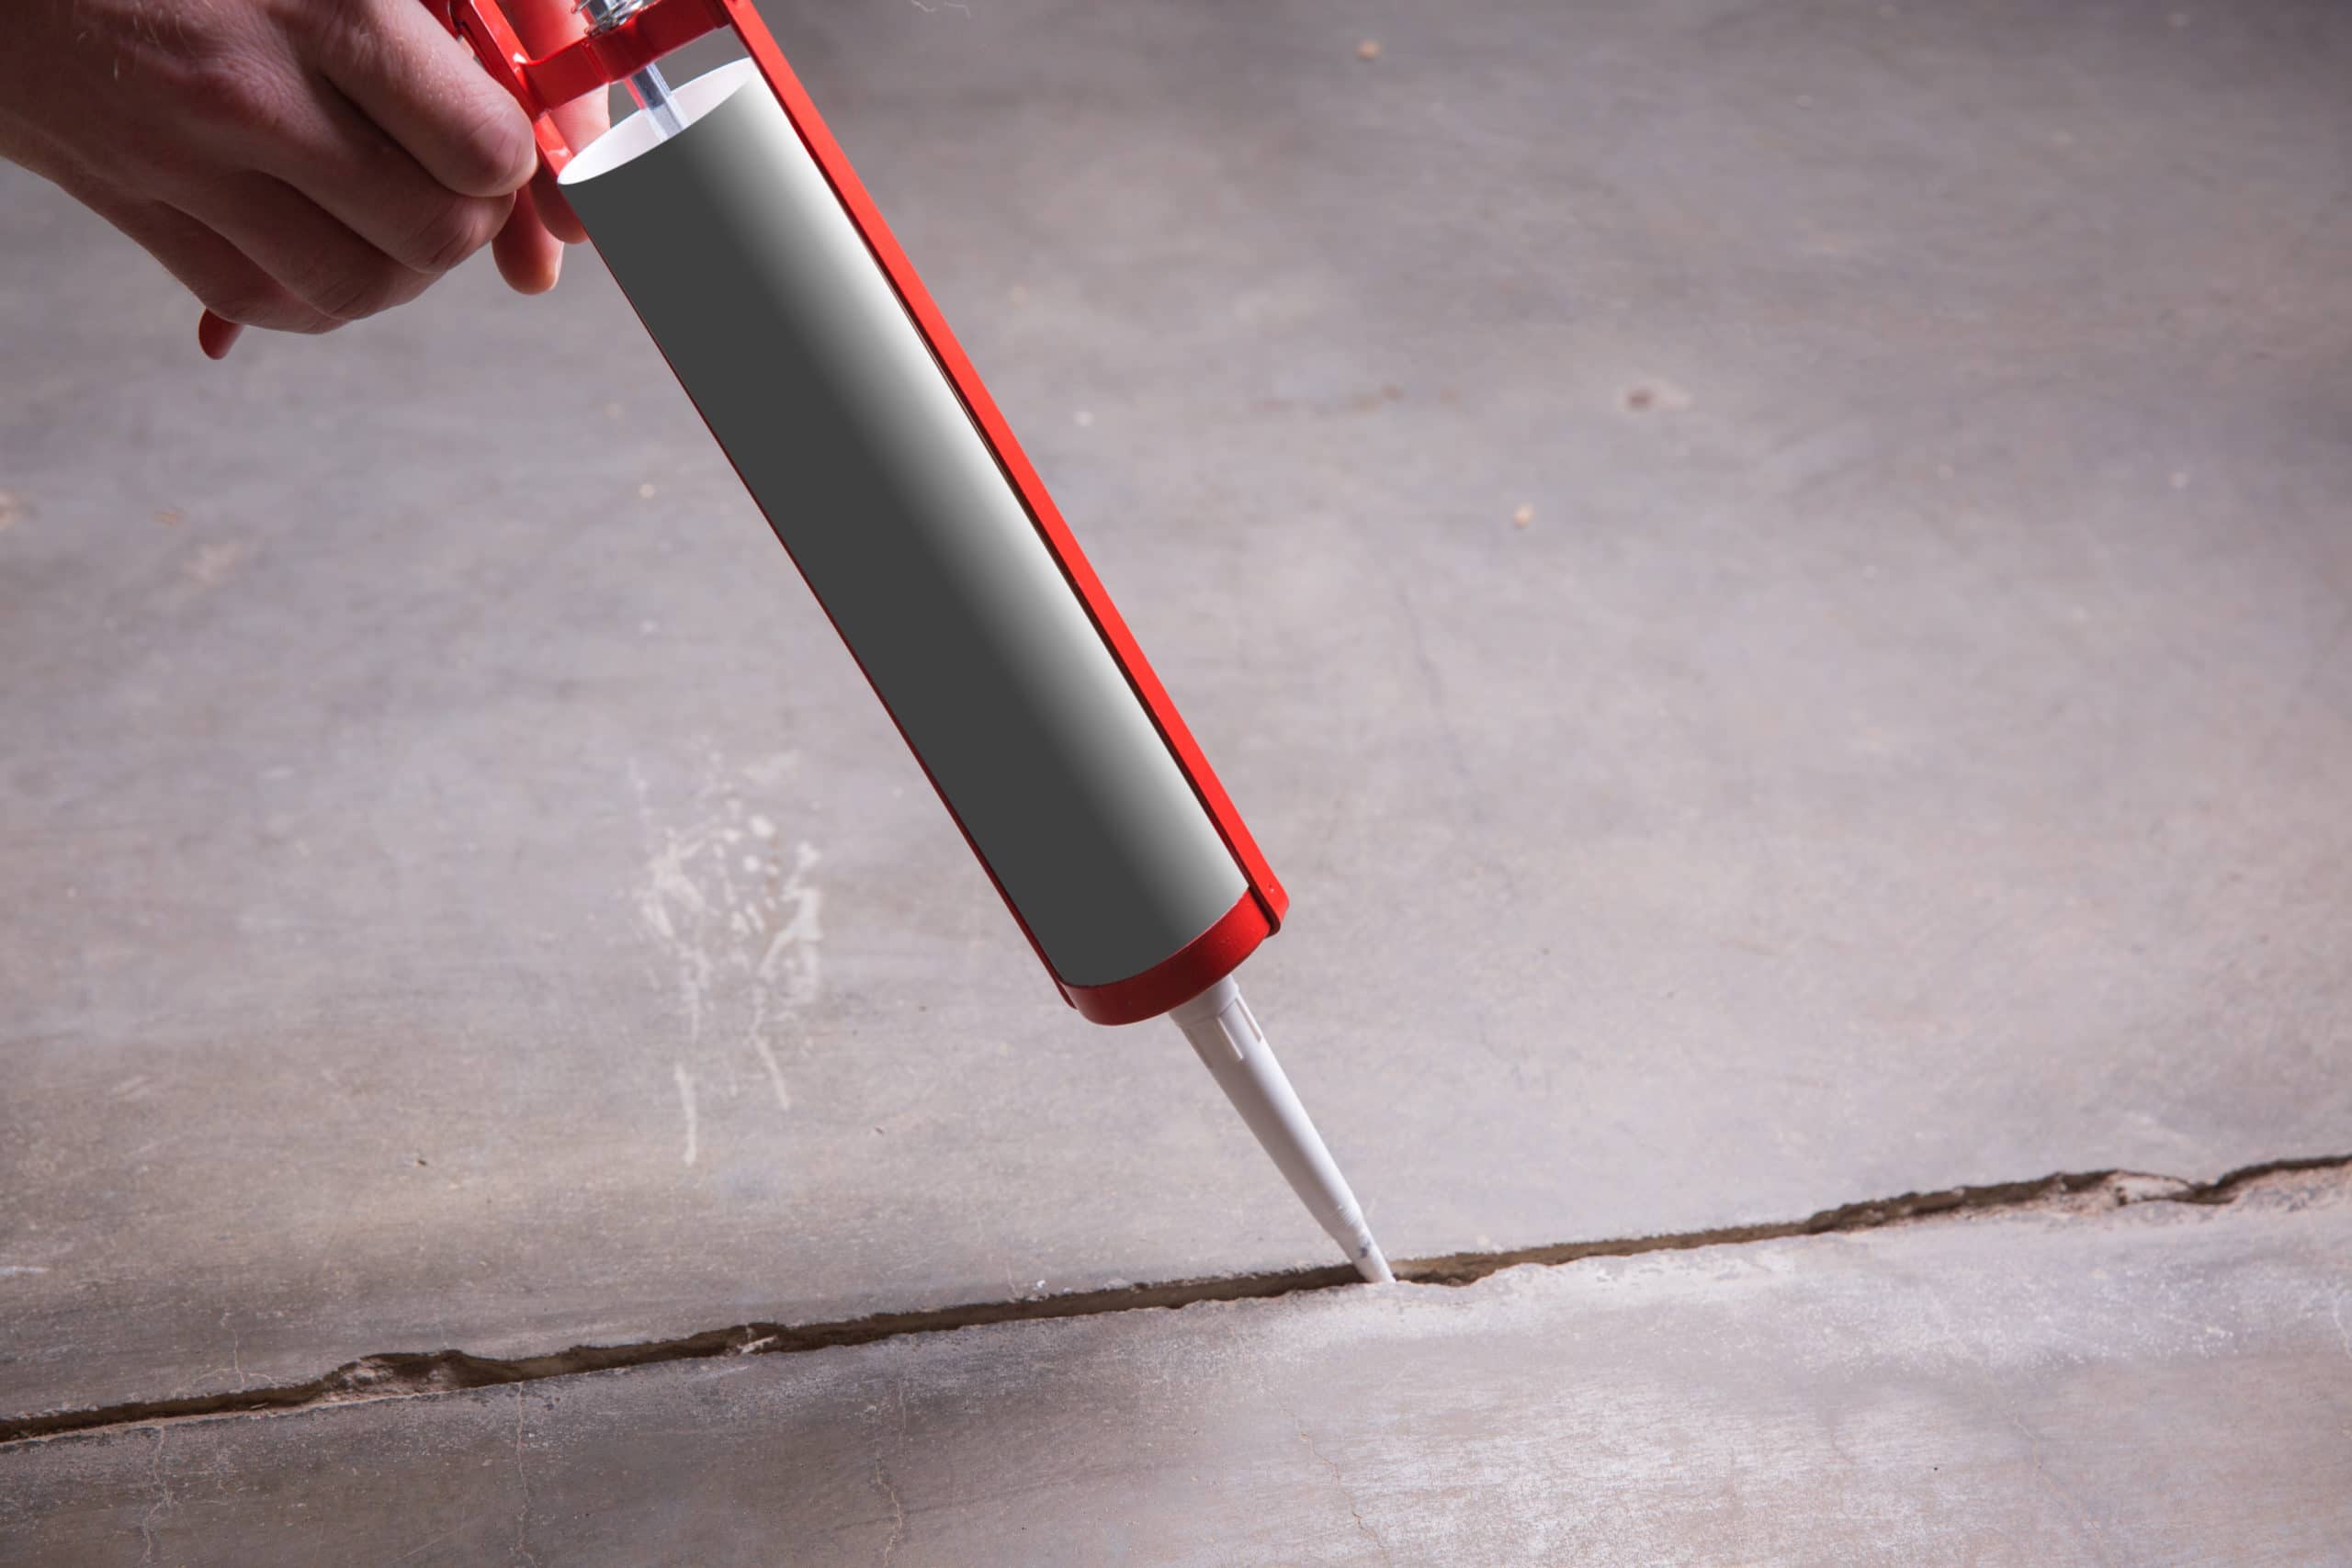
With a skeleton gun, apply the epoxy into the injection ports. You’ll want to start from the bottom injection port and work yourself up, this will ensure an even spread of epoxy. Be sure to squeeze enough epoxy into the injection ports until the substance starts oozing out.
8.Block The Injection Ports Making Them Airtight
After you’ve filled each injection port, you’ll want to make them airtight with the supplied inserts. This will stop the ports from releasing that much-needed epoxy, and it’ll help speed the curing time.
9.Cut The Injection Ports Off
In around five days, you’ll want to cut the spouts off the injection ports. Keeping them on the foundation is okay, they just don’t look visually pleasing. Therefore, if you want to remove them, grab a hacksaw and get sawing away.
When removing them, be sure to fill the severed ports up with a small amount of crack sealer before finishing the job.
Congratulations, you’ve now successfully completed a basement foundation repair. The above foundation repair method is undoubtedly the easiest and most secure. Many poor contractors and DIYers believe that using concrete is good enough to seal, fix, and repair a foundation crack. However, this isn’t the case in most instances, so don’t follow suit.
When To Consider Hiring A Professional?
We’ve mentioned above when you should or should hire a professional when undergoing a basement foundation repair. When deciding if you’re going to undergo the repair yourself or not, It’s extremely important to make the right decision. Failing to do so can result in devastating consequences, which could be more costly than if you were to hire a professional contractor.
But when should you consider hiring a professional? Here’s when:
When Should You Consider Hiring A Professional?
As you can see, there are factors that play a vital role in whether or not you hire a professional to undergo the basement foundation repair.
But just remember, foundation cracks can be catastrophic and others not. If you’re concerned about the seriousness of any crack, speak to a contractor that specializes in that field. Without a doubt, they’ll be able to suggest the severity of the problem and suggest the most effective way of repair.

