To many homeowners, there is nothing more annoying than the constant drip of a leaky faucet.
Aside from the irritation, it also leads to a more expensive water bill and an unsightly stain on your tub or shower in the long run.
If you're hesitant to spend money on hiring a plumber– the good news is, you can give it a try yourself to fix the problem at hand. (Related: Bathroom Remodel Checklist Before Starting Your Project) Here's how to fix a leaky bathtub faucet at home.
Gathering the Right Tools
For your convenience, here are some of the most common tools you’ll need in fixing a leaky bathtub faucet:
And of course, don’t forget the necessary parts for the replacement/repair project. Most of these replacement parts are available at your local hardware store or home center.
Try to locate a plumbing parts distributor near you, as they typically offer a more extensive selection of items.
How to Fix a Leaky Bathtub Faucet: A Step-by-Step Process
Step 1: Ensure the Water Supply is Shut Off
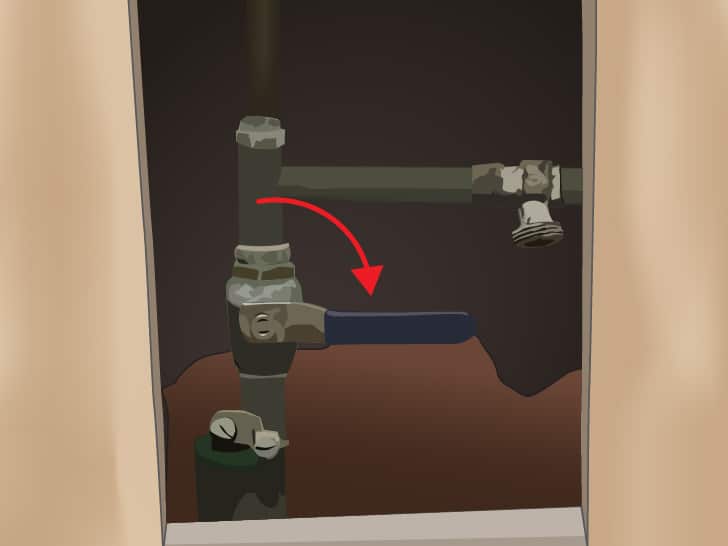
Before you commence on the project, make sure to shut off the water supply. Failure to do so will only spray water everywhere, uncontrollably, inside the bathroom once you remove the faucet.
To do this, find a simple valve that mainly turns off the water supply to your bathtub. Suppose you can't find it– there's no need to worry. You may need to turn off the water supply to the entire house instead for quite a while.
Step 2: Start Removing the Cap from the Faucet
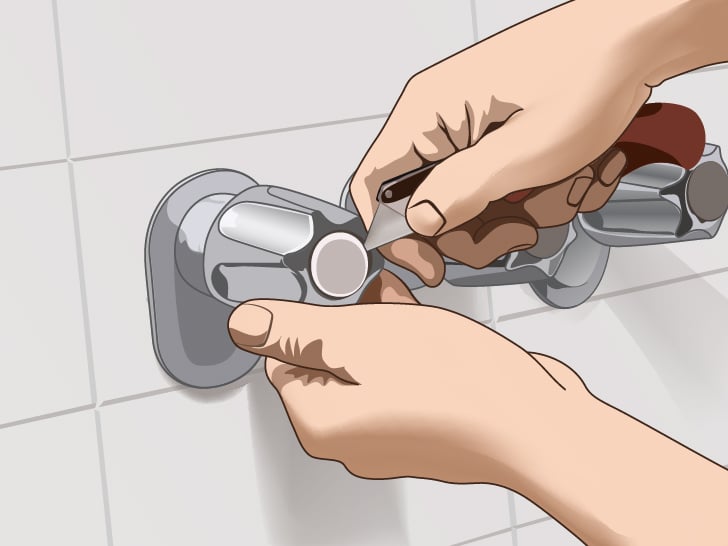
Afterward, remove the cap covering the faucet handle screw using the thin blade of a pocketknife or a screwdriver. You may also want to drain any excess water in the process. Ensure to place the cap somewhere safe– so you won’t end up losing it.
Note: some homeowners may have a hard time removing the faucet handle. It is because corrosion may weld the handle and the stem together.
Step 3: Unfasten the Handle Screw
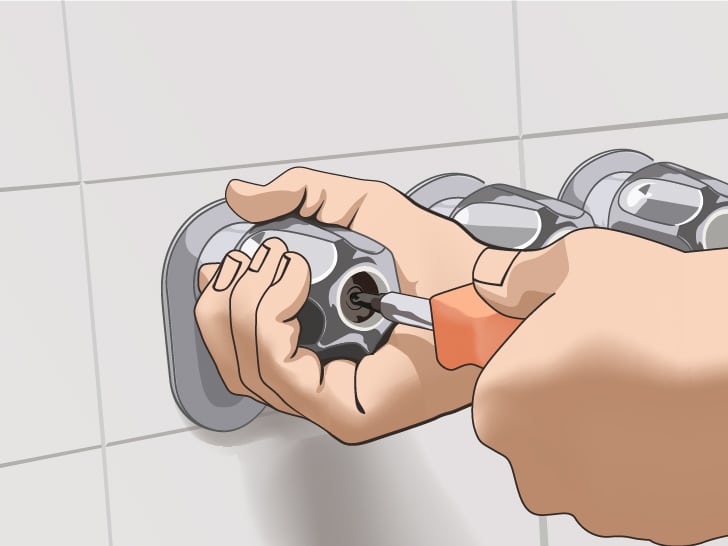
Shortly after removing the cap, you'll typically access the screw in the faucet handle, which holds it in place. You will then need to remove it with the use of a screwdriver.
Place the screw beside the cap to avoid losing these valuable items. Since handles may corrode in the long run, as previously mentioned, you may use a hand dryer to loosen the grip by heating it carefully.
Avoid using too much force– it may only break the handle. Use a handle puller, which is a unique tool designed to help you with this challenging task.
Don't use too much force, or it can break. Consult a local plumber if it fails or doesn't come off regardless of how much you try.
Once the screw is removed, you can now detach the handle.
Step 4: Remove the Escutcheon
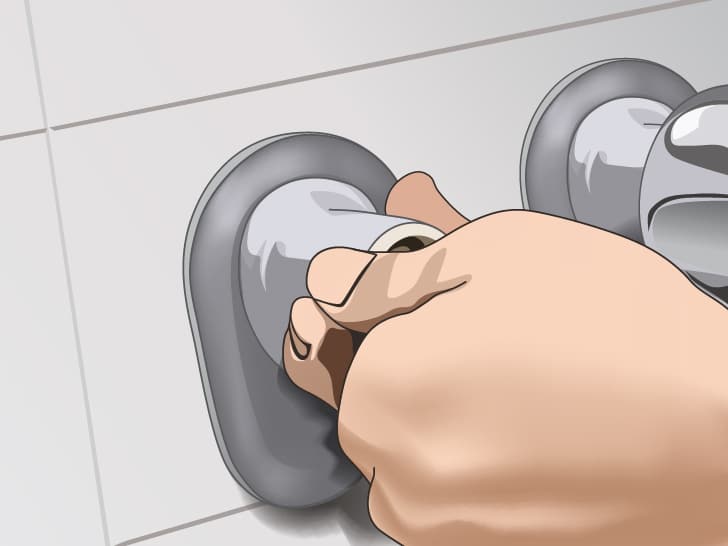
It’s now time to unfasten the escutcheon– which refers to the plate covering the wall hole. Note that this may depend on your bathroom's faucet type, so you may either need to unscrew it entirely or simply twist it off in place.
Step 5: Separate the Stem Assembly
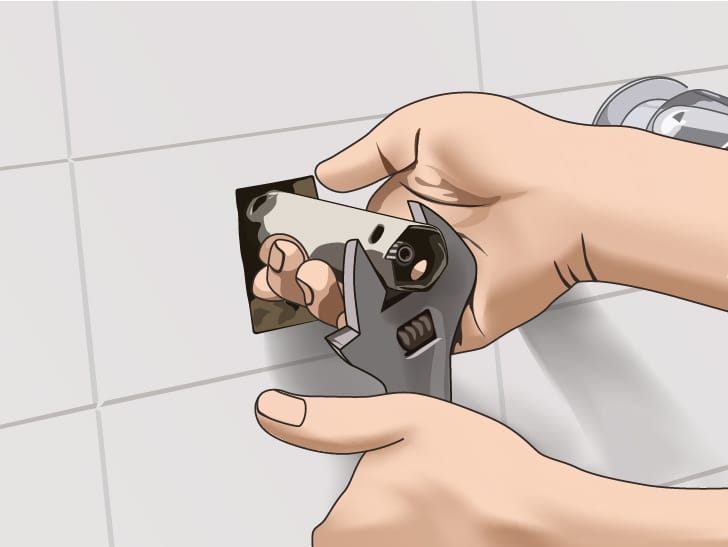
Ideally, you may now access the stem assembly once the escutcheon is removed. Keep in mind that this part is the one you need to reach if you want to stop the leaking.
It also sets the amount of water and its temperature upon dispensing through the showerhead or the tub spout. Use an adjustable wrench to do so quickly, or if you gave a special bath socket wrench– that would be better.
If the bath socket sticks, you may need to coat/soak it with a penetrating lubricant to unscrew and detach the stem easter.
Step 6: Check the Washer
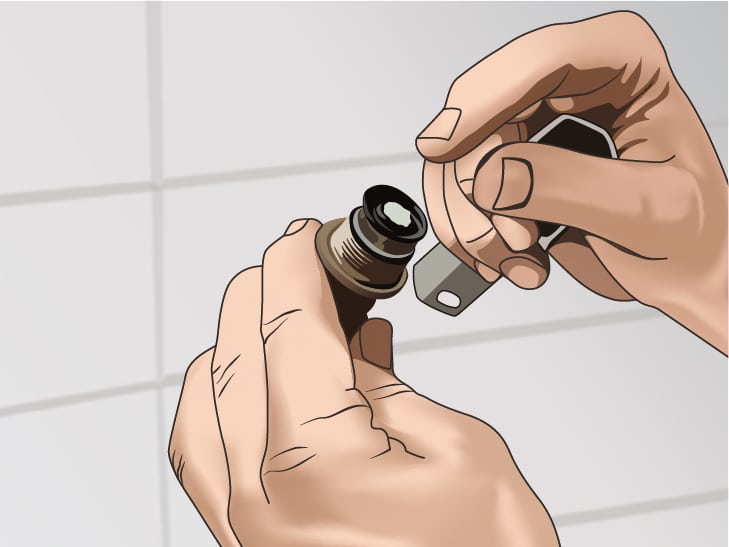
Most of the time, a faucet starts leaking when the seat washer needs total replacement. Once you unfasten the stem assembly, check the washer on the other end.
As the seat washer gets deformed, stiff, and unable to seal tightly in the long run, the water pressure may erode the seat's brass rim. You can opt to have it replaced with the use of a special seat wrench.
The seat refers to the faucet's back portion extending into the pipe. If you're having trouble with snapping the seat lose, you may also have it soaked with Plumber's grease.
Step 7: Identify Faulty Parts for Replacement
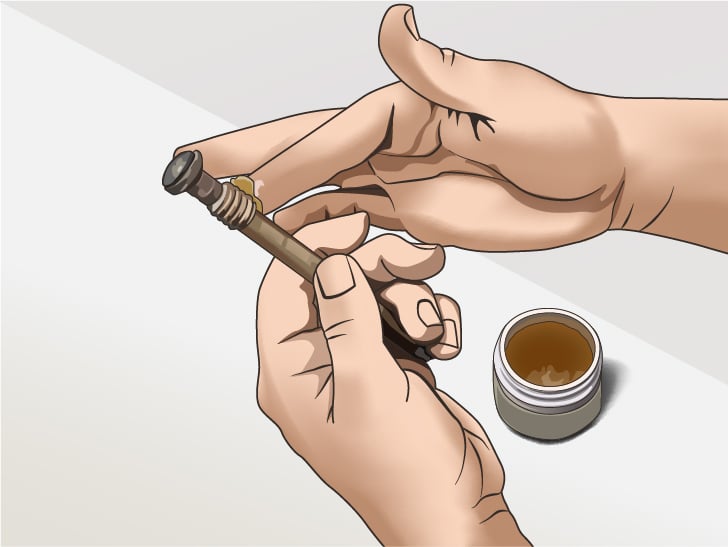
It’s time to check all the parts you recently removed to determine the part/s that need replacement.
Depending on the leak, here’s how that usually goes:
Pro tip: Ensure to locate the proper replacement parts needed. To do this, take the old parts to your local hardware store or home center. It would be tricky to buy the correct replacement parts, given thousands of the same kind available.
Some homeowners may need to purchase specific parts from a plumbing supplies distributor, as particular items are not readily sold.
If you need to buy the parts beforehand, prepare a kit with different washer sizes. It will help you prepare the proper size on hand as you take apart the leaky faucet.
Step 8: Replace the Washer if it’s the Culprit for the Leak
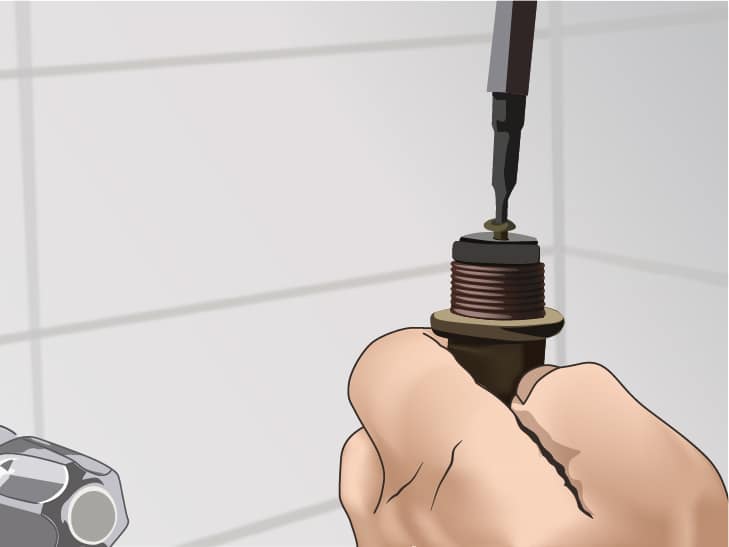
If the washer is the one responsible for your leaky faucet, it’s best to have it replaced at once. Suppose you have a few spare washers at home– you will only need to take one and put it on.
The replacement process is relatively simple too. Start by unscrewing the washer screw, removing the washer, placing the new one and its screws.
If you don’t have any spare washers at the ready, it’s time to visit your hardware store to buy new ones. Ideally, take the old one during your visit to buy the correct one you need.
Step 9: Replace the Seat if Necessary
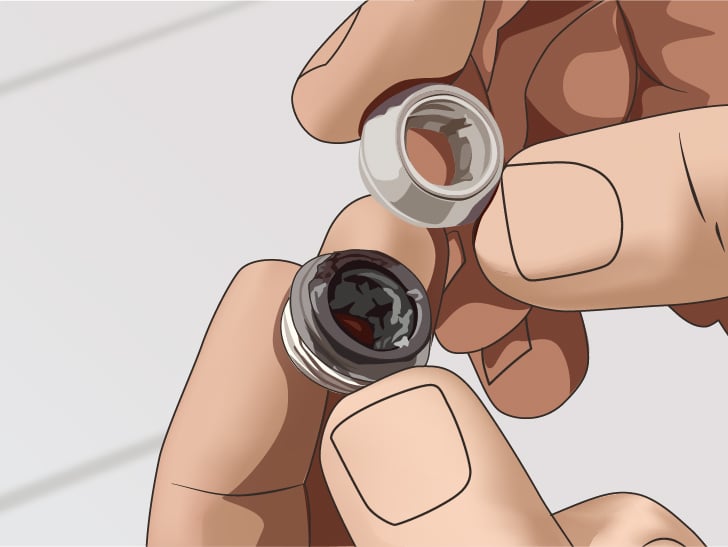
Another culprit for leaky bathtub faucets is a damaged seat. This part usually comes in contact with the washer, so it also becomes damaged if it wears off or is corroded.
A damaged seat may even damage the new washer you just fitted in, which may bring back the leaking problem.
Always check the seat for any visible signs of damage. If you do, replace it at once to avoid future problems.
Step 10: Put Everything Back in Place
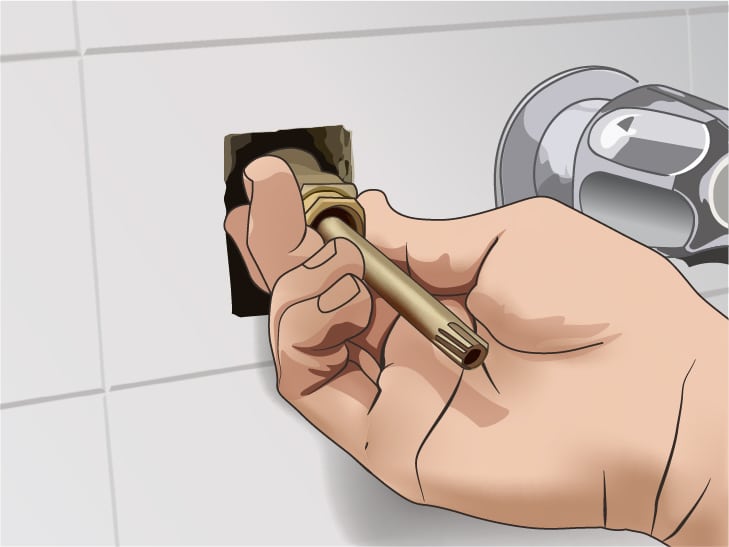
After replacing the washer or replacing the damaged seat, you will need to put everything back in place for the faucet to run as usual.
Replace and tighten the stem assembly, escutcheon, and screw the handle in place. If the handle is firmly attached in return, replace the cap covering it.
Step 11: Test the Faucet to Check
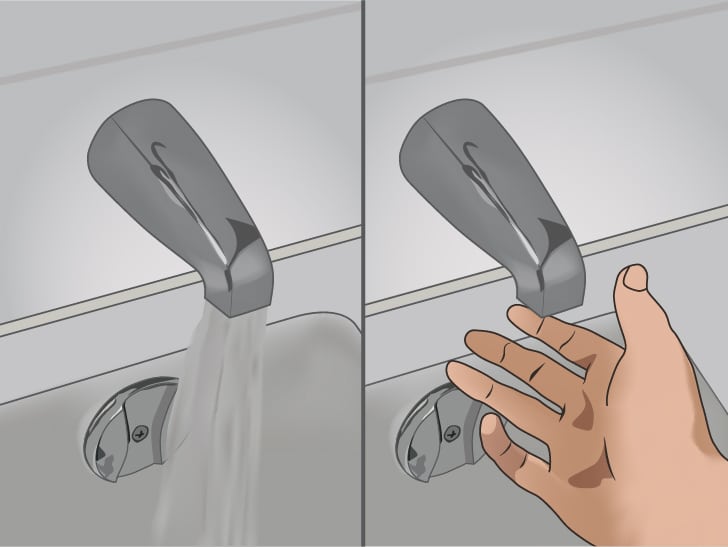
The last step is to turn the water supply on and test if the faucet is working correctly. If the water is running the way it should and the faucet is not leaking anymore, take it as a sign that you have done the repair job correctly.
However, if the test only springs a brand-new leak – it might be time to call a plumber to handle the issue before it gets out of control.
