Preparing for the freezing cold of winter is required in all but the most southerly states of the US. The big freeze of 2021 caused havoc in Texas as normally winterizing your house is not required that far south. With some simple tools and DIY skills, most homeowners can perform the winterization themselves.
The supply to the sprinkler system must be shut off, and all the water in the pipes and spray heads must be blown out with air pressure from an air compressor. Separate circuits on the sprinkler system must be purged of water to prevent the pipes from cracking due to the expansion of frozen water.
The plastic pipes and components of your garden irrigation system are not buried deep enough to escape the winter freeze. If the water is left in the pipes during winter, the freezing temperatures will cause the water to expand and crack the plastic pipes and even the brass fittings. Let's look at how you can do a DIY winterization of your sprinkler system. (Related: How To Winterize Sprinkler System: A Practical Guide)
Blowing Out the Sprinkler Systems for Winter
Water expands when freezing, causing a lot of damage each year to buildings, dams, roadways, and pipelines. To avoid major damage to your sprinkler system due to water freezing in the pipes and components and causing them to crack, you need a couple of simple tools and a low-pressure compressor to purge the system of water.
Blowing out the water in the sprinkler system lines and draining all water from the water supply to the sprinkler connection is a simple DIY task for most owners. If you are unsure how to do it for the first time, get a sprinkler system installer to come and inspect your system and show you how to do it yourself.
A properly installed sprinkler connection arrangement consists of the following elements:
The procedure to blow the water out of the system starts with shutting off the main supply valve to the sprinkler system. This main shut-off valve is normally in the basement or close to the water meter in your yard. Once the main water supply shut-off has been closed, you can go back to the sprinkler connection.
Firstly, shut the valve on the outlet side to prevent air from blowing back into the backflow preventer, which will damage this device. Remove the plastic cap fitted over the blowout valve and connect the compressor pipe. On the sprinkler system control box, select "Manual" mode and turn the selector to Zone 1.
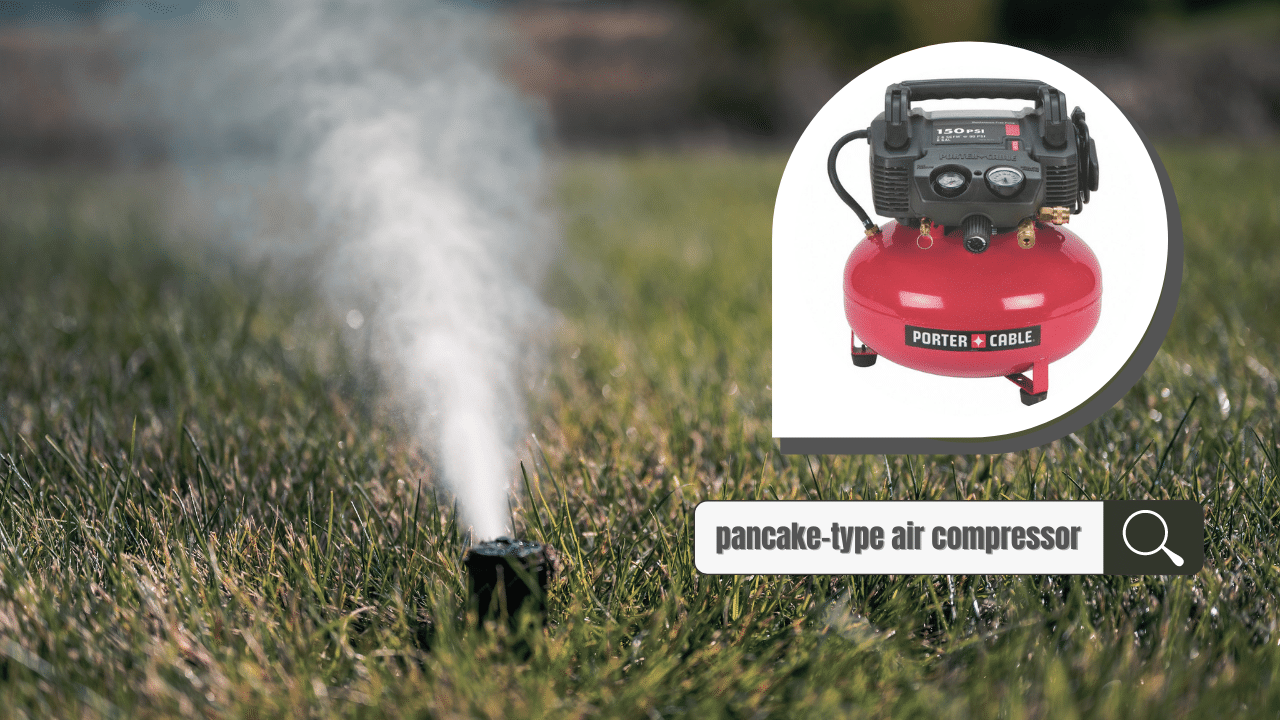
Start the compressor and ensure that the pressure is set to below 80 PSI. As the water is blown out of the sprinkler heads in Zone 1, the water will turn to a fine mist as the pipes for that zone are blown clear of the water. Select the second zone and repeat this process until water has been purged from all zones.
Now shut off the compressor and go back to the sprinkler connection arrangement and disconnect the compressor line replacing the plastic cap, but only half tightening it. Turn the ball valves on either side of the backflow preventer to 45 degrees open. Repeat this operation on each of the four-ball valves on the system with the flathead screwdriver.
These half-open valves will allow any water that may build up in the line to drain out and not build up and freeze. Lastly, drain any water in the main supply line valve to the sprinkler system in the basement. Your system has now been fully purged on any water in the lines, and you are ready for the big freeze to start.
Best Air Compressor for Blowing Out the Irrigation System

A pancake-type air compressor capable of delivering thirty to fifty cubic feet per minute of air is ideal for this task. The compressor should have a compressed air accumulator tank of at least six gallons to build up a sufficient volume of air to blow out the full length of the water lines. A good quality domestic compressor can be purchased for $150 and is suitable for other DIY tasks at home. Compressors can also be rented for this task.
The compressor must have the delivery pressure adjustable to between forty and eighty pounds per square inch (PSI). Above 80 PSI, the pressure would damage polyvinyl chloride (PVC) pipes, and for polyethylene (PET) pipes, the pressure should be set to below 50 PSI to avoid damage.
Start the blowout process at a low-pressure setting and turn it higher only if required. Digging up your irrigation pipes to look for pipe leaks and burst is a task to be avoided at all costs, and, therefore, care should be taken to prevent damage during the blowout process.
Conclusion
Winterizing your home before the temperatures start dropping below freezing is a good practice to prevent damage to sprinkler systems or exposed water supply lines on your property. The residents of Texas experienced a big freeze in 2021 that caused millions in damage as their houses are not designed for such extreme cold.
The Polar Vortex can reach deep down to the most southern states, and being prepared for this can save you a lot of anxiety and costly repairs. Blowing out the garden irrigation system is an easy DIY winterization task to perform. The only special device needed is an air compressor capable of delivering a maximum of 80 PSI.
Ensure that when you have a garden irrigation system installed, the installation includes the required shut-off and air bleed-out valves and a connection point for the air compressor line. Ask the installer to show you must properly shut off the system and blow out all the water in preparation for winter.
