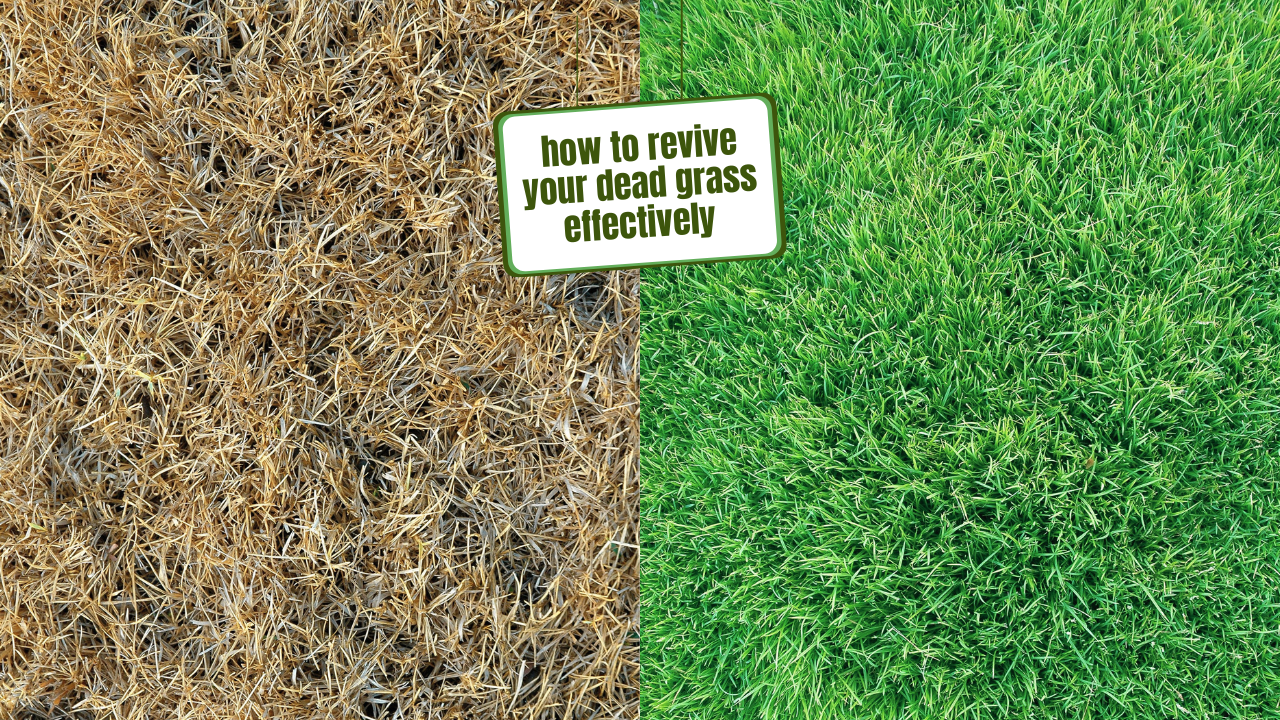
A brown, dry, dead lawn is a stuff of nightmares to many homeowners. Once you see your turfgrass starts to die, there are plenty of culprits behind it, such as improper feeding and watering, lawn disease, or pest infestation.
To revive dead grass fast, you'll need to determine the exact cause behind it, so you know the correct course of action to take. It may not be easy, but the good news is that you can try to revive a dead lawn in several ways.
9 Tips on How to Revive Dead Grass

Here are some tips to follow in reviving your dead turfgrass at home.
1. Assess the Situation: Ensure the Grass is Dead and not Dormant
First, you will need to ensure the grass isn't just dormant. Several types of grass go dormant and turn brown in the process.
For instance, cool-season grasses in the northern regions enter dormancy in midsummer, especially under drought conditions. But, they usually spring back into life at some point. Meanwhile, if the grass is discolored and dried out, it may not turn green again.
2. Determining the Cause of a Dead Lawn
If the grass turns dry and brown, it's only natural to think about laying down new sod ASAP. But, we can't stress the importance of determining the exact cause of your old lawn's death. This will help you avoid ending up with another dead lawn.
Generally, there are several causes of dead lawns and patches. You may need to do a bit more digging to determine which one is the culprit for your turfgrass.
3. Prepare your Site
The next step in your mission to revive dead grass is to start preparing the site. You must create a healthy new environment for your new grass sod to efficiently take root. Ensure to remove any old grass or weed in place.
Use Herbicides: On a similar note, you can purchase a non-selective herbicide over the affected areas of your yard. Most commercial herbicides take about two hours to dry before becoming rain-proof.
Pro Tip: Use herbicides on your lawn on a sunny day to make the task easier. Wait for at least one whole week to let the herbicide take effect.
4. Eliminate Excess Thatch
Next is to remove excess thatch in the area– a layer of build-up composed of decomposing plant materials. Thatch thicker than ½ inch will deprive your lawn of the proper nutrients, water, and air it needs. It may also lead to lawn diseases and potential pest infestation issues, hindering proper root development. Use a vertical mower or a power rake to remove thick thatches on your lawn.
5. Aerate by tilling the Soil
The next step involves tilling the soil for five to six inches in depth. This allows you to utilize all existing vegetation. While tilling, homeowners with clay or sandy soil may add compost (four to six inches). The organic matter helps the soil hold water better and makes it less bulky.
6. Fertilize after Testing
To revive dead grass fast, it would be best to test your soil for phosphorus—this aids in the healthy development of the roots. If the test suggests that your soil needs more phosphorus levels, you must spread it throughout the lawn evenly.
7. Plant new Sod or Seed
Finally, the next stage involves planting the new sod or seed.
8. Roll the Sod
Once the planting is completed, use a lawn roller to roll the area. These can be rented at your local home equipment rental outlets. For your reference, rolling helps ensure the right seed-to-soil contact for proper growth and development.
9. Final after-care Steps
Once the planting and rolling process are done, ensure that the area is adequately watered. Please don't overdo it, though. This will only cause the lawn to be soggy. Keep your lawn moist to ensure ideal growth conditions for your new grass. Water the area a few times daily during the first couple of weeks. You can lessen the watering frequency over time. Moist soil helps the root grow more profound, while it may only grow close to the surface given light and improper watering.
As you wait for the new grass to establish itself in the area fully, here are some expert-backed tips to keep in mind:
Now that you've learned how to revive dead grass, you'll realize it's not a difficult task. But, it will undoubtedly need your commitment and patience. Always ensure your new lawn is adequately irrigated, avoid trimming it too short when mowing, and ensure it is fertilized in the spring and fall months.
Doing so allows you to enjoy your new, healthy turfgrass for many years! (Related: Will Watering Dead Grass Bring It Back To Life?)
Frequently Asked Questions
What are the common causes of grass dying?
These are the major causes of dead grass:
You may now start reviving your dead lawn once you've eliminated all potential causes for its death and handled any issues that may have occurred.
What are some tips to keep your lawn healthy?
Once your dead grass has been revived, follow these tips to keep it looking great:
