In this guide, we'll cover everything you need to know to make economically savvy decisions when it comes to DIY-ing Hydroseeding!

What is Hydroseeding?
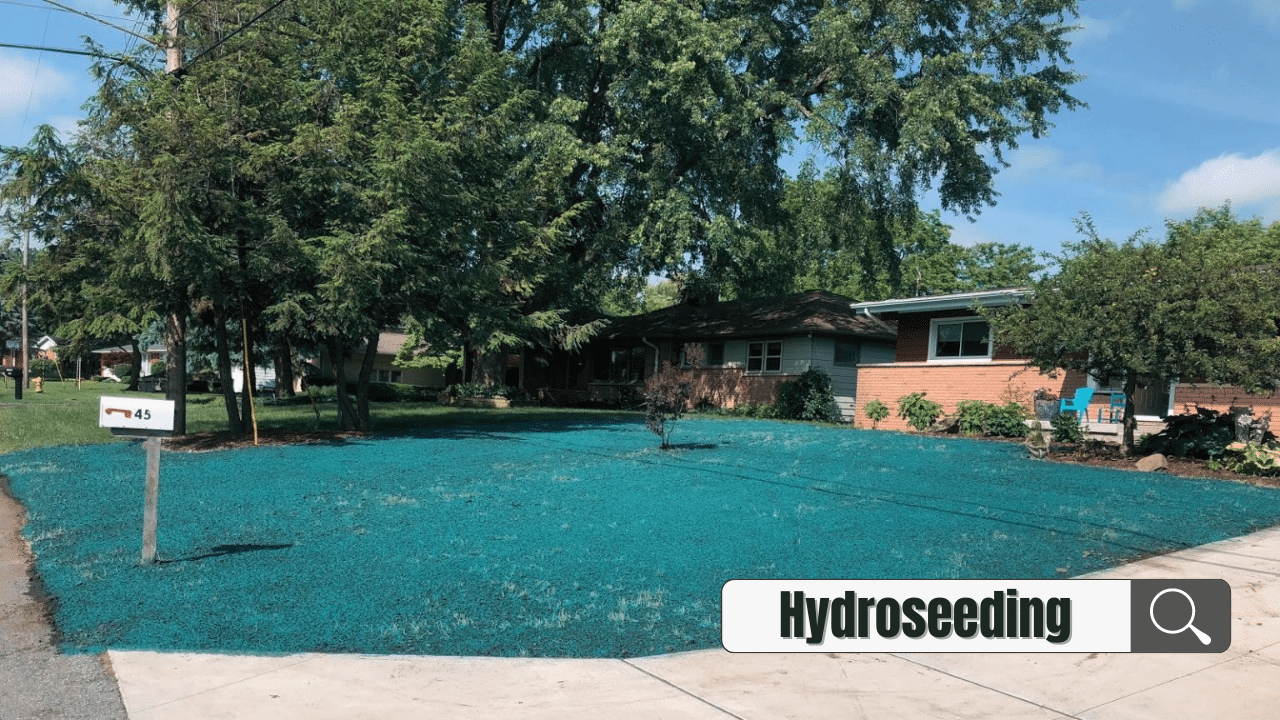
Hydroseeding can be a more efficient and cost-effective method to getting new grass in a particular area (as opposed to laying pallets of sod).
Hydroseeding is also known as hydraulic mulch seeding or hydro mulching. This process involves mixing the grass seed, mulch, fertilizer, tackifier, and other soil additives to produce a watery slurry.
This is then sprayed over the desired area to spread the seeds evenly for fast growth while improving the soil quality. (Related: How Much Does It Cost To Replace A Lawn?)
Can Hydroseeding be a DIY Project?
Hydroseeding a small area can be a DIY project, but doing a full yard requires proper equipment which can be cost-prohibitive for someone only doing one project -- even when renting equipment.
Let’s break down hydroseeding as a DIY project and you can decide for yourself whether you want to tackle it or not.
What are the Hydroseeding Supplies?
Canister-designed hydroseeding kits are available in your local lawn or hardware stores. Most kits are priced at $18 to $40 and are designed for easy spraying application.
These "spray-on grass" seed products are generally made for residential places with smaller lawn areas. It is usually marketed only to fill in bare patches of dried, dead grass, damaged lawn due to heavy foot traffic and is an ideal solution for pet burn spots.
A few examples of these hydroseeding kits would be:
If your project requires more than a few square feet, then you need a machine to get the job done. A hydroseeder machine consists of a tank where all the seeds, mulches, fertilizers, and other biostimulants are mixed up until it becomes a slurry and then sprayed onto the yard or lawn.
There are different types of tanks that you can use to process the slurry: a jet-agitated tank and a paddle-agitated tank.
Jet-agitated tanks have fewer moving parts and do not require regular maintenance. This tank uses a rather powerful flow from the pump to fully mix and produce the slurry. It is also very easy to use. On the other hand, paddle-agitated tanks have well-designed paddles to allow a proper mixture of the slurry. Because of the paddles used, this type of machine can handle heavier materials to be mixed.
A Hydroseeding machine will cost $2,000 - $30,000 new. That’s certainly out of the price range for a DIY project.
Renting the machine from a company like Sunbelt would cost approx $250 / day. Also consider, you’ll need a truck with a trailer hitch and picking up / returning the equipment will take a few hours (you know the rental desk never moves very fast).
It is a must to start with a soil pH test, especially if you are going to hydroseed a completely new lawn or if you are about to introduce a new grass species. There are different grass types, and they individually require certain pH ranges to survive.
There are two ways to know the specific pH level of the soil in your lawn. If you are working on a smaller residential lawn, you can buy your test kit for $8 - $20 and examine it yourself. At the same time, for larger lawn areas, you may want to get a more comprehensive result since you will be covering a large area, and you can achieve this by seeking assistance from a private laboratory.
Hydroseeding an area that is compacted or rocky will require some preparation to allow the seed to get into the earth.
A cultivator is a piece of smaller equipment compared to a tiller. You can recognize this by its rake-like function that is used for lighter work like pulling out weeds and any other unwanted grass in the area.
Meanwhile, a tiller is a powerful version of the cultivator as it is made to do tougher jobs on tougher terrains. This equipment is best used especially when the area has compacted and rocky soil that needs to be broken into pieces.
Some manufacturers have designed a combined cultivator-tiller equipment that can best handle different soil types. You can purchase one for less than $200.
The hydroseeding method does not require any special seed to be successful. You can use just any seed in hydroseeding and purchase one for $25 that already includes erosion control mixes, native grasses, wildflowers, and just any grass that can be from seed.
When hydroseeding, we would suggest a high phosphorous starter fertilizer that you can buy for about $20. You have to remember that the higher the numbers are, the lesser filler in the fertilizer.
There are hydro seeders with a metal tank, and it is not good when used with Nitrogen (fertilizer has nitrogen content) as it is very corrosive.
Because of this, some people would prefer to spread the fertilizer as a secondary step and utilize a fertilizer spreader instead. This is not particularly affecting hydro seeders with a poly tank.
In addition, although you can use whatever fertilizer as you wish, just please don't use an Agricultural Fertilizer when hydroseeding.
Mulches can range somewhere between $15 - $25 depending on the type of mulch you want to use.
How Much Does DIY Hydroseeding Cost?
There are factors to consider when calculating the cost of doing a DIY hydroseeding process. The cost depends on the following:
Depending on your choice, you can either buy a hydroseeding kit at your local hardware store or buy a hydroseeding machine. You do have the option to build your hydroseeding equipment or rent one as well.
Perhaps the most expensive part of DIY Hydroseeding is the machine that is needed to spray out your mixture.
A hydroseeding kit, as mentioned above, is marketed only to fill lawn patches caused by foot traffic, dog poop burns, and the likes. This kit usually comes with its ingredients to produce a slurry mix and it would only cost you around $8 - $30. Hydroseeding equipment on the other hand is priced at almost $2000.
Suppose you're not comfortable with those options. In that case, you can build your hydroseeding equipment and this involves getting the right tank size with the proper size of the hose, a special nozzle that's specific only for hydroseeding use, pump, and agitator.
While this is a cheaper option, the cost can still go around $900 - $1000 to make your equipment. For rentals, the range is somewhere between $250 - $400. At the same time, if you’re someone who enjoys participating in auctions, you may bid and get a used hydroseeding machine for less than $600.
For the seed to be used in this process, and other parts of the mixture to create a slurry, like mulches, fertilizers, and biostimulants, this can cost you around $80 - $100.

DIY Hydroseeding Process
You can follow the steps below to enjoy the process of hydroseeding:
- 1Select the right seed: Unlike other methods of growing grass in your yard like traditional seeding or laying sod, with hydroseeding, you can use a grass blend that is made from different grass species. The good thing about this is that each variety of seeds has its beneficial traits. But first off, you need to assess the kind of weather you have in your location, then select the blend that best suits your environment or just basically the characteristic of grass that you're after, like prioritizing drought-resistant and disease-resistant from heat-resistant seeds. It just depends on your preference, too.
- 2Check your soil conditions: You need to perform a soil test regardless of the type of seeding method you use. Ensuring that your soil has the right pH -- alkalinity and acidity level. Most grass species can thrive at a soil pH ranging from 6.5 to 7. If you have a soil sample with a pH level exceeding 7, that would mean that the soil has too much alkaline. Too acidic and too much alkaline level on your soil is not good as it can be detrimental to your plans. You can buy a commercial test kit at any local store.
- 3Clear the affected area: It is very important to remove any debris like stones and twigs from the area. You can pull out unwanted grass and weeds on that location you are working on with the use of a cultivator. If you are covering a larger area, then you may want to consider using a tiller instead.
- 4Loosen the soil: With the help of a cultivator or a tiller, you can aerate the soil and stir in fertilizer and compost. This is an important step if you are working on a completely bare lawn. Churn up the first 2 – 3 inches of soil to pull out weeds and unwanted grass. This is also a good thing so you can assess the quality of your soil. If the specific area has experienced erosion and the quality is poor, this is the best time to apply topsoil. The topsoil layer should be about 3 – 4 inches deep to get ideal results.
- 5Prepare the slurry: Fill in the tank with the desired amount of water and mix your ingredients in batches. Mix up the seeds, mulch, fertilizer onto the water. The measurement of the slurry depends on the manufacturer so make sure to check the instructions ahead of time. You must remember that your slurry needs to be very liquid almost like regular water and not chunky like a chicken soup.
- 6Spray to the desired area: Start spraying the desired area using whichever hydroseed equipment is best for your lawn. You need to consider the weather before starting to spray, make sure there is no extreme weather that's predicted. You may waste all your efforts if there is a storm coming or too much heat maybe.
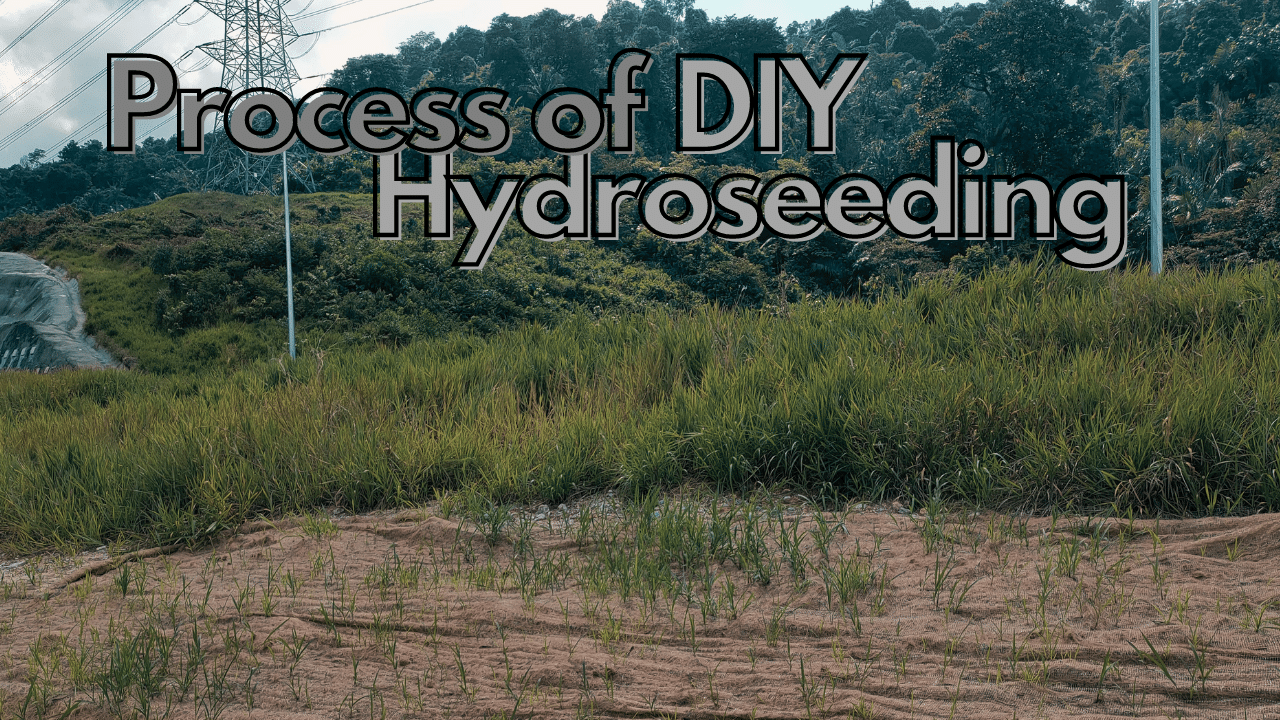
- 7Maintenance: Hydroseeding your yard does not stop when you are done spraying. After this, your yard will need special care. For the first two months, make sure your yard is moist by watering two to three times a day for the first few weeks. Then, gradually make it twice a day for the next six to seven weeks. Make sure that the growth of your grass is not interrupted. Furry friends and your kids are not allowed to set foot in your yard. With proper maintenance, you will start to see grass sprouting in maybe 7 – 10 days.
Frequently Asked Questions (FAQs)
Yes, you can build your hydroseeding equipment, and this involves getting the right tank size with the proper size of the hose, a special nozzle that's specific only for hydroseeding use, pump, and agitator.
It depends on the capacity of the unit you want to purchase. Hydroseeding machines are usually priced between $1,000 - $30,000.
The mixture contains water, choice of grass seed, mulches, fertilizers, tack, and biostimulants.
Most hydroseeding mulch is blended with tackifiers that work as an adhesive to hold both the seed and the mulch in its position in heavy rains. Tack and mulch combined in your slurry help prevent soil erosion. It also creates almost a protective layer that helps retain moisture in the slurry—resulting in rapid grass growth.
Conclusion
Hydroseeding is not only effective for reseeding a damaged part of your yard or if you are just planning to plant grass on completely bare soil.
It is also easy to DIY. Just remember to plant a good quality native grass species on your lawn, choose the best mulch with a tackifier and prepare your soil as required. Also, you must keep in mind to water the area as necessary.
