In sealing a window or adding a layer of protection to your bathroom tiles– silicone sealant has been a crowd-favorite material for such a purpose.
This sealant type will undoubtedly crack, fall off, or loosen in the long run when used on tiles. That said, you will need to scrape it off with a knife or razor blade delicately.
The good news is, you don’t need to hire a professional to remove the silicone caulk from the tiles. You can do it by yourself without any special caulk removal tools – provided you have the luxury of time, that is. (Note: it can be a pretty time-consuming task).
Now, let’s get to the process of how to remove old silicone caulk in your bathroom tiles!
6 Steps to Remove Silicone Caulk from Tile
Step 1: Gather the Right Tools
As previously mentioned, you don’t need any special tools to attempt a caulk removal process. Here are some things you need for the job:
As a safety precaution, wear gloves before you begin removing silicone caulk from the tiles.
Step 2: Inspect the Area
One important task to remove silicone sealant from the bathroom tiles effectively is to assess the entire area. Doing so lets you know the project’s scope– the total amount of silicone caulk to remove, such as when you recently did renovation work or applied it to seal the tiles.
Additionally, it will also give you an idea of how long it will take you to complete the project.
Step 3: Prepare the Area Accordingly
Next, you will need to prepare the surface by cleaning the space around the silicone caulk. You may use a cloth dampened with water or rubbing alcohol. And once that’s done, ensure to keep the surface dry again.
Things to keep in mind:
Using gloves for the project is more than just for safety reasons. In most cases, it’s better to wear a glove on your non-dominant hand for proper friction and stability. It will mostly depend on where the caulk (to be removed) is located.
Step 4: Make an Incision
Choose a particular caulk seam to get started. Make use of your utility knife or razor and make a shallow cut on one side of the seam.
Then, hold the knife so that it’s near the wall at the silicon base– before sliding it down its entire length. Be careful; you may end up cutting into the wall if you aren’t cautious enough.
The goal here is to loosen the edge of the caulk seam instead of cutting all the way through. You will need to repeat the steps on the other side. Slowly slide the knife blade along the seam’s length, just close to where it meets the tile.
Things to keep in mind:
Step 5: Remove the Caulk
After slicing the seam, loosen the silicone sealant by holding it on one end. You can then peel the caulk away from the tile surface. By doing so, you may also pry away the silicone filling the joint along with its visible outer part.
If there’s any resistance from the sealant, you can use a utility or putty knife to lever it until you remove it altogether. Dig out the leftover visible pieces carefully. Repeat the process for the other silicone caulk seams you want to remove from the tiles.
Pro Tip: Patience is your best friend here. You will want to do this step gradually to remove as much silicone caulk as possible without damaging your tiles.
Ideally, position the knife at the proper angle and take your time to avoid leaving visible scratches.
Step 6: Clear the Traces
Lastly, give the tiles some good scrubbing to ensure no residue is left behind. You may use a scouring pad with acetone to wipe over your bathroom tiles.
Note that some stubborn residue may require vigorous polishing or cleaning. The nature of caulk doesn’t come off quickly– so it’s common to see visible traces left on the tiles even after removing them.
Instead of scraping the tiles again using a knife or razor, you may opt to use a scraper to smoothly graze over the surface, scrubbing it with a damp cloth, and repeat the process until there’s no visible caulk presence.
Additional Tips
Here are some extra tips to make your silicone caulk removal process easier and more convenient:
Frequently Asked Questions (FAQs)
What is Silicone Caulk?
Silicone caulk is used for various professional and home applications. It is a type of adhesive that is exceptionally resistant to chemicals, water, and even several weather conditions.
One of the most common residential applications of silicone caulk is to seal plumbing fixtures such as bathtubs, faucets, toilet repairs, and sinks.
How long does it take to remove caulking?
On average, give it at least four hours to remove the silicone caulk. Remember that a bottle of chemical caulk remover typically covers up to 20 to 30 linear feet of caulk.
Final Thoughts

Inevitably, homeowners who have used silicone caulking to seal plumbing fixtures or to weatherproof the house will notice cracking in the long run.
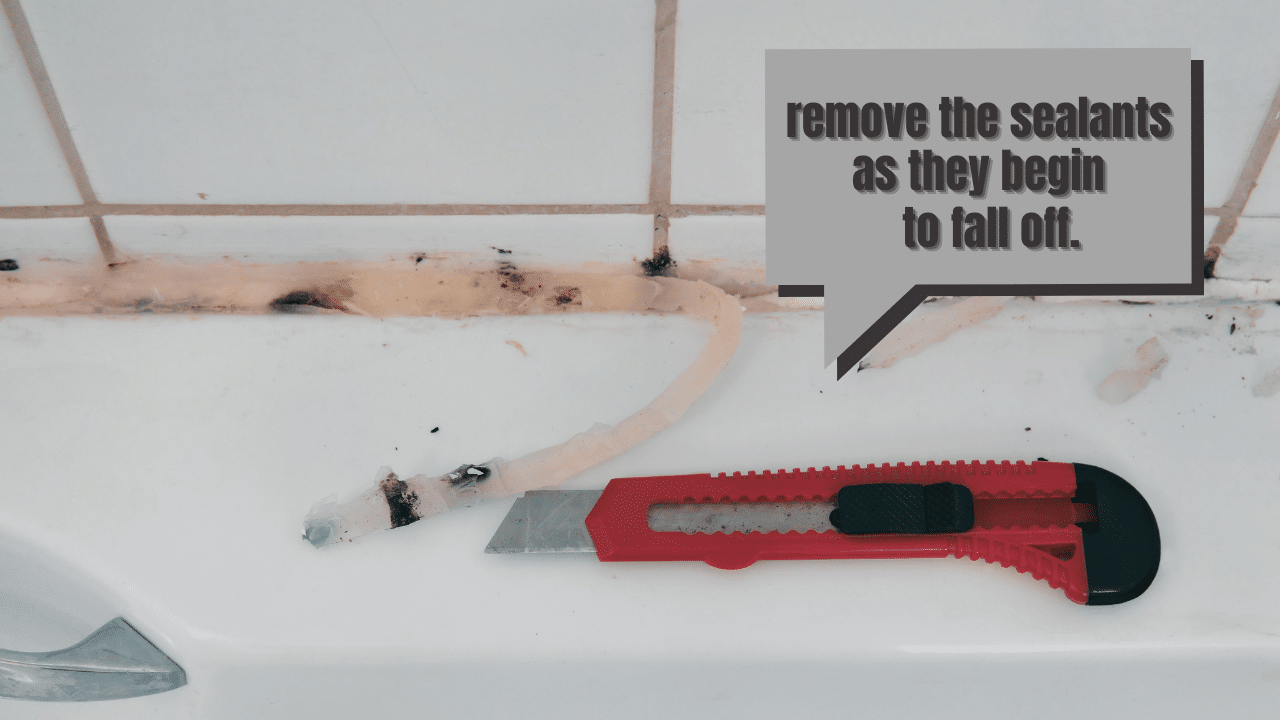
Once you notice the sealants begin to fall off, do take it as a sign to remove them altogether to place new sealants in place.
Remember, patience is your best friend here. Just read through the procedure and take your time so you can remove all the silicone caulk from the tiles. Good luck!
