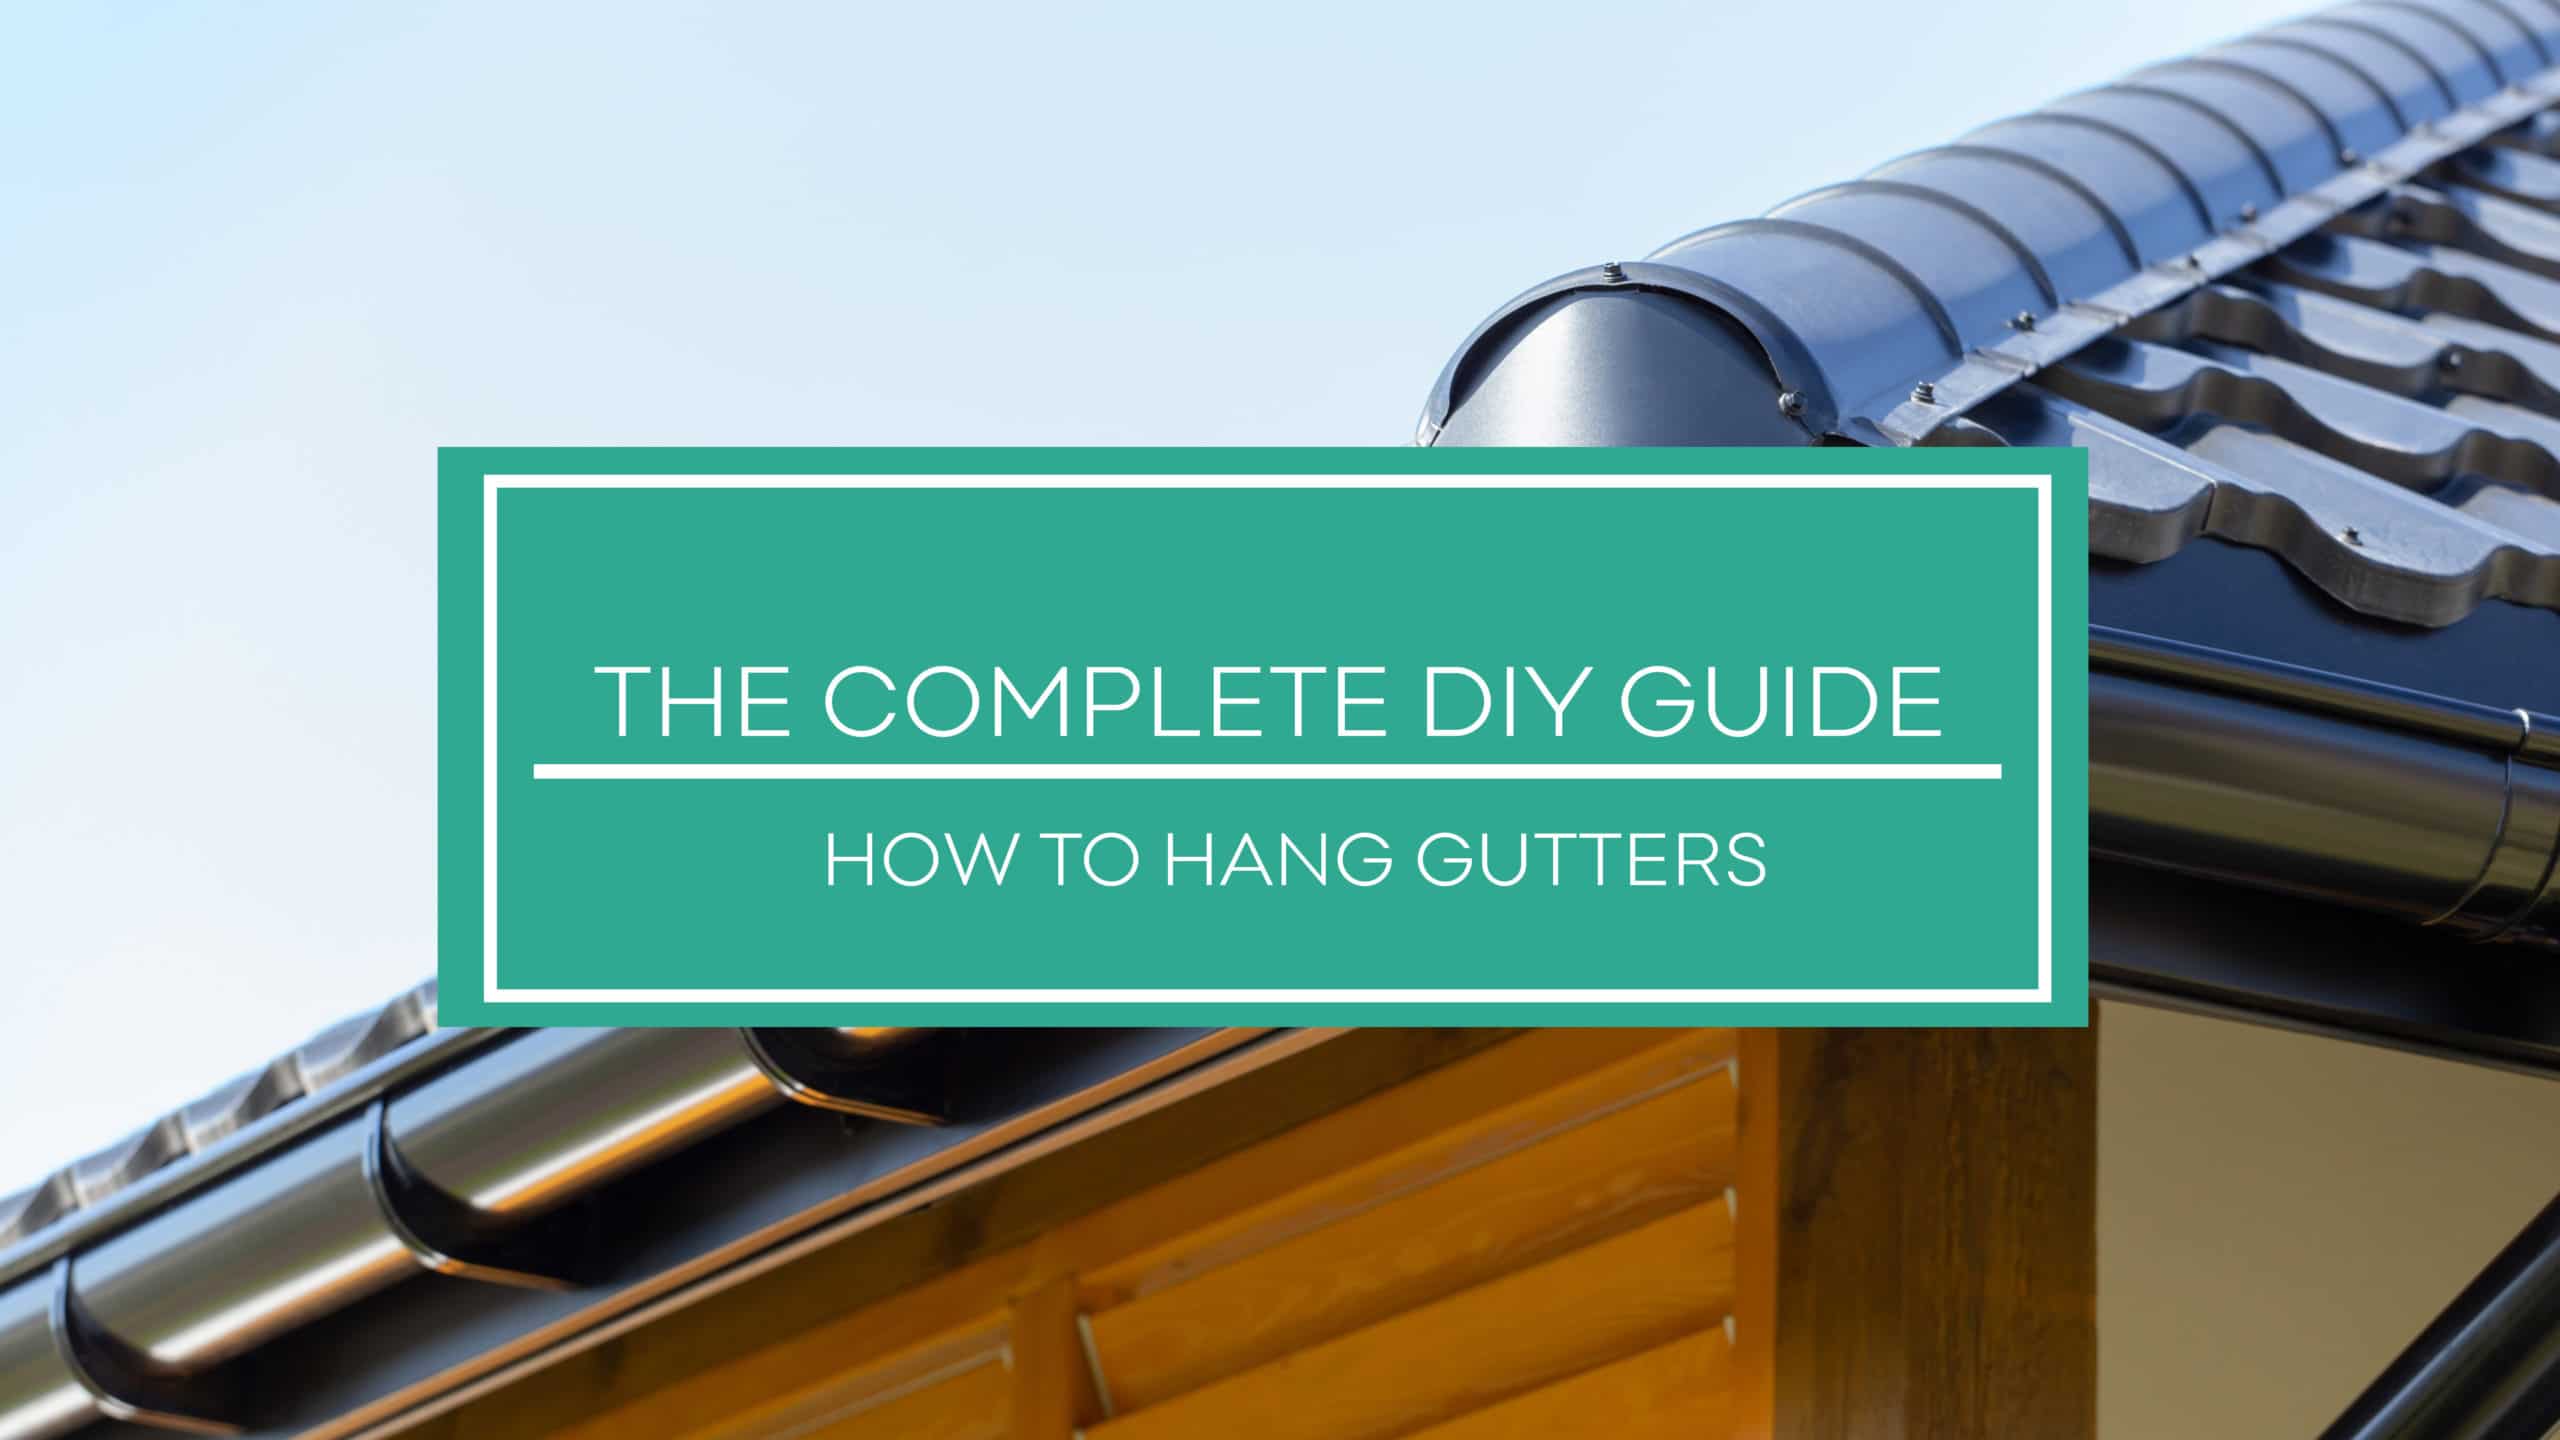
In this guide, we'll cover everything you need to know about the essential and basic steps on how to hang your gutters at home!
Gutters are designed to keep your home safe and make your roof last longer. They do this by rerouting rainwater and other liquid away from the very foundations of your home. In other words, having gutters is crucial, especially if you want to maintain the structure and integrity of your home.
In addition, gutters will help stop soil near your home from eroding. They will also prevent any damage to your siding and even stop your basement and crawl spaces from leaking. You could have someone install new gutters into your property, but maybe you want to take this task on yourself.
Gutter installation is not an easy process, but if you follow the steps we will outline here, you can successfully hang gutters like a pro! Keep reading to find out more about hanging gutters.
A Step by Step Guide: How To Hang Your Gutters
1
Measure Your Roof
The first thing you want to do is measure your roof. Your gutters will be attached to the entire length of your roof. So, you want to make sure that you measure this area of your home accurately with a measuring tool. This way, you can acquire the right materials and cut them to the right length later on.
In addition, knowing the length of your roof will also help you properly install your gutters. If your gutter has to be cut above 40 feet in length, then you will need to angle the gutter downward and into a downspout.
A downspout will have to be placed on each end of your roof. If the gutter is shorter than this length, you only have to slope it at a downward angle into the gutter.
Regardless, make sure to stay safe as you measure your roof. Especially if you go on a ladder, be aware of your surroundings and place the ladder in a sturdy spot.
2
Buy Your Materials
Once everything is measured, you can begin buying your materials for this home project. We recommend getting a gutter that will cover the entire space of your roof. You will also need to get the following materials:
These materials can be bought at your local hardware store.
Again, keep the measurements of your roof in mind when getting your gutter. And, if your roof is under 40 feet, get one downspout. If it is over 40 feet, get two downspouts.
3
Mark Your Starting Point and End Point
For the next step, you will need to do some more measurements. Doing this will ensure installing your gutter in the correct location. To do this, start by marking the starting point of your gutter. This location will be marked just 1.25 inches below the eaves flashing.
Eaves flashing is right below the edge of your roof. There's a sheet of metal right under your roof and below this is where you want to mark the 1.25 inches. If your roof is smaller than 40 feet, do this in the center of your roof. If your roof is larger than 40 inches, do this on the left or right ends of your roof.
Next, you want to mark the endpoint for your gutter. To do this, you will need to mark a half-inch downward slope. You will make a chalk mark for every ten feet of your cover. And, you will go down half an inch each time until you reach the endpoint. Go from the high point you measured in the beginning (the 1.25 inches), then keep going down.
4
Snap Your Layout Line
Once you have the chalk lines drawn out, you will need to snap your layout lines. Put a nail on each endpoint, and purchase a chalk line. Then tie the chalk line to the nails and then snap it over your fascia, marking the installation spots. We recommend getting blue or white chalk lines for the best results.
5
Attach Your Fascia Brackets
Next, you're going to want to locate your rafter tails, which are behind the fascia of your home. Facia is right between your roofline and your home, where your gutter is located. You can find the rafter tails spaced out here 16 inches on center. You will need to look for the nail heads to find the rafter tails. Then make sure to mark all of them with a chalk line.
After this, you need to drill some holes into the fascia and right through the rafter tails you found. They need to be ⅛ of an inch in diameter.
At this point, you should have bought your fascia brackets and screws for them. The screws should be stainless steel, and they need to be ¼ of an inch in diameter. They should also be at least two inches long. Drill the fascia brackets into the holes you made in the rafter tails. Then move on to the next step.
To make this process easier and get into the fascia easier, you can also use soap. Put the soap on the screws before you drill them in.

Attaching the fascia brackets into the rafter tails
6
Saw Your Gutter to the Right Length
After you get your fascia brackets secured with your screw, you can start sawing your gutters. You want your gutter to be the right length to fit properly in your home. Make sure you have safety equipment and power tools for this part of the process. You don’t want to hurt yourself.
Your gutter should be cut with a steel saw, and you want to cut at a 45-degree angle. You could use a hacksaw, but this will take longer to cut through the gutter. Mark the length you want to cut off, then cut the gutter on a flat and stable surface.
7
Attach End Caps To Your Gutter
Once the gutter is cut to the right length, you will need to attach end caps to your gutter. The end caps are spherical, and they will stop your gutter from clogging. There should be two of these if your gutter runs completely straight.
Some people don’t put this on, but we highly recommend installing these. Specifically, you want to do this step before putting your gutter up. Otherwise, it can be pretty hard to get them on your gutter when the gutter is already in place.
To install this part of your gutter, get a single sheet-metal screw, which will help hold your end cap in place. After this, you need to drill a hole that is around 1/8-inch in diameter. Put a pop rivet in the hole you drilled above the temporary screw. Then remove the temporary screw below and replace it with a rivet.
Put your cap on and secure it with the rivets. After this, put some high-grade glue on the seam of the end cap, which will help seal the cap and keep your gutter secure.
8
Cut Your Downspout Holes
Next is cutting out the downspout holes, which is the final step before putting your gutter up. You will need a downspout outlet, which will help you cut out the shape you need.
To trace the shape and then cut it out, turn your gutter over upside down. After this, put your outlet on top. It needs to go on the low end of the gutter. Trace the outline, then drill a hole into the center.
The hole needs to be a ¼ of an inch. Cut out the rest of the circular shape of the outline with a hole saw. Then, once the shape is cut out, you can attach the downspout outlet to your gutter. Some people do this while the gutter is installed. But it can be easier to do this beforehand, so you don’t have to do this step on a ladder.
Next is to drill holes around the opening. Make sure they match up with the holes on the outlet and put silicone glue around the area. Then place the rivets in the holes to secure the outlet. The rivets should be ⅛ of an inch. And your holes should be two and ⅛ inches.
9
Install Your Gutter
Finally, you can get to installing your gutters. Put your gutters on the fascia brackets you hung up earlier. Make sure your gutter is completely flat and in place correctly. Rotate the gutters to get them into the right position. The back edge should slip seamlessly into the hooks of the brackets.
After this, you need to secure the gutter more fully. Do this by drilling through the gutter and into the screw mounting hole found in the bracket. The hole should be 3/16 of an inch. Then put a steel screw and flanged nut into the hole. The screw should be at least an inch long.
10
Form Strip-Miter Joint at Corner
The corners of your gutter also need to be secured. You will have to form a strip miter joint at the corners to do this. This step needs to be done, especially if your gutter bends around a corner.
To do this, you will need to get a strip miter, which is just a strip of aluminum cut to three inches long.
Fasten and wrap the aluminum underneath your gutter. Then you will have to attach the metal with pop rivets or some metal screws that work on sheet metal. Put in at least eight rivets or screws.
Then you will need to mold the metal around your gutter. To do this, cut a triangle shape into the middle of the strip. Then use some snips to fold the metal over the gutter corner safely.
If you want, you can even seal this area up with some silicone caulk. It will help to waterproof this area of your gutter fully.
11
Connect The Downspout to The Gutter
Finally, you want to connect the downspout to your gutter, which will drain water for your house. Check that the gutter outlet you installed is fully secure.
Next, you are going to need a downspout tube and downspout elbows. The downspout elbow should be screwed into the outlet. You want to use screws to attach your downspout elbow to the gutter outlet you cut out earlier.

Attaching Down Spout to Fascia of House.
Before you fully attach the downspout, make sure to secure your downspout with additional wall brackets. If you have a shorter house, only one of these brackets is needed.
If you have a taller three-story house, use three brackets. Screw the brackets in the wall beforehand. Place the downspout into the brackets and screw them into the bracket.
Also, make sure that your downspout elbow is crimped so it fits into the downspout. You can use pliers to crimp the elbows. And the elbows should be placed at the bottom of the tubes and the top. It needs to be faced correctly too.
The water needs to be drained properly. So, make sure that water is aimed away from the sidewalk and other risky areas.
Conclusion
Hanging your gutters involves many different steps. We went over everything you need to know about this process here. Really, on the whole, it is easier to have someone install this fixture into your home for you. However, if you are trying to save some money and have some experience with DIY home projects, you can install your gutters yourself.
Just make sure you have all the right tools and use safety gear when you need to. Hanging gutters is not an impossible task, though it just takes the right knowledge and some patience!